Understanding Two-Piece Toilets and the Joint Area
How the Tank and Bowl Connect at the Joint Area
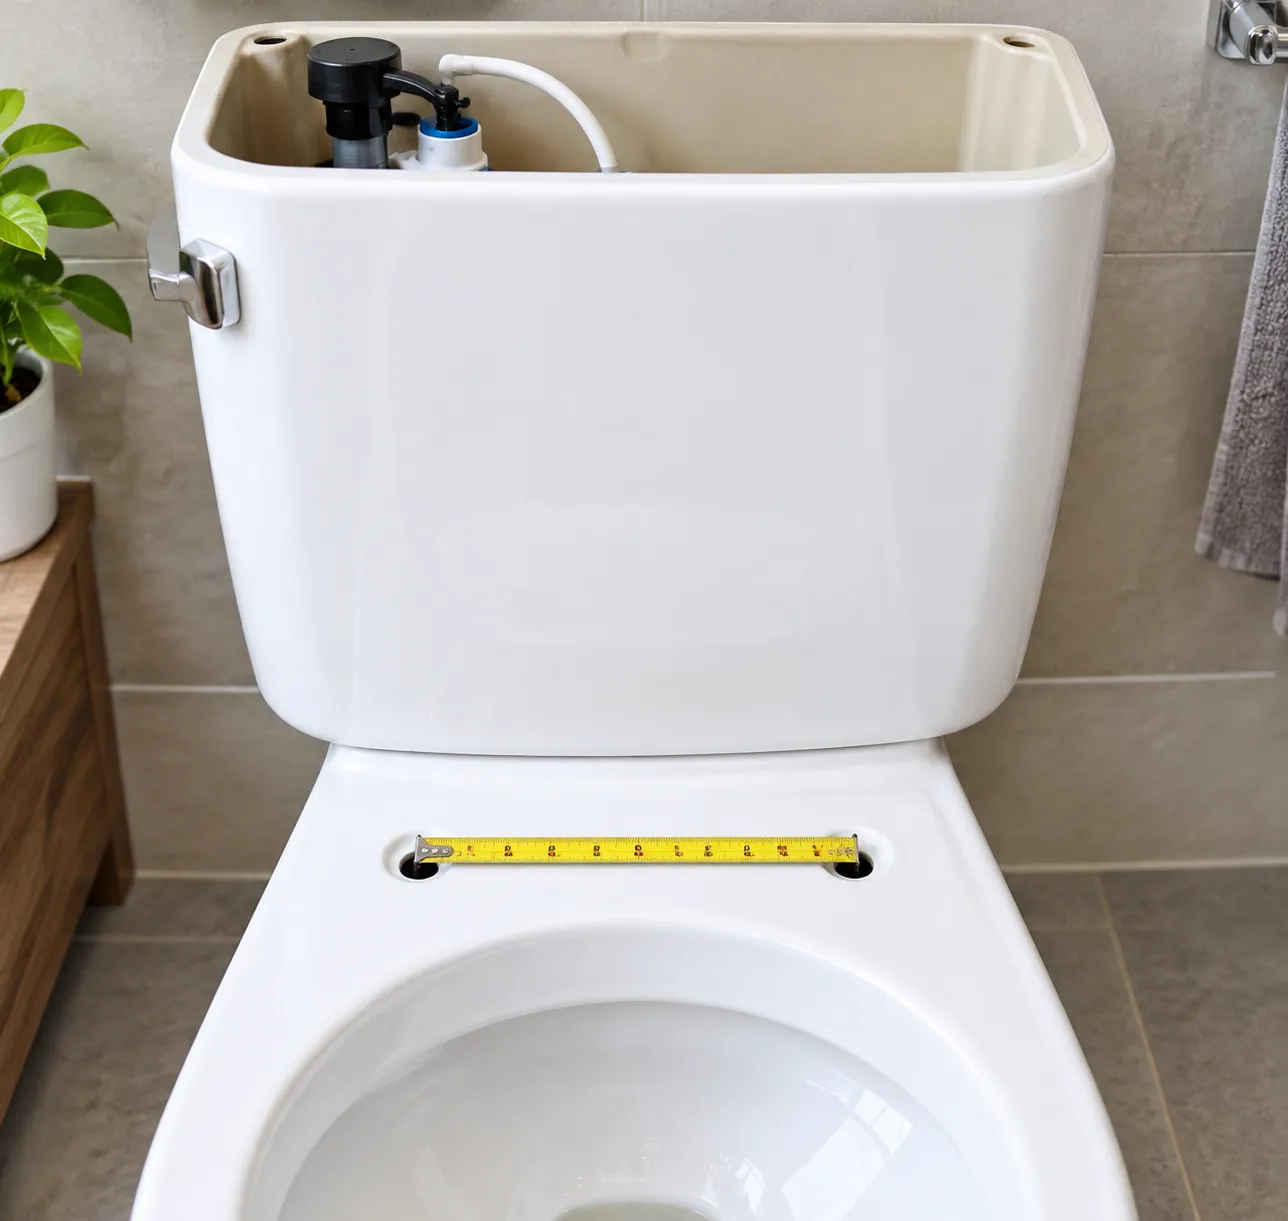
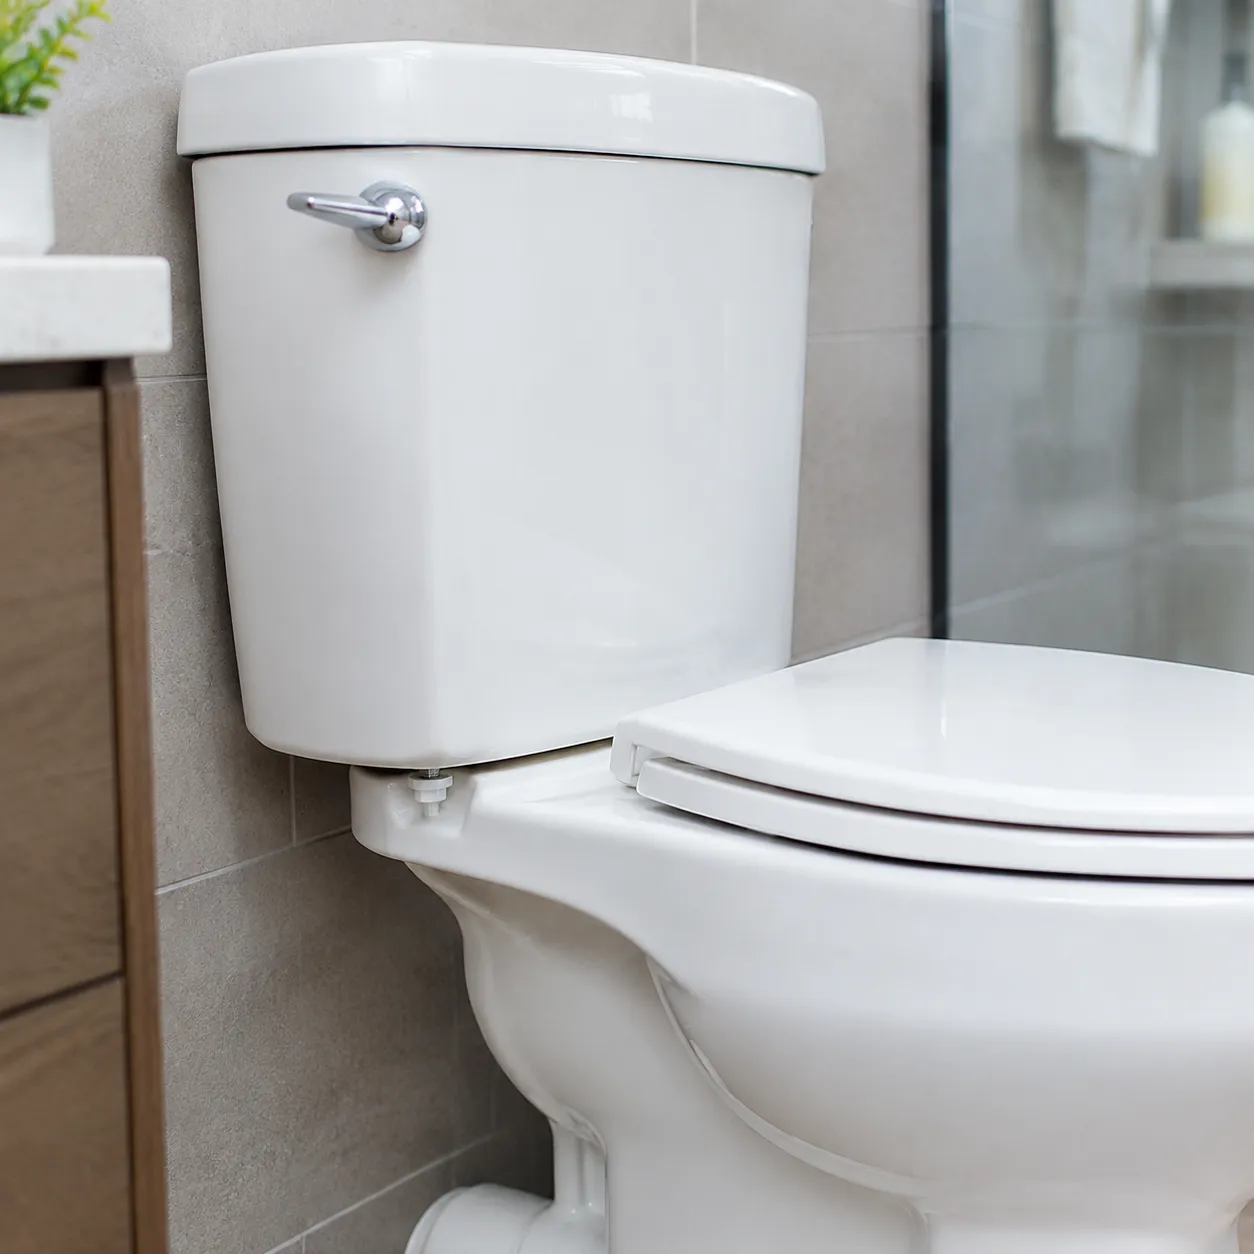
The functionality of this fixture centers on the joint area of the two piece toilet, where the flush valve opening at the bottom of the tank aligns with the inlet port on the bowl.
- Mechanical Anchoring: Heavy-duty tank bolts secure the tank directly to the rear ledge of the bowl.
- Compression Sealing: A heavy-duty donut gasket sits compressed between the two sections to block water flow.
- Structural Support: Raised ceramic contact points stabilize the tank to keep it level under full water capacity.
Key Components of the Tank-to-Bowl Seal
Maintaining a leak-free connection in the joint area of the two piece toilet requires a coordinated set of specialized hardware engineered to resist water exposure and continuous pressure:
| Component | Function | Standard Material |
|---|---|---|
| Tank-to-Bowl Gasket | Creates a compressible, watertight seal around the flush valve outlet | Sponge rubber or silicone |
| Tank Bolts | Clamp the tank firmly onto the bowl base deck | Solid brass or stainless steel |
| Rubber Washers | Seal individual bolt holes inside the tank to prevent slow drips | Flexible EPDM rubber |
A precise fit across these components prevents costly floor damage and maintains reliable flush performance over years of daily use.
Common Problems with the Joint Area of a Two-Piece Toilet
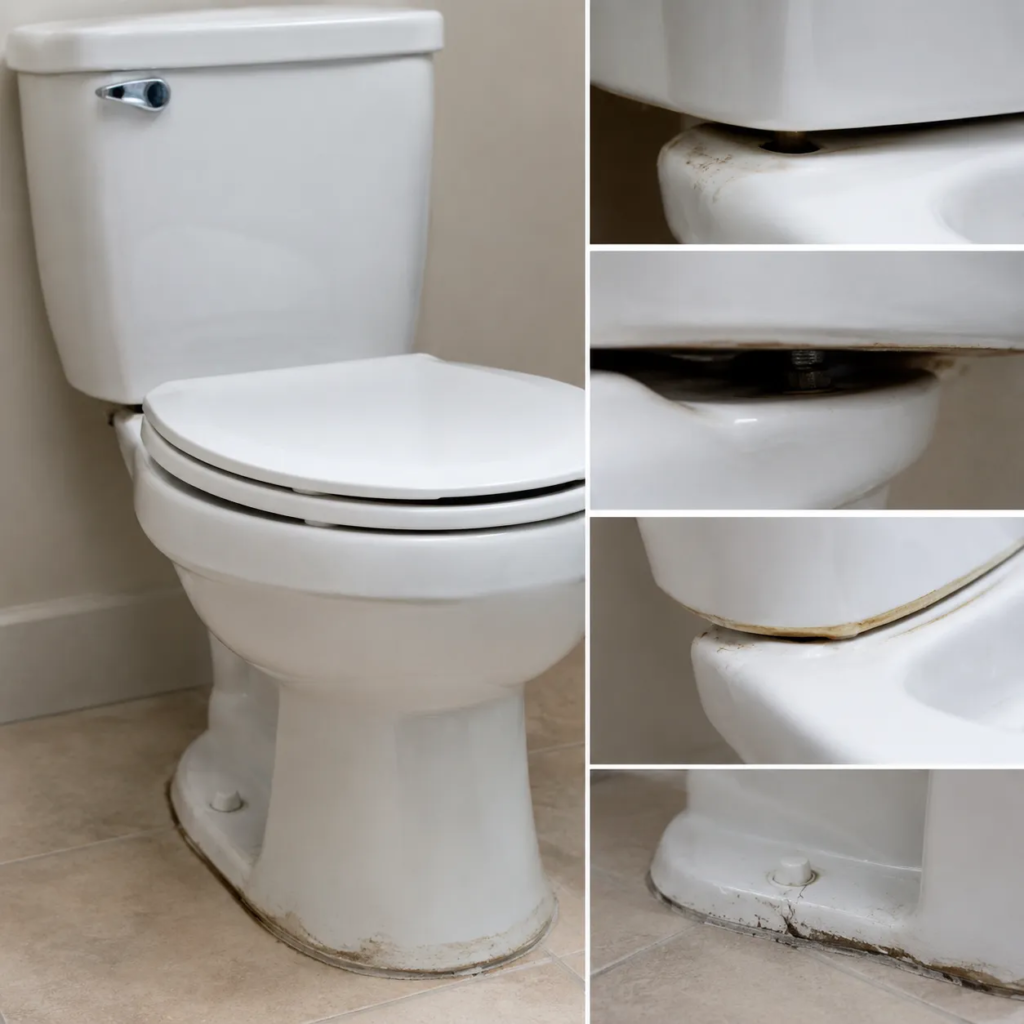
I frequently see two-piece toilet issues center around one specific spot: the mechanical connection between the upper tank and lower bowl. The joint area of the two piece toilet carries heavy stress and constant water exposure, making it prone to three primary problems.
Dirt and Bacteria Buildup in the Seam
The narrow gap where the tank rests on top of the bowl is a natural magnet for dust, splashback, and moisture. Because this tiny seam is difficult to reach with standard cleaning tools, grime thrives in the joint area of the two piece toilet.
- Persistent Odors: Trapped moisture and bacteria produce recurring bathroom smells that standard floor cleaning cannot reach.
- Porcelain Staining: Mineral deposits and organic buildup gradually discolor the porcelain along the seam line.
Water Leaks from the Tank-to-Bowl Gasket
The toilet tank seal—also known as the tank-to-bowl gasket—sits directly at the core of the joint. Over time, continuous water contact and chemical bowl cleaners degrade the thick rubber ring, causing it to harden, crack, or flatten.
- Dripping Beneath the Tank: Water creeps past the worn seal during a flush or leaks continuously from the tank reservoir.
- Subfloor Damage: Slow leaks in the joint area of the two piece toilet often seep into flooring long before standing water appears on the tile floor.
Loose Hardware and Tank Instability
Heavy-duty tank bolts and a rubber sealing washer set keep the entire tank coupling firm and watertight.
- Tank Wobble: Daily use and physical contact gradually loosen hardware, causing the tank to shift when leaned against.
- Seal Breakdown: Hardware movement places uneven pressure on the gasket, triggering fresh leaks or worsening existing ones.
- Risk of Cracks: Over-tightening loose bolts to stop a wobble can easily crack the ceramic porcelain, leading to costly replacements.
Cleaning and Maintenance Guidelines for the Joint Seam
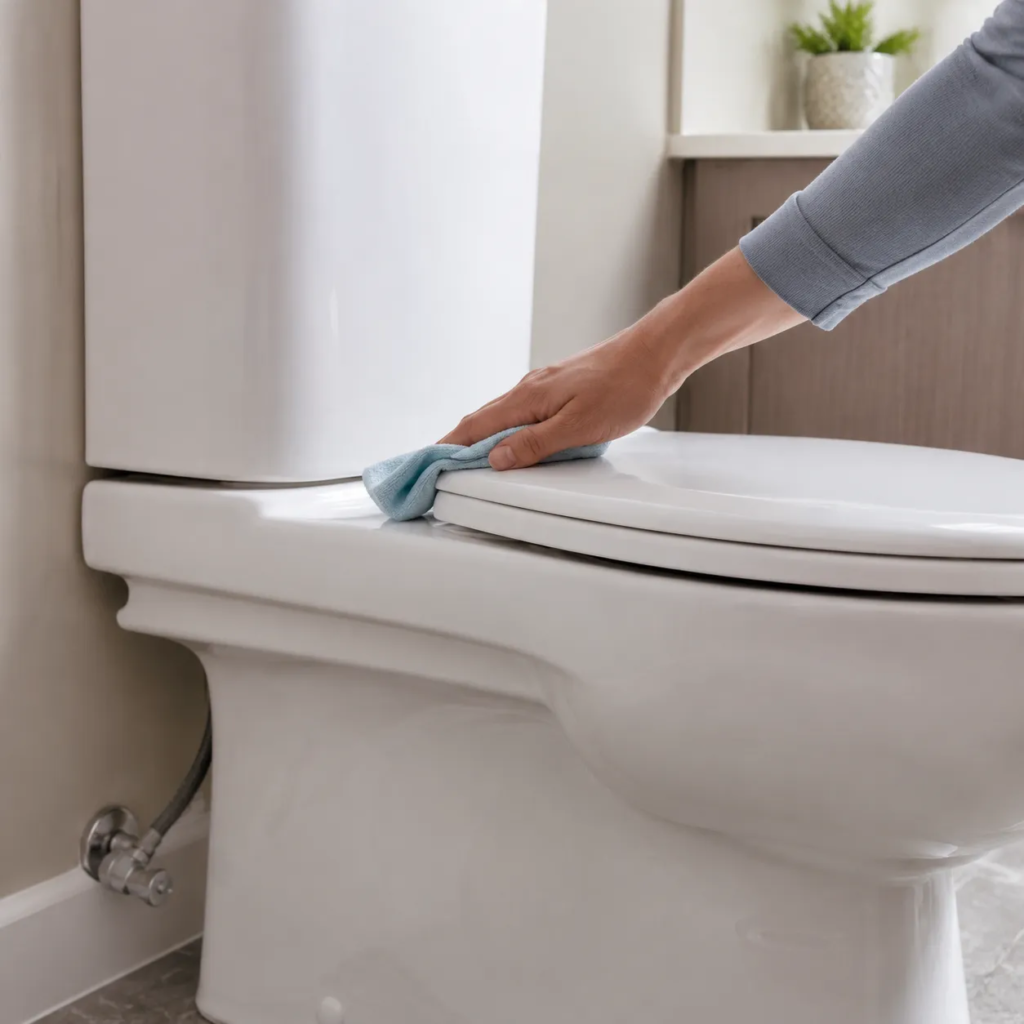
Keeping the joint area of the two piece toilet clean extends the life of your bathroom fixtures and prevents unwanted odors from taking over your space.
How to Clean Dirt Out of the Tank-to-Bowl Joint Area
The narrow gap between the tank and bowl easily collects dust and grime. Here is how we recommend tackling this hard-to-reach spot:
- Apply cleaner: Spray a gentle disinfectant or bathroom cleaner directly into the seam surrounding the tank coupling.
- Scrub the gap: Use an old toothbrush or a thin detail brush to work out trapped debris from the seam.
- Wipe and dry: Pull a dry microfiber cloth through the gap to pull out leftover grime and eliminate lingering moisture.
Preventing Mold and Mineral Accumulation
Trapped moisture near the toilet tank seal creates ideal conditions for black mold and hard water scale.
- Improve airflow: Run your exhaust fan during and after showers to lower room humidity levels.
- Use natural descalers: Soak a rag in white vinegar and press it into the seam to dissolve stubborn mineral buildup safely.
- Keep it dry: Wipe down the outer joint during routine cleaning for proactive leak prevention and long-term mold control.
Routine Inspection of Washers and Gaskets
We advise inspecting your mounting hardware twice a year to spot wear and tear before a major leak happens.
- Examine each sealing washer: Inspect the rubber washers under the tank bolts for cracking, flattening, or corrosion.
- Check for hidden moisture: Run a dry tissue around the underside of the joint area to catch subtle seepage early.
- Verify stability: Ensure the tank sits firm on the bowl; if it rocks, gently tighten the hardware to maintain a solid seal.
Long-Term Repair and Replacement Costs
Two-piece units remain the most cost-effective option over time due to their modular design:
| Comparison Factor | One-Piece Toilet | Two-Piece Toilet |
|---|---|---|
| Seam Profile | Seamless continuous mold | Visible gap at the joint area of the two piece toilet |
| Cleaning Effort | Fast exterior wipe-down | Requires cleaning around the joint seam |
| Handling & Shipping | Heavy single box | Two lightweight, easy-to-carry boxes |
| Leak Risk | Zero tank-to-bowl leak risk | Requires monitoring the toilet tank seal |
| Repair Flexibility | Replace whole unit if porcelain cracks | Replace individual tank bolts or gaskets |
If a leak occurs at the joint area of the two piece toilet, servicing the unit is straightforward and inexpensive. Replacing a worn sealing washer or set oPros and Cons of Two-Piece Toilets
In our experience supplying bathroom fixtures, two-piece models offer a reliable balance of affordability and practical installation, though the main trade-offs center around seam upkeep.
Advantages of Two-Piece Models
- Lower Overall Cost: Cheaper to manufacture and ship, keeping retail costs accessible for residential and commercial projects.
- Easier Transport and Installation: Handling separate tank and bowl sections reduces heavy lifting during installation in tight spaces.
- Simple Part Replacement: If the tank cracks, you can replace individual components without buying an entirely new unit.
Disadvantages Related to the Joint Area
- Trapped Debris: The joint area of the two piece toilet creates an open seam where dust, moisture, and mildew quickly collect.
- Seal Wear: Over time, the internal toilet tank seal and sealing washer degrade, creating potential water leak points.
- Hardware Corrosion: Moisture around the tank bolts and tank coupling can corrode metal parts, requiring periodic maintenance for effective leak prevention.
How to Fix Leaks at the Tank-to-Bowl Joint Area
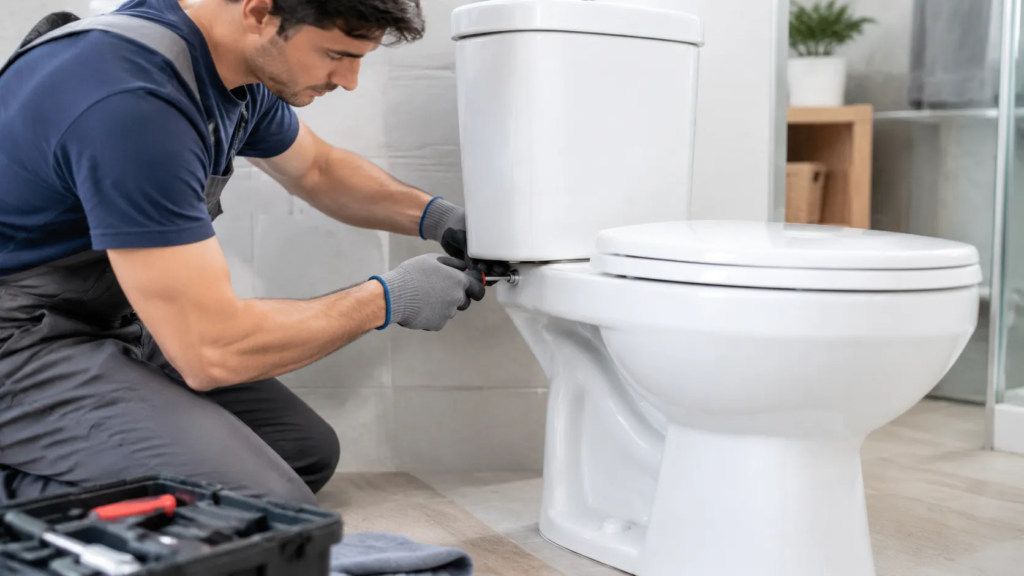
Fixing water leaks around the joint area of the two piece toilet starts with identifying whether the issue stems from loose hardware or a degraded rubber seal. We recommend addressing these leaks immediately to protect your bathroom floor from concealed water damage.
Identifying the Source of the Leak
Before taking anything apart, pinpoint the exact origin of the water. Dry the ceramic surfaces completely with a towel, then inspect the seam during a test flush:
- Seam Dripping: Water pooling directly where the tank meets the bowl indicates a worn toilet tank seal.
- Bolt Hole Seepage: Moisture dripping directly from the underside nuts points to failed rubber sealing washers on the tank bolts.
- Supply Connection: Water running down from the fill valve shank means the issue is the water supply line, not the main joint seam.
Tightening Tank Bolts Properly
Loose hardware is often the simplest culprit behind minor seepage at the joint area of the two piece toilet. Restoring proper tension on the tank coupling can stop the leak without requiring full disassembly.
- Turn off the water supply valve and flush the toilet to empty the tank.
- Secure the bolt head inside the tank using a long screwdriver while holding the nut beneath the bowl with an adjustable wrench.
- Alternate between bolts in small turns to keep the tank level and apply equal compression across the rubber seal.
- Snug the hardware firmly, but avoid over-tightening, which can crack the porcelain tank or bowl.
Replacing the Tank-to-Bowl Gasket
If tightening does not stop the water, the rubber gasket has likely hardened or split. Total replacement guarantees long-term leak prevention.
| Step | Action | Key Detail |
|---|---|---|
| 1. Disassembly | Disconnect supply line and unbolt tank | Sponge out residual water inside the tank before lifting it off. |
| 2. Clean Joint Area | Remove old toilet tank seal | Scrape away mineral buildup and debris from the porcelain mating surfaces. |
| 3. Fit New Gasket | Press new tank coupling gasket on | Push the heavy rubber gasket securely over the large flush valve nut underneath the tank. |
| 4. Upgrade Hardware | Insert new tank bolts | Always install fresh rubber sealing washers inside the tank on every rebuild. |
| 5. Reattach Tank | Lower tank onto bowl and secure | Tighten nuts evenly until the tank rests firmly without wobbling, then test flush. |
When to Buy a Two-Piece Toilet
A traditional two-piece model is the most practical choice for cost-conscious upgrades and standard installations.
- Affordable Investment: Delivers lower initial purchase costs and affordable shipping.
- Easier Transport: Separating the tank and bowl makes carrying and positioning the unit manageable for a single installer.
- Modular Repairs: If a leak develops at the tank coupling, replacing individual parts like tank bolts or an aged toilet tank seal is simple and inexpensive.