Identifying Common Causes of One Piece Toilet Leaks
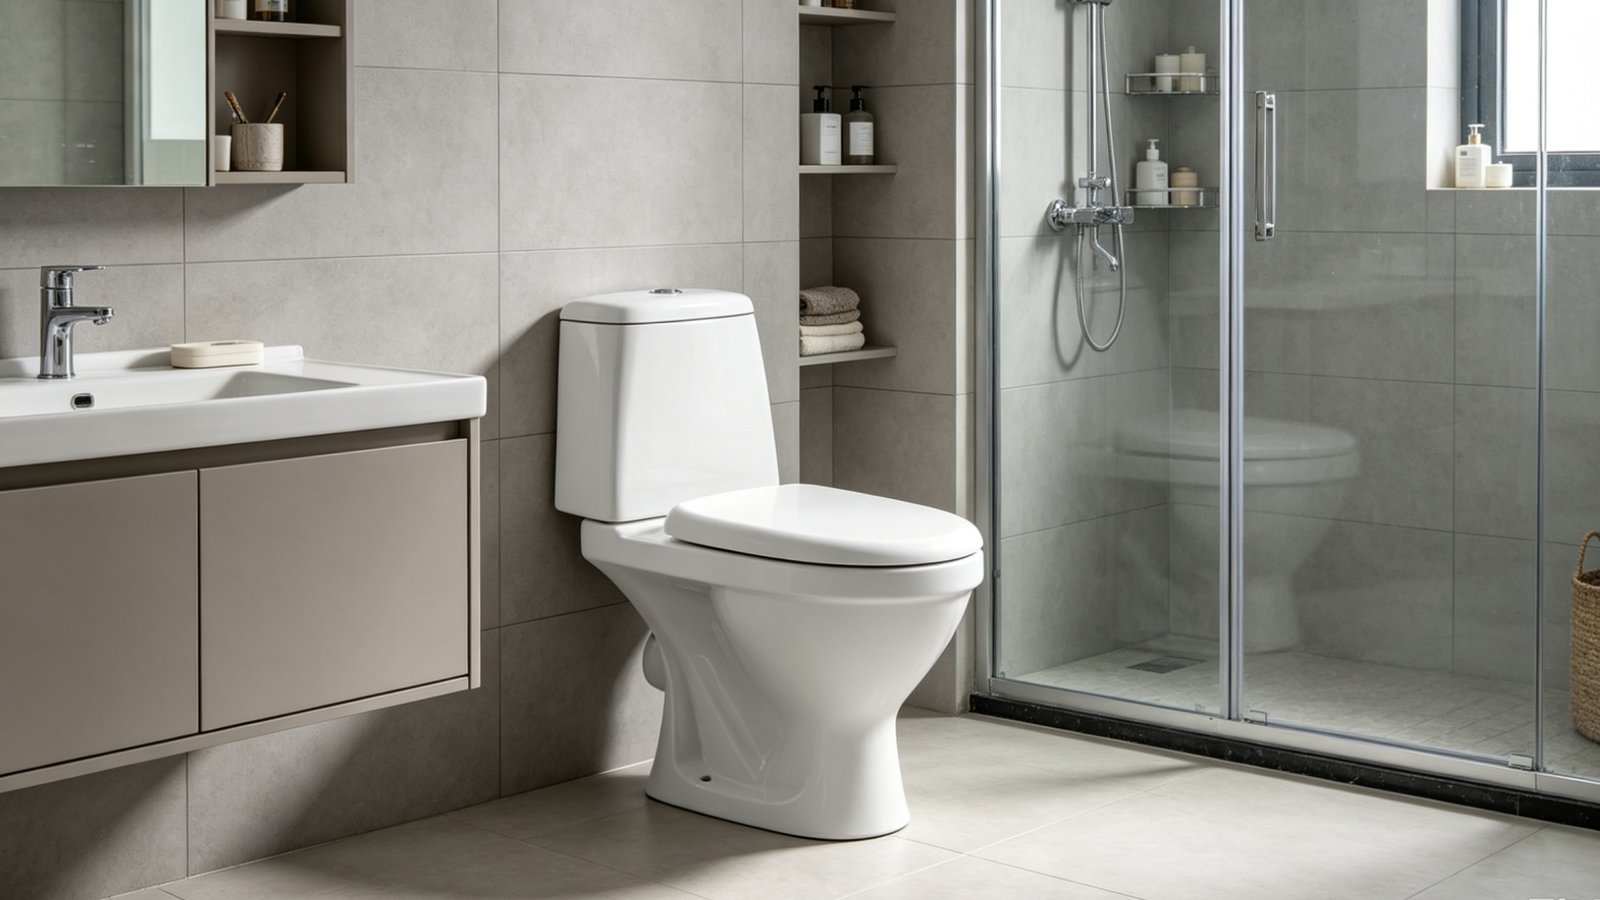
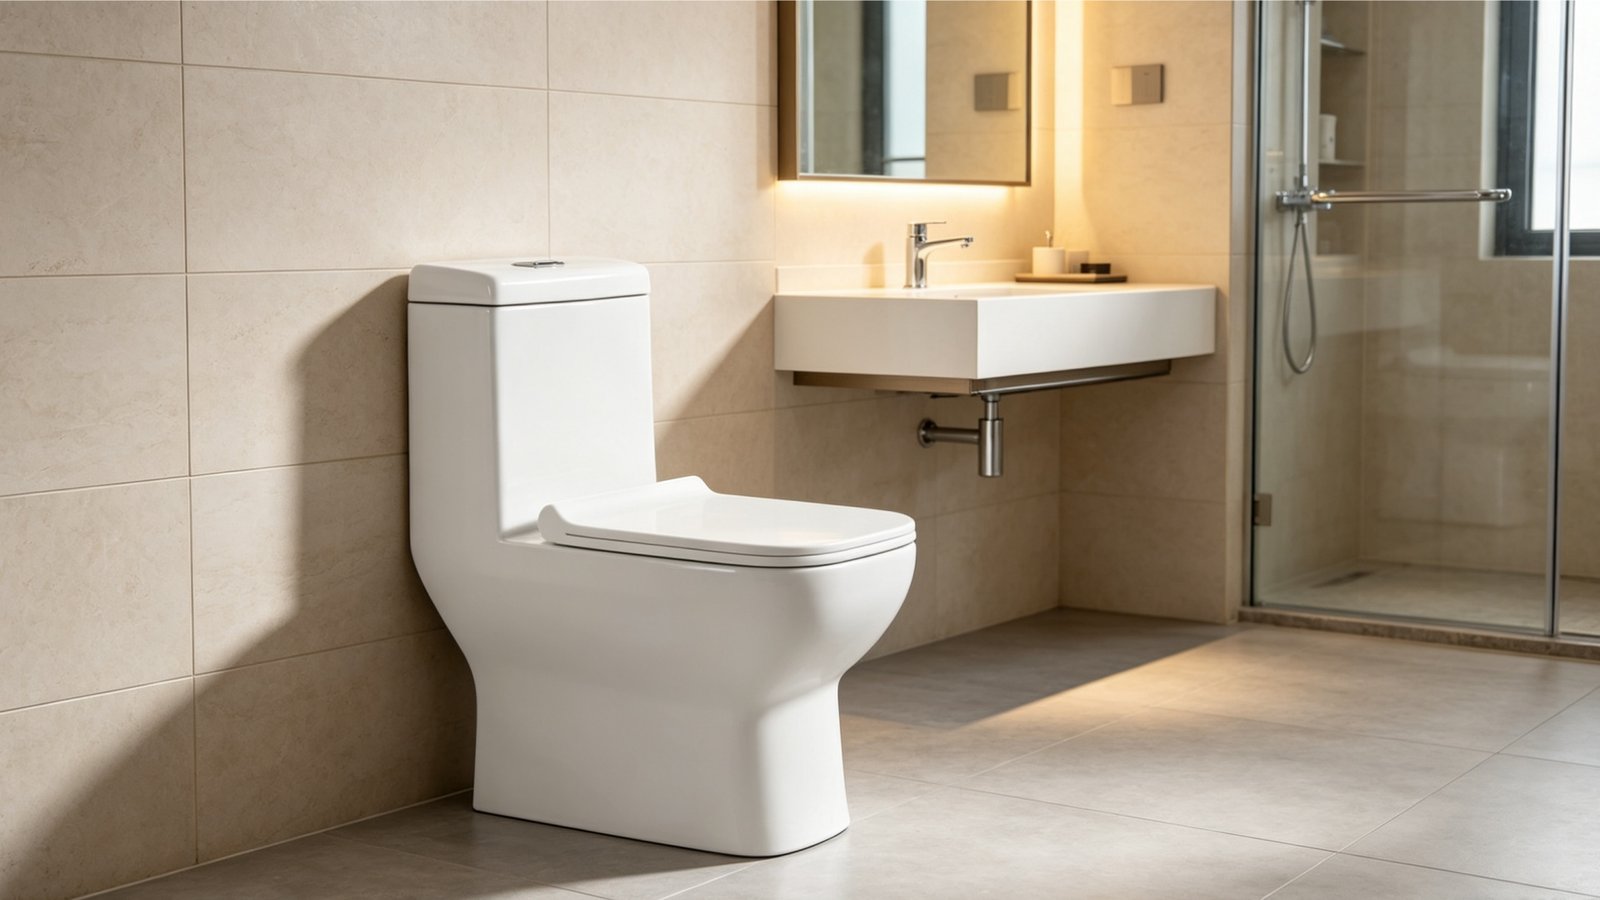
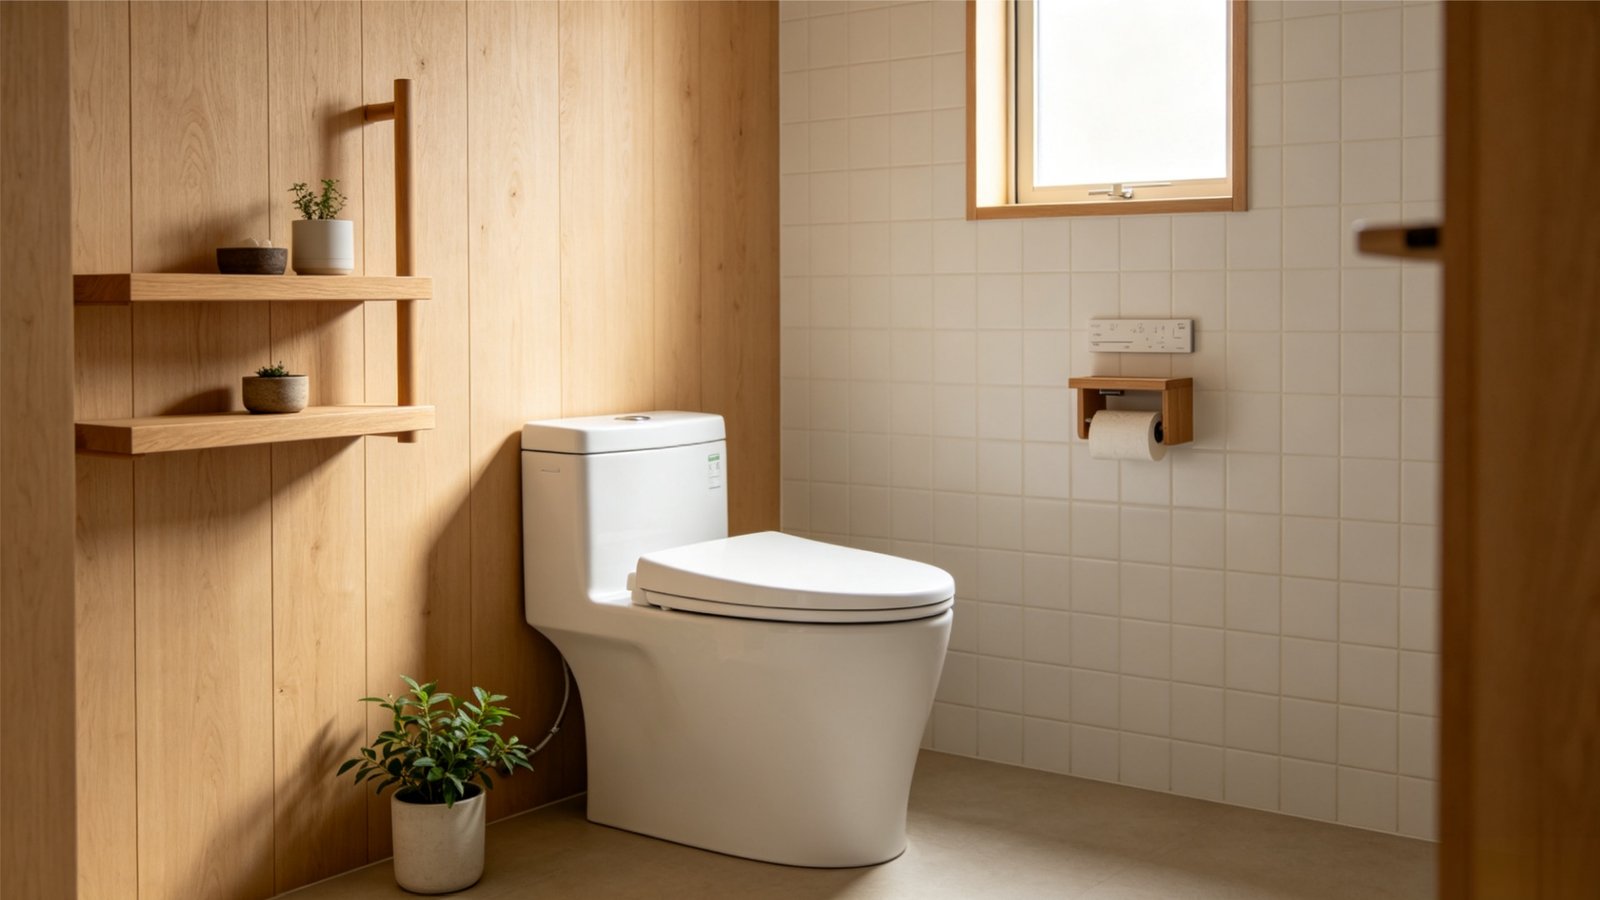
When tackling a one piece toilet leak repair, pin-pointing the exact source saves both time and water. Single-piece fixtures integrate the tank and bowl into a unified mold, meaning leaks usually originate from one of four primary vulnerability points during routine single piece toilet maintenance.
Water Running Continuously into the Toilet Bowl
A continuously running fixture is the most frequent issue in running toilet troubleshooting. Failing Valve Seals: A worn one piece flush valve seal or damaged single piece toilet flapper fails to hold a tight seal, allowing water to trickle out of the tank endlessly. Misadjusted Fill Valve: Incorrect toilet fill valve adjustment keeps the water level too high, spilling excess water straight into the overflow tube.
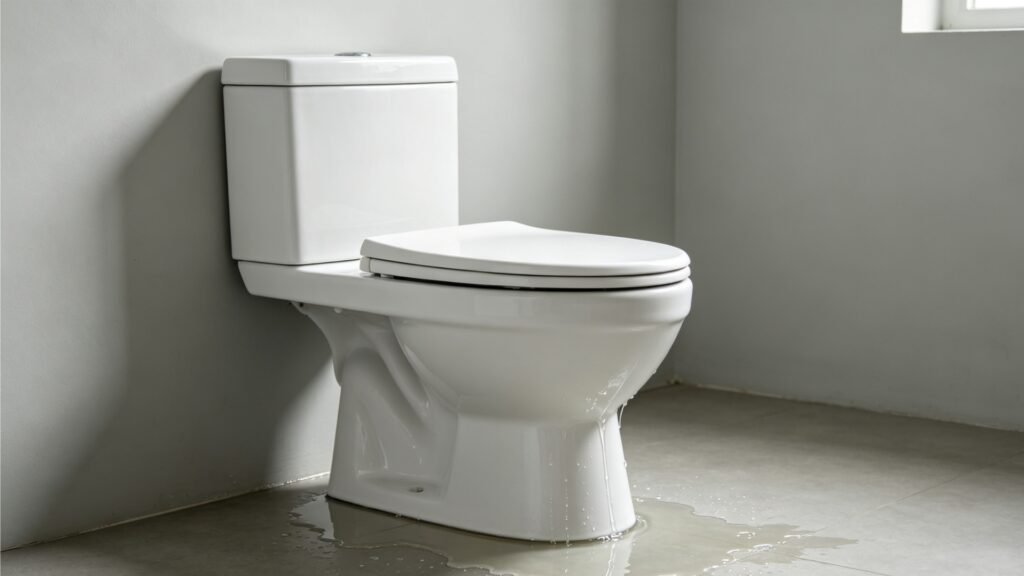
Water Pooling Around the Toilet Base
Puddles on the floor around the bottom of the unit point to a leaking toilet base. Failed Base Seal: An aging seal requires a complete toilet wax ring replacement or new rubber flange gasket to restore a watertight barrier. Loose Mounting Hardware: Loose floor bolts allow the heavy unit to rock, breaking the watertight seal against the closet flange.
Water Dripping From the Supply Line Connection
Moisture dripping under the left side of the tank stems directly from the toilet supply line connection. Degraded Hose Washers: Old rubber washers inside the flexible line lose elasticity and crack over time. Loose Threaded Fittings: Loose connections at the fill valve shank or shutoff valve allow steady drips along the hose.
Hairline Cracks in the Porcelain Body
hairline cracks in the porcelain body require immediate attention before severe flooding occurs. Impact Fractures: Accidental impact or age causes hairline fractures that continuously weep water onto the floor. Overtightened Hardware: Overtightening mounting bolts cracks the vitreous china, creating hidden channels for leaks.
How to Fix a Running One Piece Toilet
A constantly running toilet wastes gallons of water every day and drives up utility bills. When tackling a one piece toilet leak repair, a running unit is usually caused by three main components inside the tank: the fill valve, the flush valve seal, or the overflow tube. Here is how I step-by-step fix a running single-piece unit to restore peak performance.
Adjusting the Toilet Fill Valve Water Level
If the water level inside the tank sits higher than the top of the overflow pipe, water continuously spills into the bowl, forcing the fill valve to run nonstop. Performing a quick toilet fill valve adjustment usually fixes this issue without buying new parts.
- Locate the float adjustment mechanism: Most modern fill valves feature a long plastic screw or a sliding float clip attached to a metal rod.
- Lower the water level: Turn the plastic adjustment screw counterclockwise with a screwdriver to lower the float. If using a clip, pinch it and slide the float down.
- Set the target line: Ensure the water shuts off automatically 1/2 to 1 inch below the top edge of the overflow tube.
- Test the fill cycle: Flush the toilet and monitor where the water stops filling. Adjust further if necessary.
Replacing the One Piece Flush Valve Seal or Flapper
One-piece toilets frequently use specialized canister flush towers or oversized seals rather than basic drop-in flappers. Over time, chemical cleaners and hard water degrade these rubber gaskets, leading to phantom flushing. Replacing a worn one piece flush valve seal or single piece toilet flapper restores a tight water barrier.
| Component Issue | Primary Symptom | Quick Solution |
|---|---|---|
| Degraded O-Ring / Seal | Water trickles continuously into the bowl | Swap out the silicone tower gasket |
| Warped Flapper Disc | Tank slowly drains and self-refills | Replace with model-specific flapper |
| Mineral Crust on Base | Seal fails to seat properly | Scrub valve seat with vinegar and a pad |
- Shut off the water and drain the tank: Turn the wall valve clockwise and hold down the flush handle to drain the residual water.
- Remove the flush unit: Twist the central flush tower counterclockwise a quarter-turn to unlock it from the base, or unhook the flapper chain from the lever arm.
- Swap the gasket: Peel off the old, soft, or deformed seal. Stretch the new silicone ring firmly into the base groove of the flush tower.
- Reinstall and test: Snap the flush valve tower back in place, reattach the handle chain with a small amount of slack, and turn the water back on.
Checking and Clearing the Overflow Tube
Proper toilet overflow tube adjustment prevents continuous siphoning and keeps water flowing where it belongs.
- Check the refill tube position: The thin plastic hose coming from the fill valve should clip to the top of the overflow tube. Never push this hose deep down inside the pipe, or it will siphon water directly into the bowl and keep the fill valve running indefinitely.
- Clear mineral blockages: Inspect the inside of the overflow tube for mineral scale or debris. Scrub the rim clean to ensure smooth water displacement during flushes.
- Inspect for plastic damage: Check the tube body for cracks. If the plastic stem is cracked below the normal water line, water will continuously leak out, which calls for a complete toilet fill valve replacement or flush valve overhaul.
Repairing a Leaking Toilet Base on a One Piece Toilet
A leaking toilet base usually signals a failed seal beneath the fixture. Because single piece units are noticeably heavier than standard two-piece models, replacing this seal requires extra care to ensure a long-lasting one piece toilet leak repair.
Shut Off Water and Drain the Unit
I always remove all standing water before unbolting the unit to prevent messy floor spills during the repair.
- Turn off supply: Rotate the shutoff valve clockwise until completely tight.
- Flush completely: Hold down the flush handle to empty as much water as possible.
- Remove residual water: Use a sponge and bucket to soak up any remaining water in both the tank and the bowl.
Remove Floor Bolts and Lift
Single piece toilets do not disconnect at the tank, making them heavy and awkwardly balanced.
- Disconnect supply line: Unscrew the flexible hose connection from the fill valve inlet.
- Remove bolt covers: Pop off the plastic floor caps at the base using a flathead screwdriver.
- Unbolt from floor: Unscrew the floor nuts using an adjustable wrench.
- Lift straight up: Lift the toilet straight up off the floor bolts to avoid smearing old wax on your floor. Tip: Ask a second person to assist with the weight.
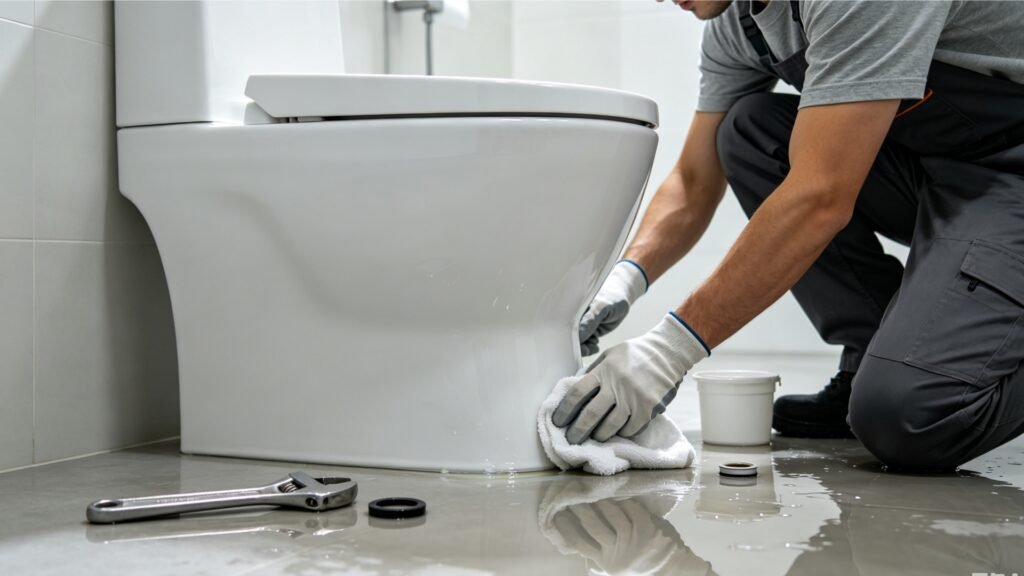
Toilet Wax Ring Replacement
A clean surface is essential for an airtight, leak-proof seal.
| Step | Action | Tool Needed |
|---|---|---|
| Clean Flange | Scrape away all old wax, gunk, and debris | Putty knife |
| Inspect | Check the plastic/cast iron flange for cracks | Flashlight |
| Install Seal | Center a new wax ring or reinforced rubber flange seal on the floor flange | Hands |
Realign and Secure the Toilet
- Position the toilet: Carefully lower the fixture straight down, aligning the base mounting holes directly over the floor bolts.
- Compress the seal: Apply firm downward body weight onto the center of the bowl to compress the toilet wax ring replacement evenly.
- Fasten nuts: Thread the nuts back on by hand, then give them a quarter turn with a wrench. Do not overtighten, as excessive torque will crack the porcelain foot.
- Reconnect and test: Reattach the supply line, open the shutoff valve, and flush several times to verify the leak is completely fixed.
Fixing Supply Line and Valve Connection Leaks
When performing a one piece toilet leak repair, water pooling beneath the tank often stems from a loose toilet supply line connection or a worn shutoff valve rather than the porcelain fixture itself. I always address these three connection points to stop drips instantly.
Tightening or Replacing the Flexible Supply Hose
Internal rubber gaskets inside flexible hoses harden over time, causing steady drips where the line meets the fill valve. Inspect and tighten: Hand-tighten the coupling nut onto the fill valve shank, then turn it a quarter-turn further with pliers. Avoid overtightening plastic connectors. Replace if damaged: If water leaks from the hose crimp or cracked plastic fittings, swap it out for a durable braided stainless steel supply line.
Sealing Threaded Connections with Plumber's Tape
Bare threads on male fittings frequently allow micro-leaks during routine single piece toilet maintenance. Prep the surface: Wipe the threads on the valve shank and shutoff body completely dry. Wrap thread tape: Wrap PTFE plumber's tape clockwise around male threads 3 to 4 times to guarantee a leak-free plumbing seal repair.
Replacing the Shutoff Valve Washer
A leak coming directly from the shutoff valve stem points to a cracked internal compression washer. Isolate water: Turn off the main shutoff valve to the residence before servicing the valve. Swap the washer: Unscrew the valve packing nut, remove the stem assembly, and replace the hardened internal rubber washer with a fresh seal.
Frequently Asked Questions About One Piece Toilet Leak Repair
Do one piece toilets use standard flappers or custom seals?
In our experience, most modern single-piece units do not use standard off-the-shelf flappers. Instead, they rely on custom components designed specifically for high-efficiency flushing mechanisms.
- Specialty flush valve tower seals: Many top brands use a central flush tower with a custom silicone disc or one piece flush valve seal at the bottom.
- Proprietary flappers: If your model uses a traditional hinged flapper, it is typically an oversized single piece toilet flapper built for that exact model number.
- Best practice: Always check the exact brand and model number stamped inside your tank before purchasing replacement parts.
How do I know if my toilet needs a wax ring replacement?
Knowing when to complete a toilet wax ring replacement prevents costly water damage beneath your subfloor. We recommend inspecting your fixture immediately if you notice any of these signs of a leaking toilet base:
- Water pooling: Clear or dirty water seeping out around the bottom rim after every flush.
- Sewer gas odors: Persistent bad smells in the bathroom, indicating an airtight seal failure.
- Wobbly toilet: A loose unit that rocks back and forth, which breaks the wax gasket seal underneath.
- Subfloor damage: Soft, spongy, or discolored flooring surrounding the base.
Can a hairline crack in a porcelain toilet be repaired?
Fixing porcelain depends entirely on the location and severity of the damage.
- Cosmetic cracks (Above the waterline): Minor surface hairline cracks above the standing water level can be repaired using a two-part waterproof plumber's epoxy resin kit.
- Structural cracks (Below the waterline): Cracks inside the bowl, trapway, or water tank channels cannot be safely repaired.
- Safety risk: Porcelain under pressure can suddenly shatter, leading to dangerous leaks or physical injury. If a crack holds water, full unit replacement is the safest solution for long-term one piece toilet leak repair.