Understanding One-Piece Toilets and How They Work
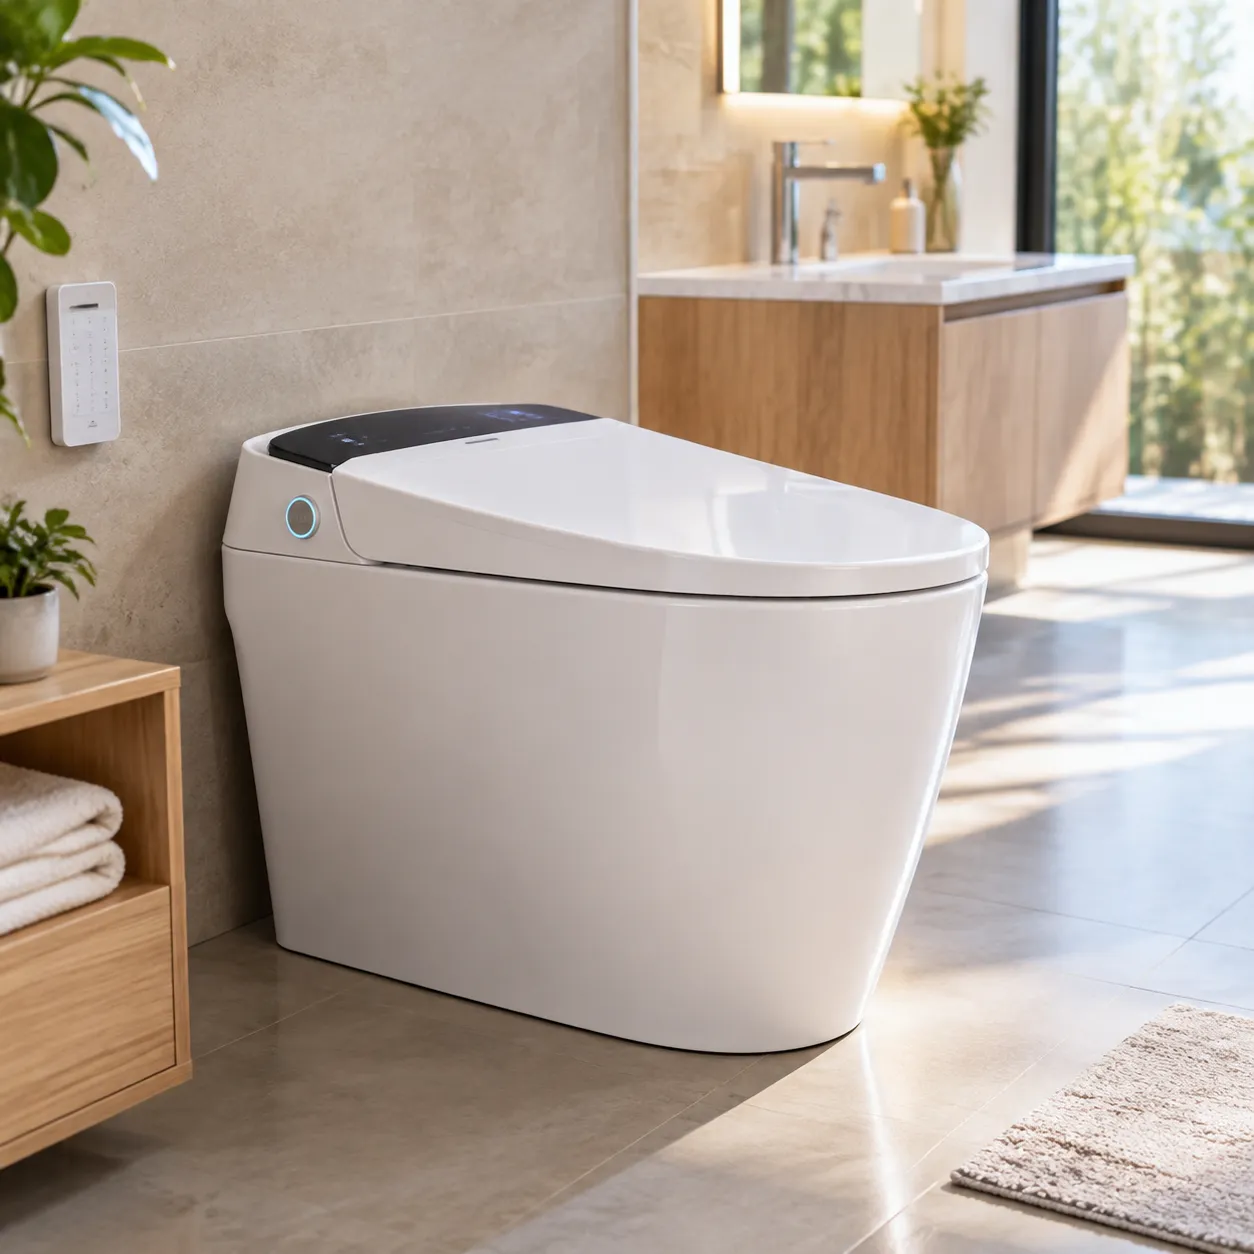
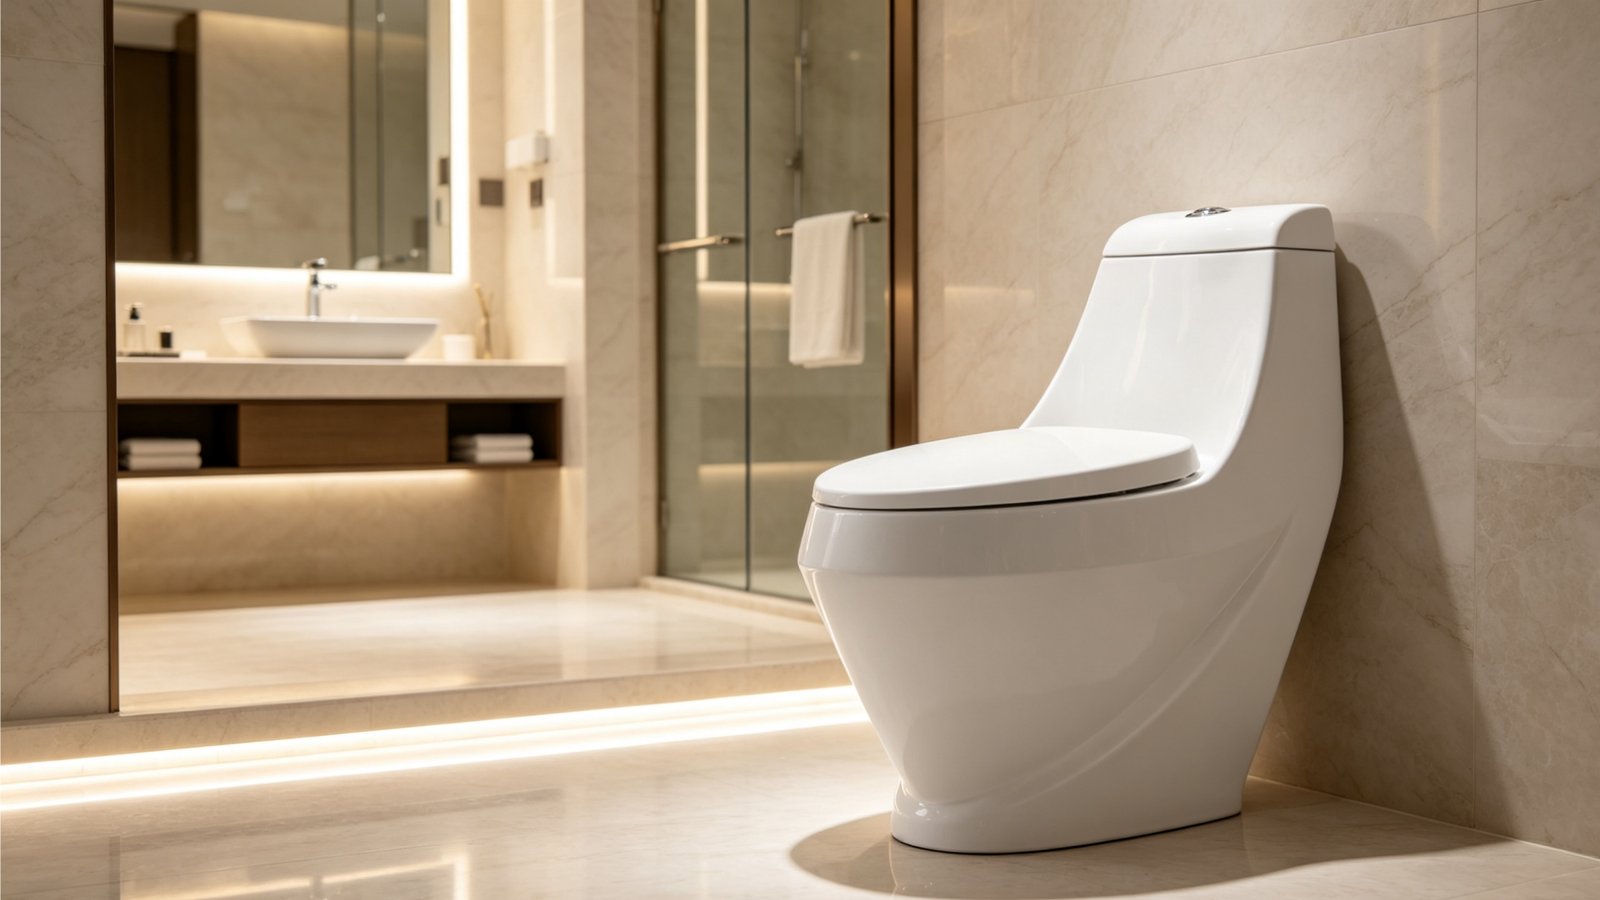
Learning how to repair a one piece toilet begins with understanding its seamless construction. Unlike traditional toilets, a one-piece model integrates the tank and bowl into a single, continuous ceramic unit. This design eliminates leak points between the tank and bowl while utilizing an efficient internal toilet tank mechanism to manage water delivery and flushing power.
Key Components of a One-Piece Toilet System
The internal hardware of a one-piece toilet operates as an interconnected system to regulate water flow:
- Fill Valve: Controls the flow of water into the tank after each flush cycle (fill valve replacement is a common maintenance task).
- Flush Valve & Seal: Discharges stored tank water rapidly into the bowl, typically using a specialized flapper or tower canister seal.
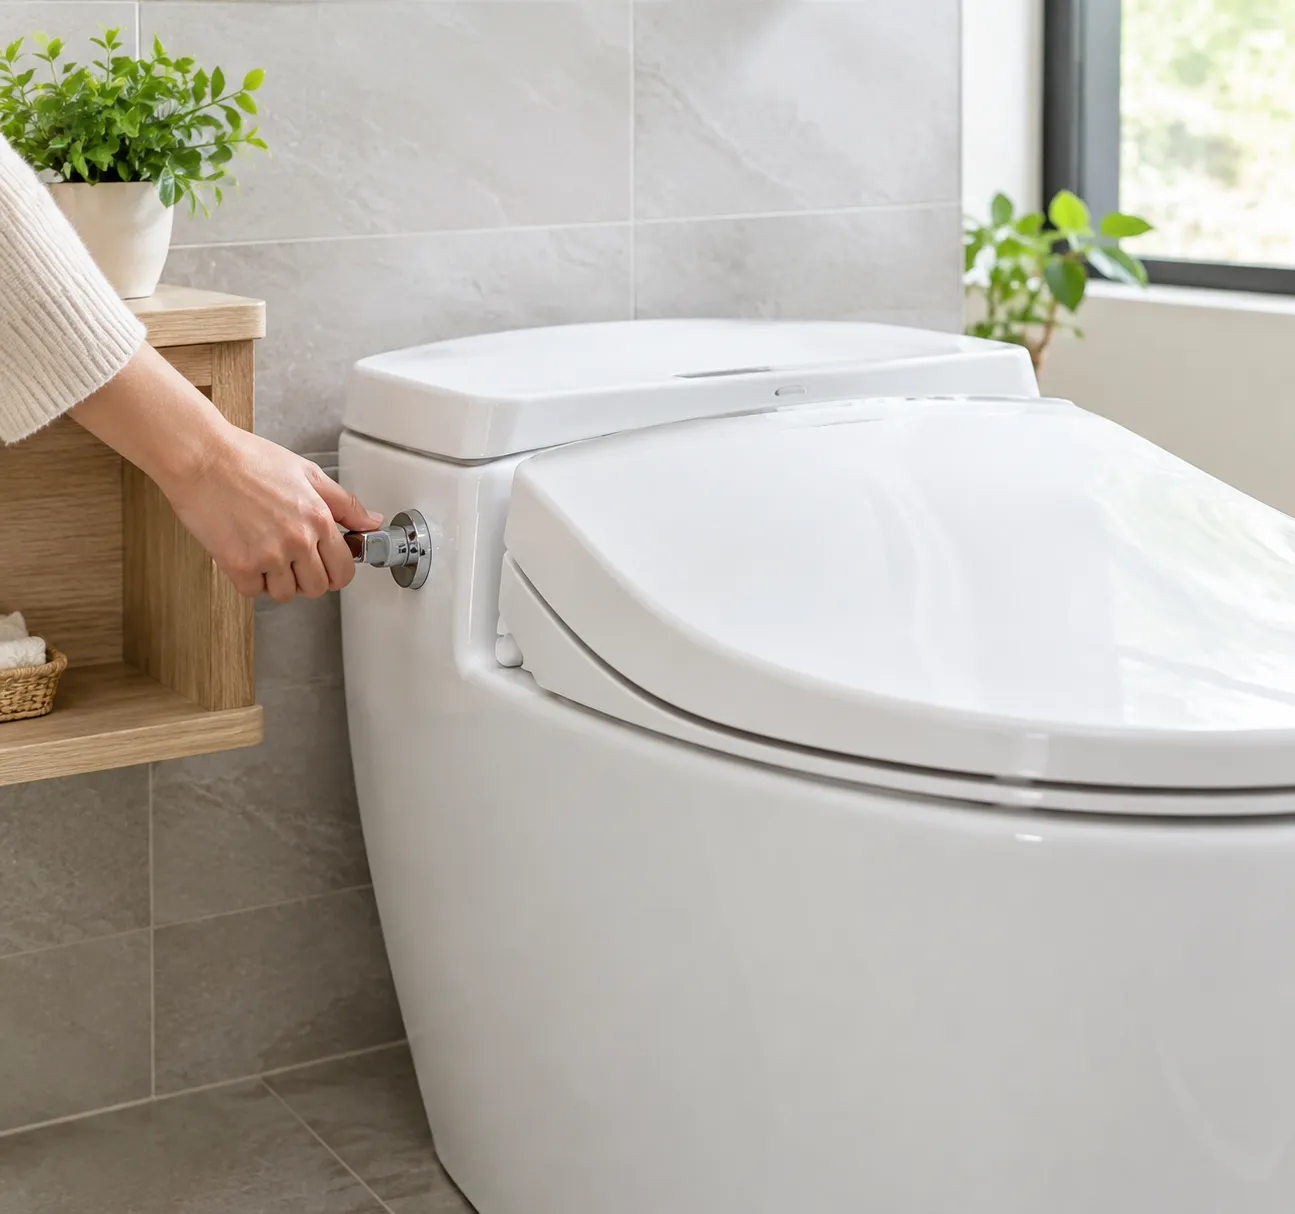
- Trip Lever & Chain: Connects the external toilet handle lever to the flush valve mechanism inside the tank.
- Overflow Tube: Redirects excess water directly into the bowl to prevent tank overflows.
Differences Between One-Piece and Two-Piece Toilet Repairs
While both toilet styles perform the same core function, their maintenance and repair needs differ significantly based on structural design:
| Repair Aspect | One-Piece Toilet | Two-Piece Toilet |
|---|---|---|
| Tank-to-Bowl Gasket Leaks | Impossible (molded single ceramic unit) | Common (requires tank removal and gasket replacement) |
| Internal Working Space | Compact; tighter clearance inside the tank | Spacious; easier access to internal components |
| Part Compatibility | Requires model-specific or specialty parts | Uses standard, universally compatible hardware |
| Service Accessibility | Repairs must be performed with the tank in place | Tank can be unbolted and serviced separately |
Understanding these structural differences ensures you source the correct hardware and execute repairs efficiently.
Common One-Piece Toilet Issues and Causes
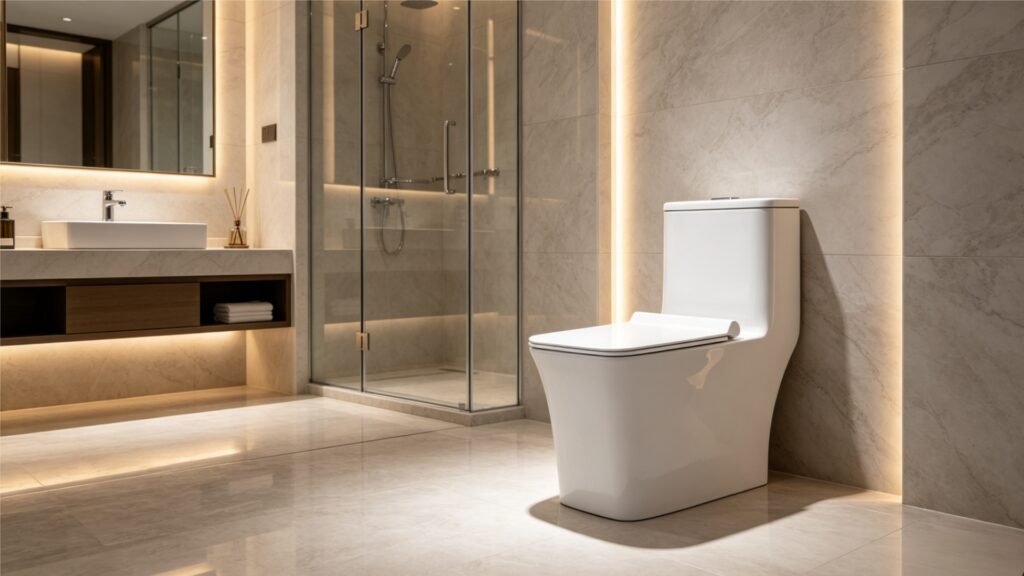
Knowing how to repair a one piece toilet starts with diagnosing the exact issue. Because the tank and bowl are fused into a single seamless unit, diagnosing internal failures inside the toilet tank mechanism is straightforward once you know what to look for.
Continuous Running Water in the Bowl
A toilet that runs nonstop wastes water and increases utility costs. This issue typically points to one of three main culprits:
- Worn Flapper or Rubber Seal: Harsh water chemicals warp the seal over time, allowing water to trickle continuously into the bowl.
- High Float Setting: If the water line sits above the overflow tube, water drains down the tube perpetually.
- Failing Fill Valve: An aging valve fails to shut off water incoming from the supply line, signaling the need for a fill valve replacement.
Weak or Incomplete Flush Cycle
When a flush lacks power or fails to clear the bowl completely, the water delivery system is compromised:
- Low Water Volume: The tank fills below the recommended fill line, reducing flush momentum.
- Excessive Chain Slack: Too much slack prevents the flapper from lifting fully to release the full volume of water.
- Blocked Rim Jets: Mineral buildup restricts water flow through the small holes under the bowl rim.
Leaks Around the Flush Valve or Base
Water around your fixture requires immediate repair to protect your floor subfloor from rotting:
- Worn Flush Valve Gasket: The base seal inside the molded tank degrades, letting water bypass the bowl entry point.
- Damaged Wax Ring: A worn wax seal at the floor flange causes water to seep out from the base during or after a flush cycle.
Handle and Trip Lever Malfunctions
If the handle hangs loose, sticks down, or offers no resistance, the lift linkage has failed:
- Disconnected Chain: The chain connecting the toilet handle lever to the flush seal has unclipped or snapped.
- Loose Mounting Nut: The reverse-threaded nut inside the tank securing the handle has backed off.
- Cracked Lever Arm: The plastic or metal extension arm inside the tank is bent or broken.
Tools and Replacement Parts Needed for DIY Repair
Knowing how to repair a one piece toilet starts with having the right gear on hand before shutting off the water line. Because one-piece units integrate the tank and bowl into a single ceramic mold, accessing internal parts requires precise tools to avoid damaging the fixture.
Essential Plumbing Tools for Repair
I always recommend gathering these basic tools before touching a single fitting:
- Adjustable Wrench: Crucial for loosening and tightening the water supply line without stripping plastic nuts.
- Sponge and Bucket: Essential for soaking up residual water from the tank bottom after draining it.
- Channel-Lock Pliers: Ideal for securing hard-to-reach locknuts underneath the tank profile.
- Flathead Screwdriver: Needed to adjust float screws or disconnect the toilet handle lever clip.
- Towel or Cloth: Protects your bathroom tile from minor drips during component removal.
Selecting the Correct Replacement Components for One-Piece Models
One-piece toilets often feature unique internal dimensions compared to standard two-piece setups. Getting the right parts ensures your toilet tank mechanism seals tightly and operates cleanly.
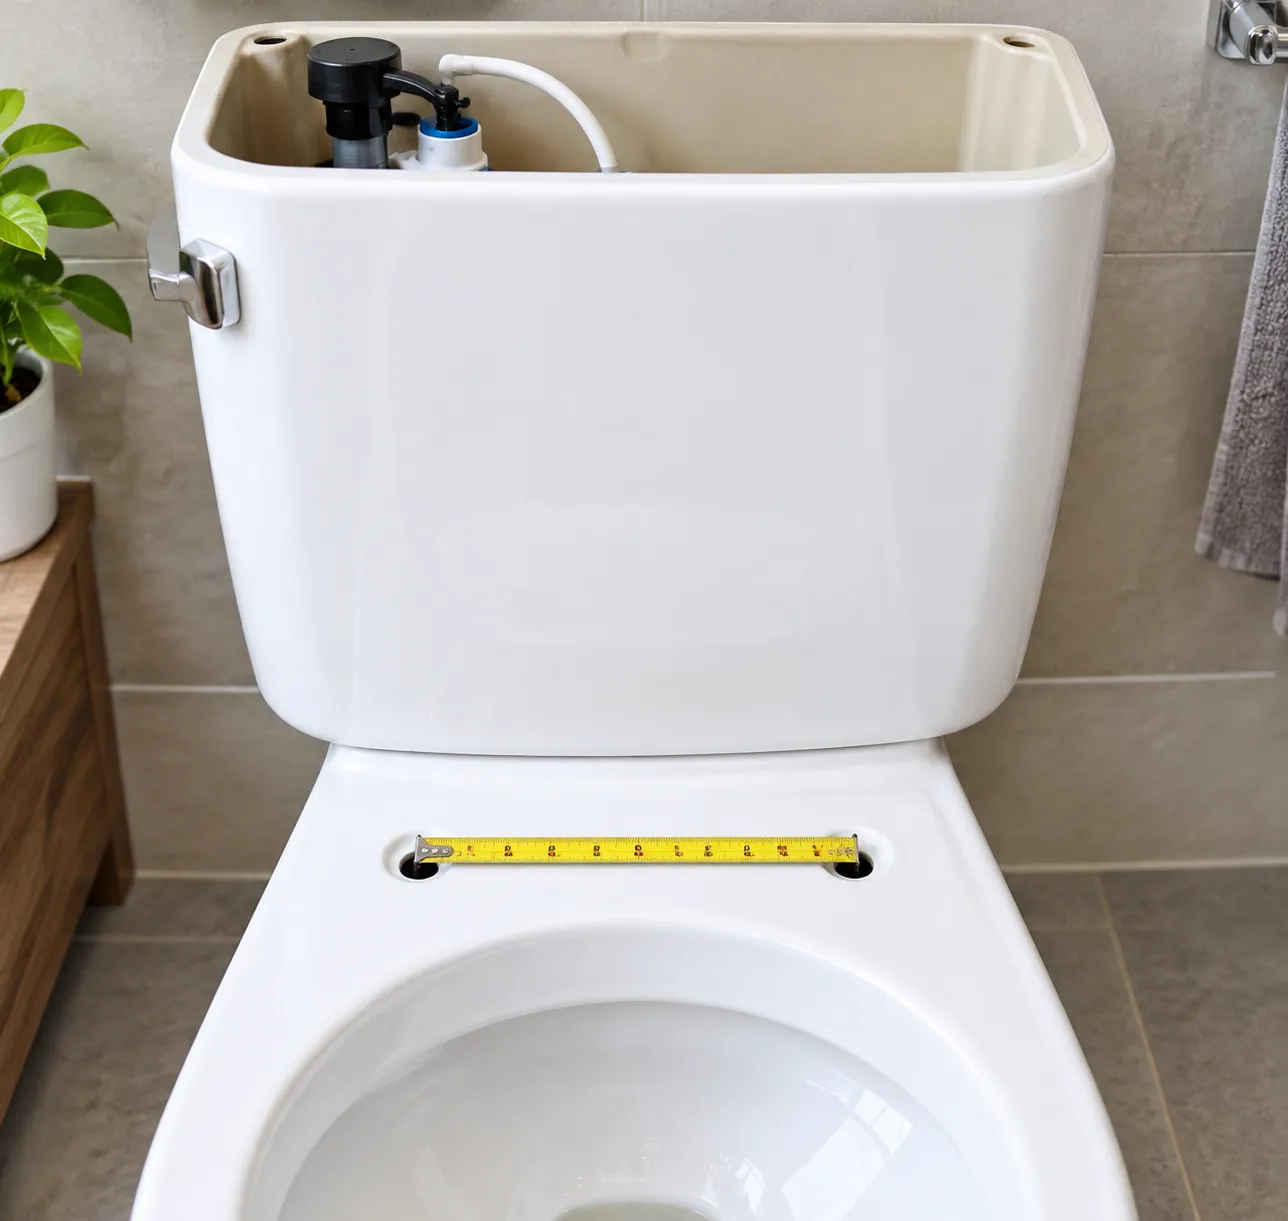
- Match Flush Valve Size: Many modern one-piece toilets use larger 3-inch or 4-inch flush valves rather than standard 2-inch models. Always measure the drain opening before buying a replacement seal or valve.
- Choose the Right Fill Valve: When performing a fill valve replacement, opt for an adjustable-height unit. Low-profile one-piece toilets have limited vertical space, so standard tall fill valves will prevent the tank lid from sitting flush.
- Verify Handle Compatibility: The toilet handle lever in a one-piece design often uses an angled or side-mounted arm. Ensure your replacement lever aligns cleanly with the flapper chain without rubbing against internal walls.
- Check Brand Specifications: Premium brands frequently require brand-specific flapper canisters or specialty silicone gaskets rather than universal rubber flappers.
How to Fix a Running One-Piece Toilet
A continuously running toilet wastes water and drives up utility bills. When I troubleshoot a running unit, the culprit is almost always a worn flapper seal, an improperly set float, or a failing fill valve inside the toilet tank mechanism. Here is how to fix a running one-piece toilet quickly and effectively.
Inspecting and Replacing the Toilet Flapper or Seal
A degraded flapper or canister seal lets water trickle constantly from the tank into the bowl.
- Shut off the water: Turn the shut-off valve behind the toilet clockwise, then flush to drain the tank.
- Inspect the seal: Check the rubber flapper or flush valve seal at the bottom of the tank. If it feels rigid, cracked, or covered in mineral buildup, it needs replacement.
- Swap the seal: Unhook the old flapper from the mounting pegs and disconnect the chain from the toilet handle lever. Clean the drain seat with a cloth, snap the new flapper in place, and attach the lift chain. Keep about 1/2 inch of slack in the chain so it seals tightly without binding.
Adjusting and Replacing the Fill Valve
If water continuously spills into the overflow pipe, the fill valve is either misadjusted or broken.
- Adjusting the current valve: Turn the adjustment screw on top of the fill valve counterclockwise to lower the float. If the water stops running before reaching the overflow pipe, you solved the issue.
- Executing a fill valve replacement:
- Turn off the main water supply line and sponge out remaining water from the tank bottom.
- Disconnect the water supply line from the shank under the toilet base.
- Unscrew the mounting nut beneath the tank, lift out the old valve assembly, and press the new unit firmly into place.
- Hand-tighten the bottom locknut, reattach the supply tube, and clip the refill tube into the overflow pipe.
Setting the Water Level and Float Mechanism
Proper float placement ensures every flush delivers full power without overfilling the tank.
- Locate the fill mark: Find the stamped water line mark inside the tank wall. The ideal water level sits 1/2 inch to 1 inch below the top of the overflow tube.
- Calibrate the float: Pinch the adjustment clip on the float cylinder to slide it up or down the fill valve shaft until it aligns with your target water mark.
- Test the shut-off: Turn the water supply back on. Let the tank fill completely and verify that the valve shuts off automatically right at the fill line.
How to Replace the Flush Valve in a One-Piece Toilet
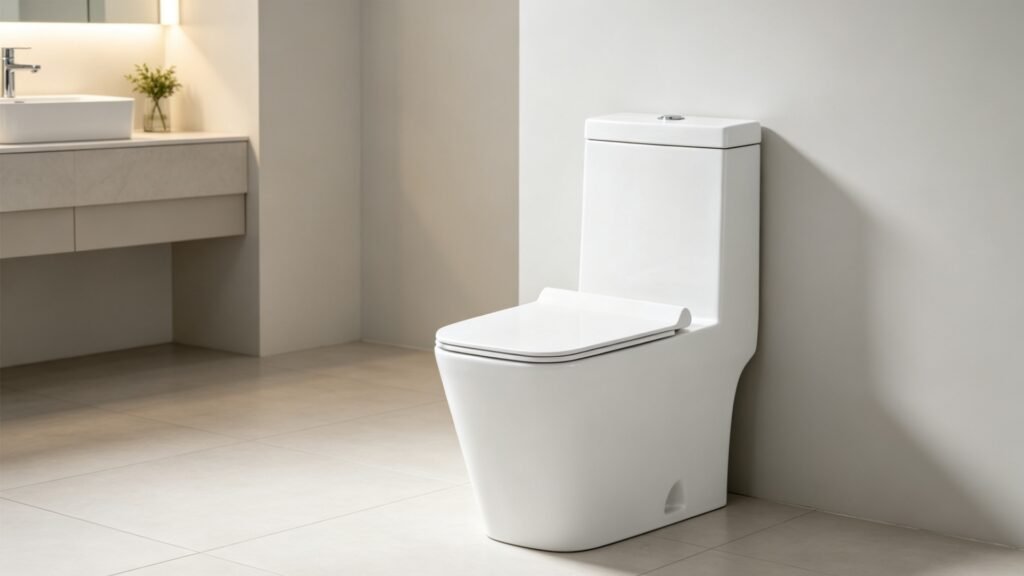
Replacing a flush valve is a crucial step when learning how to repair a one piece toilet that leaks continuously into the bowl. Since the tank and bowl are fused into a single ceramic unit, you do not need to unbolt the tank from the bowl. You can complete the entire process directly through the top tank opening.
Removing the Old Flush Valve Assembly
To remove the worn component cleanly and safely, follow these steps: Shut off the water: Turn the angle stop valve clockwise behind the toilet, then flush to drain the tank. Remove leftover water: Use a sponge or shop vac to clear all remaining water from the bottom of the tank. Disconnect hardware: Unhook the rubber refill tube from the overflow pipe and detach the lift chain from the handle lever. Unlock the assembly: Twist the flush valve body counterclockwise (typically a quarter-turn) or unclip the locking tabs to detach it from the seated base.
Installing the New Flush Valve and Gasket
A clean surface and precise alignment guarantee a watertight seal for your toilet tank mechanism. Prep the base: Wipe away mineral scale, grit, and old rubber residue from the mounting base inside the tank. Position the gasket: Fit the new rubber or silicone seal onto the bottom of the replacement flush valve. Lock into place: Insert the new valve into the base, press down firmly, and rotate it clockwise until it clicks securely into position. Reattach connections: Clip the refill tube back onto the overflow pipe and attach the chain to the trip lever, leaving roughly 1/2 inch of slack.
Testing and Calibrating the Flush Performance
Fine-tuning the valve after installation ensures peak flushing power and prevents silent leaks. Refill the tank: Open the water supply valve slowly and allow the tank to fill completely. Verify water level: Adjust the fill valve so the water stops about 1/2 inch below the top of the overflow tube. Execute a test flush: Press the trip lever to verify smooth chain travel and a full, quick discharge into the bowl. Check for leaks: Drop food coloring into the tank. If color seeps into the bowl within 15 minutes without flushing, reseat the valve gasket to ensure a complete seal.
Repairing Specialty One-Piece Toilets and Lowboy Models
Specialty lowboy fixtures give bathrooms a sleek, modern look, but figuring out how to repair a one piece toilet with a low-profile design requires a slightly different approach. In my experience with these compact units, the reduced space inside the tank means standard off-the-shelf parts won't always fit or perform correctly.
Identifying Unique Lowboy Toilet Mechanisms
Lowboy toilets don't rely on basic gravity-fed parts. Their internal setup is custom-engineered to fit tighter quarters:
- Horizontal Float Arms: Instead of tall vertical float cups, these tanks often feature side-mounted float arms or specialized compact valves.
- Compact Flush Valves: The internal toilet tank mechanism usually features a shorter, wider flush tower or a specialized seal ring rather than a standard flapper.
- Custom Actuators: The connection from the toilet handle lever to the flush valve often uses a custom bent linkage to navigate the low tank clearance.
Sourcing Specialty Replacement Parts
Getting the right components is the key to a permanent fix. Here is how I recommend sourcing exact-fit parts:
- Check the Tank Stamp: I always tell DIYers to look for the stamped model number on the inside back wall or under the tank lid.
- Avoid Universal Kits: A generic fill valve replacement is usually too tall for lowboy models. Stick to OEM (Original Equipment Manufacturer) parts or verified low-profile kits.
- Verify Seal Dimensions: Double-check gasket measurements before installing to ensure a watertight seal along the low-clearance valve seat.
When to DIY Repair vs. Replace Your One-Piece Toilet
Deciding whether to tackle a fix or invest in a brand-new fixture comes down to cost, time, and structural condition. Knowing how to repair a one piece toilet is a great skill, but recognizing when a fix is no longer economical saves both water and hassle in the long run.
Evaluating Repair Costs vs. Full Replacement
Before buying parts, I always compare quick-fix expenses against the long-term reliability of the unit.
| Scenario | Recommended Action | Typical Fix Involved |
|---|---|---|
| Simple Component Wear | DIY Repair | Standard fill valve replacement, swapped toilet handle lever, or new flapper. |
| Aging Tank Internal Kit | DIY Repair | Replacing the entire internal toilet tank mechanism with an OEM kit. |
| Cracked Porcelain or Leaking Base | Full Replacement | Installing a new integrated toilet to prevent catastrophic water damage. |
| Obsolete Proprietary Valves | Full Replacement | Upgrading to a modern, water-efficient model instead of hunting expensive, rare parts. |
- When to fix: If the porcelain is solid and the main issue is running water, low fill speed, or a loose trip arm, replacing basic wear-and-tear components is quick and budget-friendly.
- When to replace: If repair costs exceed half the price of a new fixture—or if you face recurring leaks—replacing the entire unit is the smarter financial move.
Knowing When to Call a Professional Plumber
While most internal swaps are straightforward, certain situations demand licensed plumbing expertise:
- Hairline Cracks Below the Waterline: Porcelain fractures cannot be reliably patched and risk sudden failure and serious house flooding.
- Main Drain or Vent Line Blockages: If water backups persist after clearing the internal trapway, the issue lies deeper in your drainage stack.
- Corroded Floor Bolts and Flanges: Removing rusted mounting hardware on a heavy, single-body toilet often requires cutting tools and subfloor repairs.
- Persistent Undiagnosed Leaks: When new seals fail to stop moisture around the base, a professional plumber can inspect for hidden subfloor damage or cracked waste lines safely.