Signs Your One Piece Toilet Flush Seal Needs Changing
A degraded flush valve gasket is the primary reason behind a toilet tank seeping water into the bowl. In our experience, identifying these warning signs early makes changing a seep on a one piece toilet straightforward while preventing high water bills.
Core Symptoms of a Bad Seal
- Constant Bowl Seeping: Steady trickles or subtle ripples appear on the inside of the toilet bowl when it is sitting idle.
- Ghost Flushing Cycles: The tank refills unexpectedly without being flushed. This phantom flushing happens as lost water triggers the fill valve.
- Visible Rubber Damage: Inspected seals show blistering, warping, cracking, or thick mineral buildup that prevents a flat seal against the valve seat.
- Unexplained Utility Spikes: Continuous hidden seeping can waste hundreds of gallons daily, causing sudden jumps in monthly water costs.
Flush Seal Failure Symptoms
| Symptom | Direct Cause | Action Needed |
|---|---|---|
| Ripples in bowl | Seal degradation | Replace flush gasket |
| Unexpected refills | Drops in tank water | Perform phantom flushing fix |
| Warped rubber ring | Chemical or age wear | Install new seal |
Tools and Supplies Needed to Fix a Toilet Tank Seep
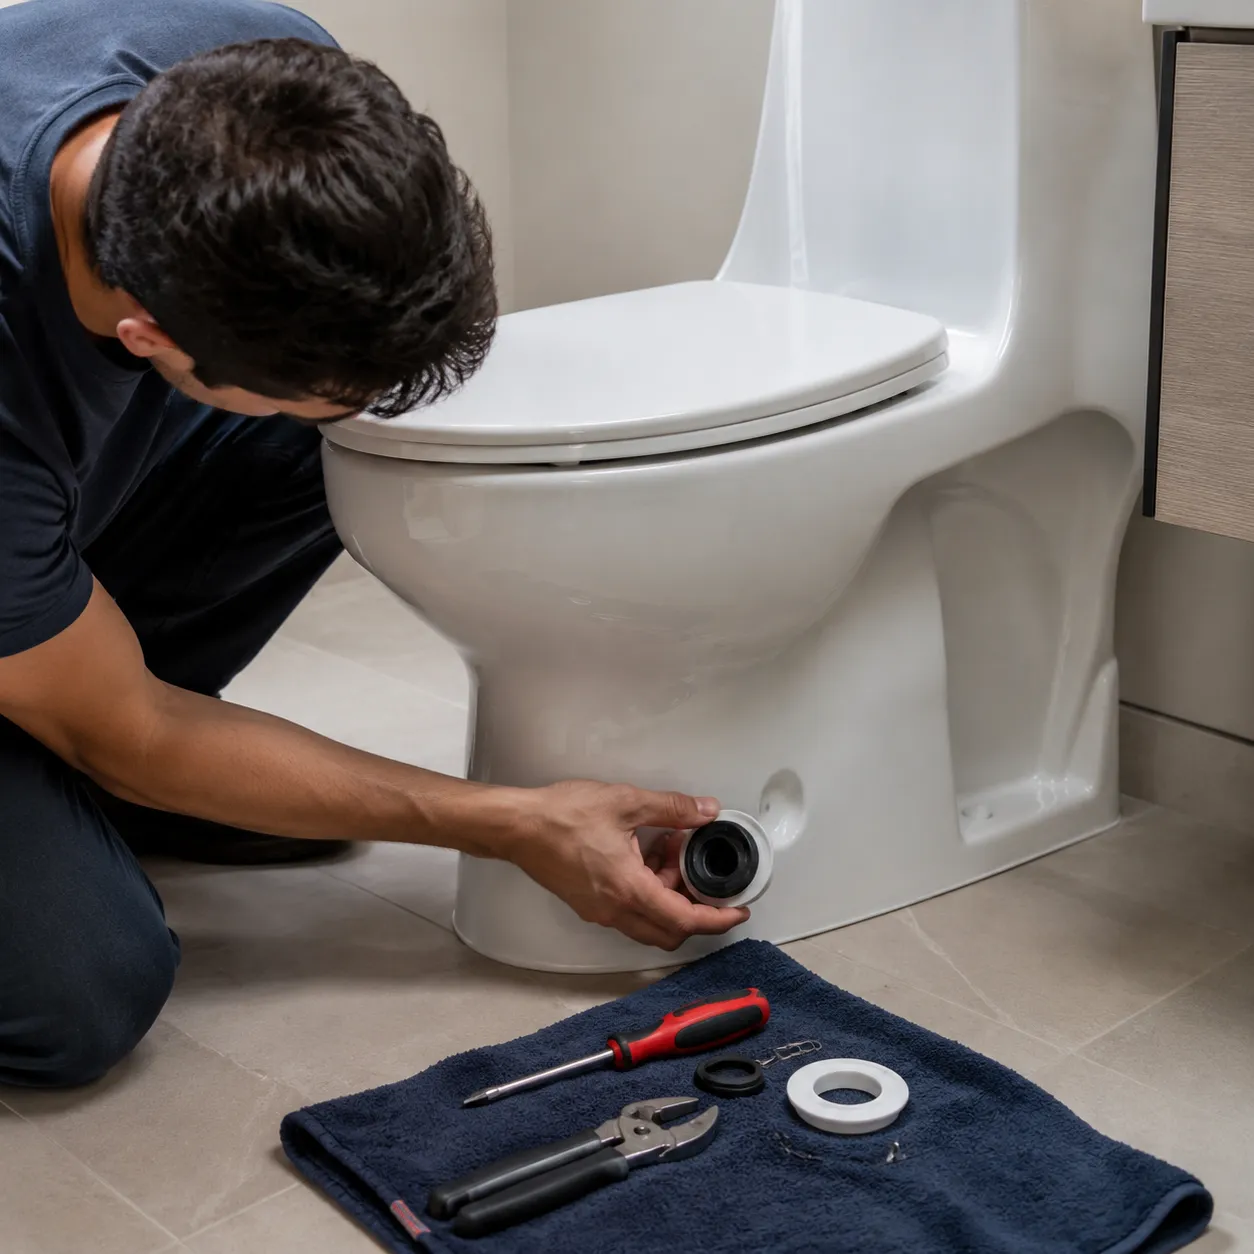
Before changing a seep on a one piece toilet, I always gather these essential tools. Having everything ready upfront prevents unnecessary delays when tackling a toilet tank seeping water into bowl.
Essential Tools & Equipment
- Matching Replacement Seal or Canister Gasket: Get the exact model for your unit, like a canister flush valve seal or one piece toilet flush gasket.
- Sponge and Bucket: Needed for draining remaining tank water so you can work in a completely dry area.
- Scrub Pad or Microfiber Cloth: Crucial for toilet flush valve seat cleaning to strip away trapped mineral deposits and scale.
- Rubber Gloves & Adjustable Wrench: Keeps your hands protected and helps loosen stubborn water supply line connections if needed.
Quick Equipment Checklist
| Supply / Tool | Primary Function |
|---|---|
| New Flush Valve Seal | Stops water leaks between the flush valve and bowl |
| Sponge & Bucket | Removes leftover water at the bottom of the tank |
| Scrub Pad or Cloth | Cleans debris off the flush valve seat rim |
| Adjustable Wrench & Gloves | Assists with tight fittings and keeps hands clean |
Step-by-Step Guide: Changing a Seep on a One Piece Toilet
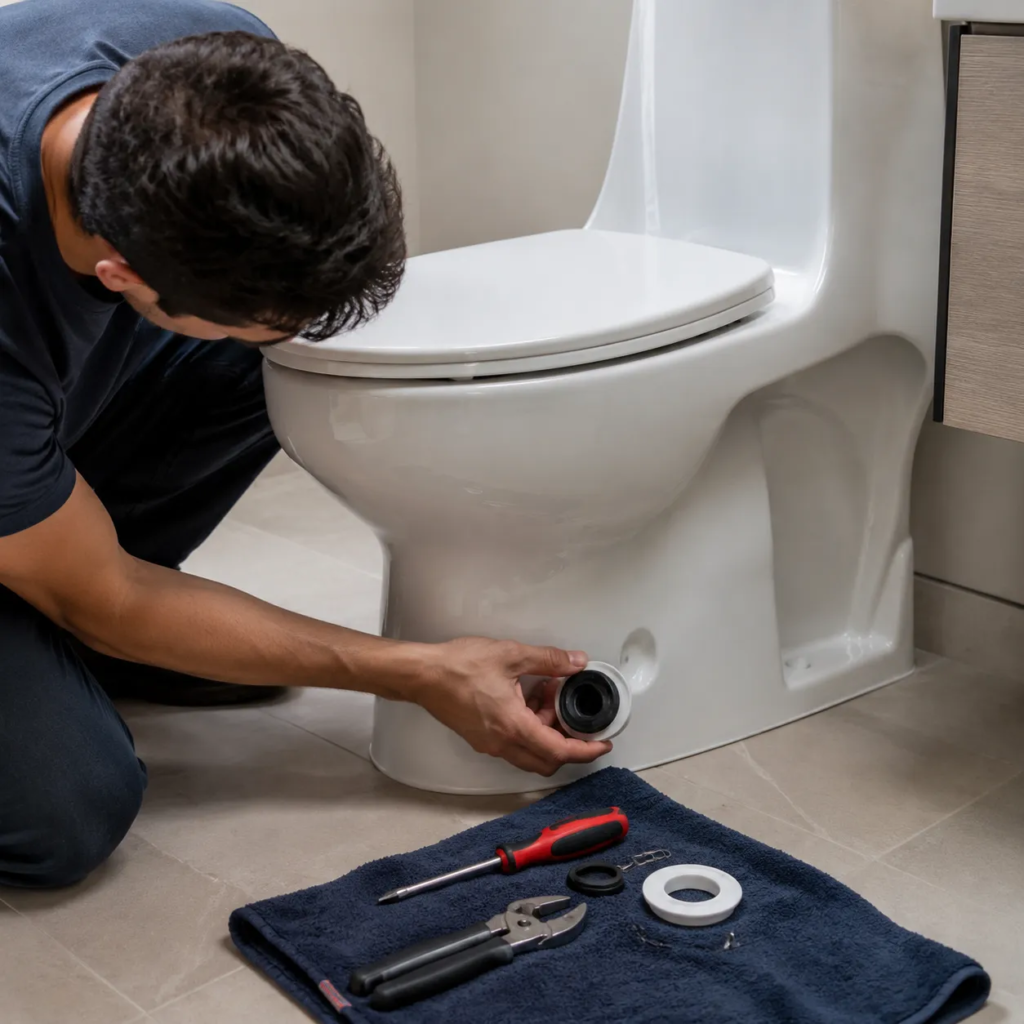
I find that swapping out a worn flush gasket is the fastest way to stop water from leaking into the bowl and eliminate ghost flushing. Here is how I complete a one piece toilet flush seal replacement cleanly and efficiently:
Step 1: Shut off the water supply valve and flush to drain the tank
Locate the shutoff valve on the wall behind the toilet and turn it clockwise until fully closed. Press and hold the flush lever down until the tank empties completely.
Step 2: Sponge out remaining water from the bottom of the tank
Soak up the remaining standing water at the bottom of the tank using a heavy-duty sponge, wringing it out into a bucket. Working in a dry tank makes detaching parts significantly easier.
Step 3: Detach the worn seal or canister flush gasket
Unhook the lift chain from the trip lever arm. For a center canister flush valve, twist the tower counterclockwise to unlock it, then roll the degraded flush valve gasket off the lower groove.
Step 4: Clean mineral deposits and grime off the valve seat
Scrub the plastic valve seat thoroughly using a pad or cloth. Removing hard water scale, slime, and old rubber residue guarantees the new ring sits tight against the surface.
Step 5: Install the new flush seal firmly into place
Stretch the replacement rubber seal evenly around the ridge of the flush valve tower. Press firm along every edge to confirm the gasket sits completely flat without twists, bubbles, or overhangs.
Step 6: Restore water supply and check for leaks or seeping
Re-lock the canister assembly in place and hook the chain back up with slight slack. Turn the supply valve counterclockwise, allow the tank to fill, and inspect the bowl closely to ensure the toilet tank seeping water into bowl issue is completely solved.
Troubleshooting Post-Installation Toilet Seeps
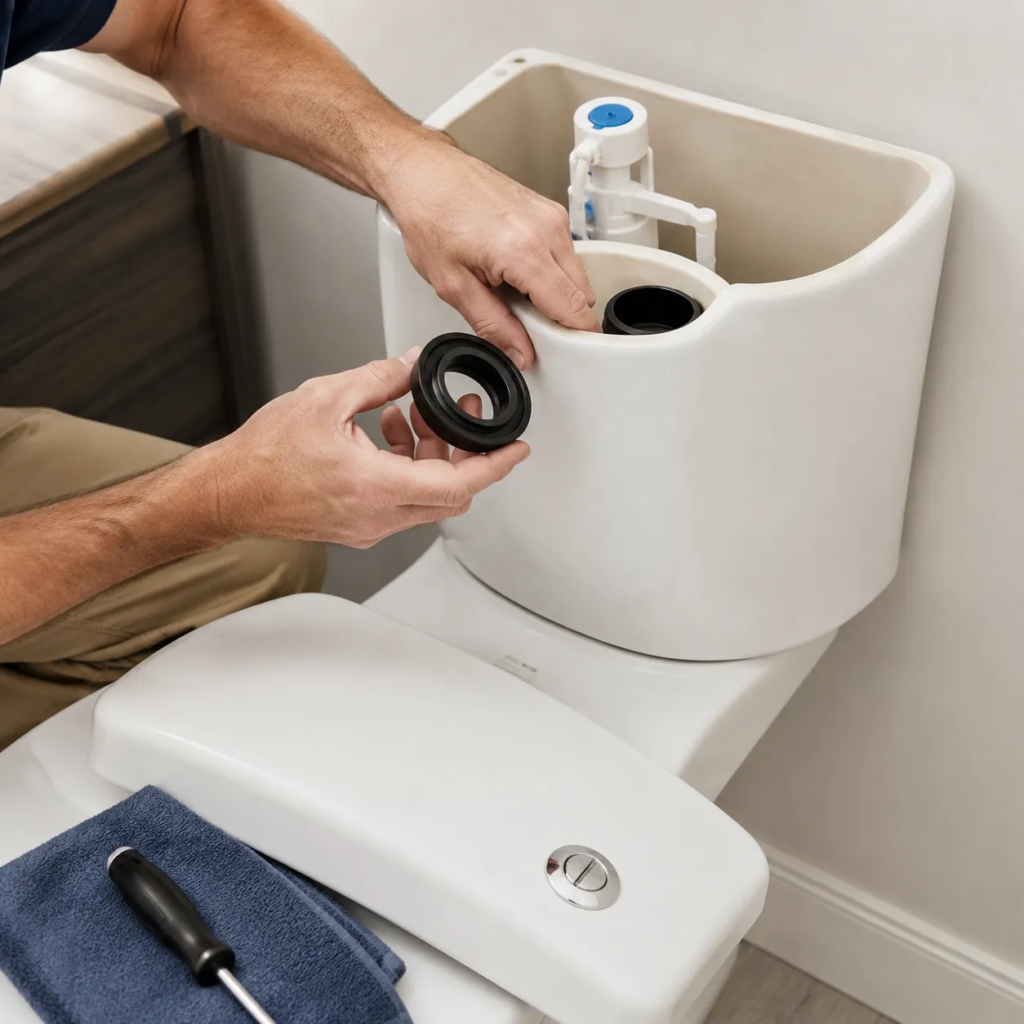
If your one piece toilet is still seeping water into the bowl after replacing the flush valve seal, a few minor installation issues are usually to blame. We inspect three main culprits when fixing a running one piece toilet after a gasket swap.
Seal Failing to Sit Flush on the Valve Rim
- Twisted rubber rings: A new flush valve gasket must sit perfectly flat inside the mounting groove. If it twists during installation, water will continuously leak beneath it.
- Improper fit: Ensure the replacement matches your specific model. An incorrect size prevents a tight seal on the flush valve seat.
Limescale Debris Trapped Under the New Seal
- Grit buildup: Tiny mineral deposits or rust flakes trapped beneath the new rubber ring will break the airtight bond and cause phantom flushing.
- Surface cleaning: Pop the seal off, wipe the flush valve seat smooth with a scrub pad, and rinse away any loose debris before snapping the rubber ring back in place.
Misaligned Lift Chain or Stuck Flush Tower Assembly
- Incorrect chain slack: If the lift chain on your flush lever is too tight, it prevents the flush tower assembly from dropping completely. Keep roughly 1/2 inch of slack in the chain.
- Stuck dual flush valve or canister: Verify that the flush valve mechanism slides up and down freely without catching on the fill valve or tank walls.
FAQs: Changing a Seep on a One Piece Toilet
Do you need to remove the tank on a one piece toilet to change the seal?
No. Because one-piece toilets are molded as a single solid unit, there are no tank-to-bowl bolts to remove. You perform the entire one piece toilet flush seal replacement directly inside the tank from above, saving time and avoiding heavy lifting.
Why is my one piece toilet still seeping water after replacing the seal?
If you still notice your toilet tank seeping water into bowl areas after changing the gasket, double-check these common issues: Debris on the Seat: Limescale or mineral grit trapped underneath the new rubber ring. Poor Seating: The gasket isn't stretched flat or fully snapped into the valve ridge. Tight Lift Chain: The chain has zero slack, pulling the flush tower assembly up slightly.
How long does a rubber flush valve seal typically last?
A standard rubber or silicone flush valve gasket lasts 3 to 5 years. I find that using drop-in bleach tablets or living in areas with severe hard water speeds up deterioration, requiring earlier replacement to prevent ghost flushing.