
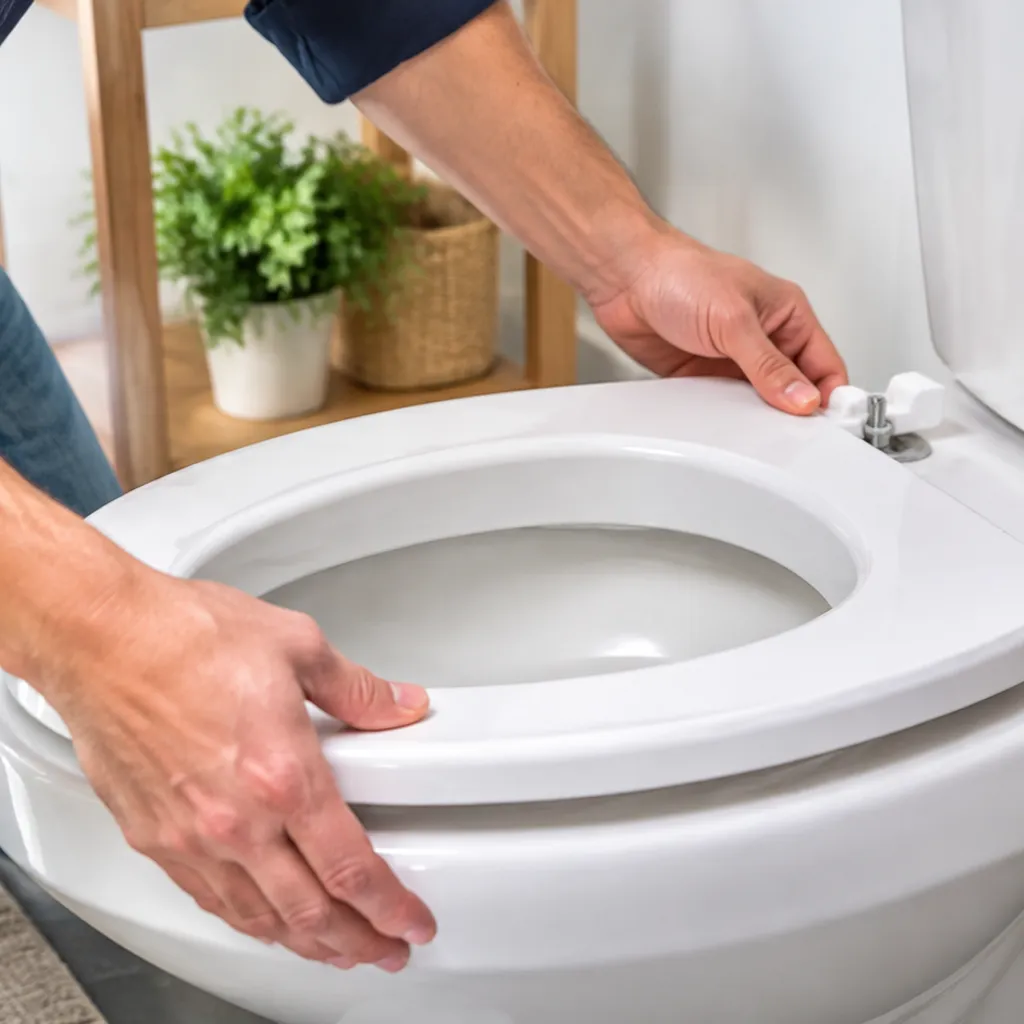
Understanding One-Piece Toilet Alignment and Flange Basics
Why Proper Alignment on the Flange Matters
A toilet must be perfectly centered over the closet flange to ensure a watertight seal and structural stability. Proper alignment prevents leaks caused by a compressed or misaligned wax ring, which can lead to costly subfloor damage. When a toilet is correctly positioned, the weight is distributed evenly, preventing the porcelain from rocking or cracking during use.
Challenges Unique to One-Piece Toilet Installation
One-piece toilets are heavier and more rigid than two-piece models, making them harder to adjust once they make contact with the floor. Because the tank and bowl are integrated, the entire unit must be lowered straight down onto the flange. Unlike two-piece toilets, you cannot easily correct the bowl's position once the wax seal is engaged, requiring higher precision during the initial drop.
Pre-Installation Checks for Flange Height and Level
Before setting the toilet, verify the condition of your plumbing infrastructure: Flange Height: The flange should sit flush with the finished floor or slightly above it (ideally 1/4 inch). If the flange is too low, use a jumbo wax ring or a spacer kit to bridge the gap. Surface Level: Check the area around the flange with a level. If the floor is uneven, the toilet will wobble. Use plastic shims to bridge gaps during the dry-fit phase. Debris Check: Ensure the flange opening is free of old wax or debris, which can interfere with the seal and cause alignment issues.
Tools and Materials Needed for Accurate Centering
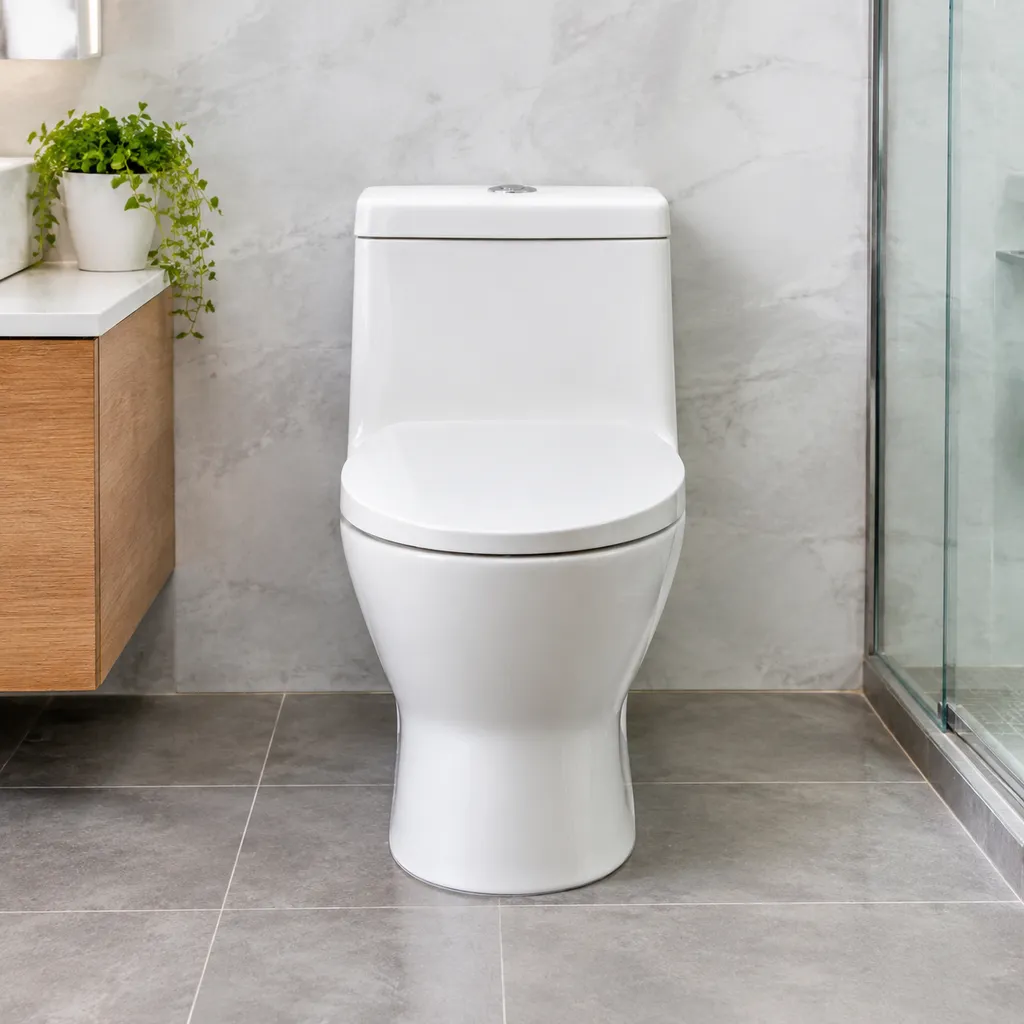
Essential Plumbing Tools and Measuring Devices
To achieve a precise installation, gather a standard toolkit before beginning. You will need a sturdy tape measure to determine the rough-in distance from the wall, a bubble level to ensure the toilet base sits flat, and a socket wrench set for tightening flange nuts. Having a quality putty knife on hand is also vital for clearing old wax or debris from the floor surface to ensure a clean, flush mounting area.
Choosing the Right Wax Ring or Wax-Free Seal
Selecting the correct seal is critical for a leak-free fit. A standard wax ring is the traditional choice, but if you are dealing with a flange that sits slightly below floor level, an extra-thick wax ring with a plastic flange horn is recommended to bridge the gap. For those seeking an easier, reusable alternative, wax-free gaskets provide a consistent seal that allows for minor adjustments during the closet flange alignment process without the mess of compressed wax.
Using Alignment Guides, Straws, or Dowels
Centering a toilet bowl over the closet bolts can be difficult when you cannot see the flange through the porcelain base. Use these simple methods to improve accuracy: Alignment Guides: Use specialized plastic toilet installation tools that thread onto the closet bolts to create a visible guide. Straws or Dowels: If you do not have store-bought guides, cut two plastic straws or use thin wooden dowels. Slide them over the closet bolts; they extend above the toilet base, allowing you to align the bolt holes perfectly while lowering the unit. Marking the Floor: Before placing the wax, use masking tape on the floor to mark the center lines of the flange. This provides a clear visual reference as you lower the toilet.
Step-by-Step Guide to Centering a One-Piece Toilet on the Flange
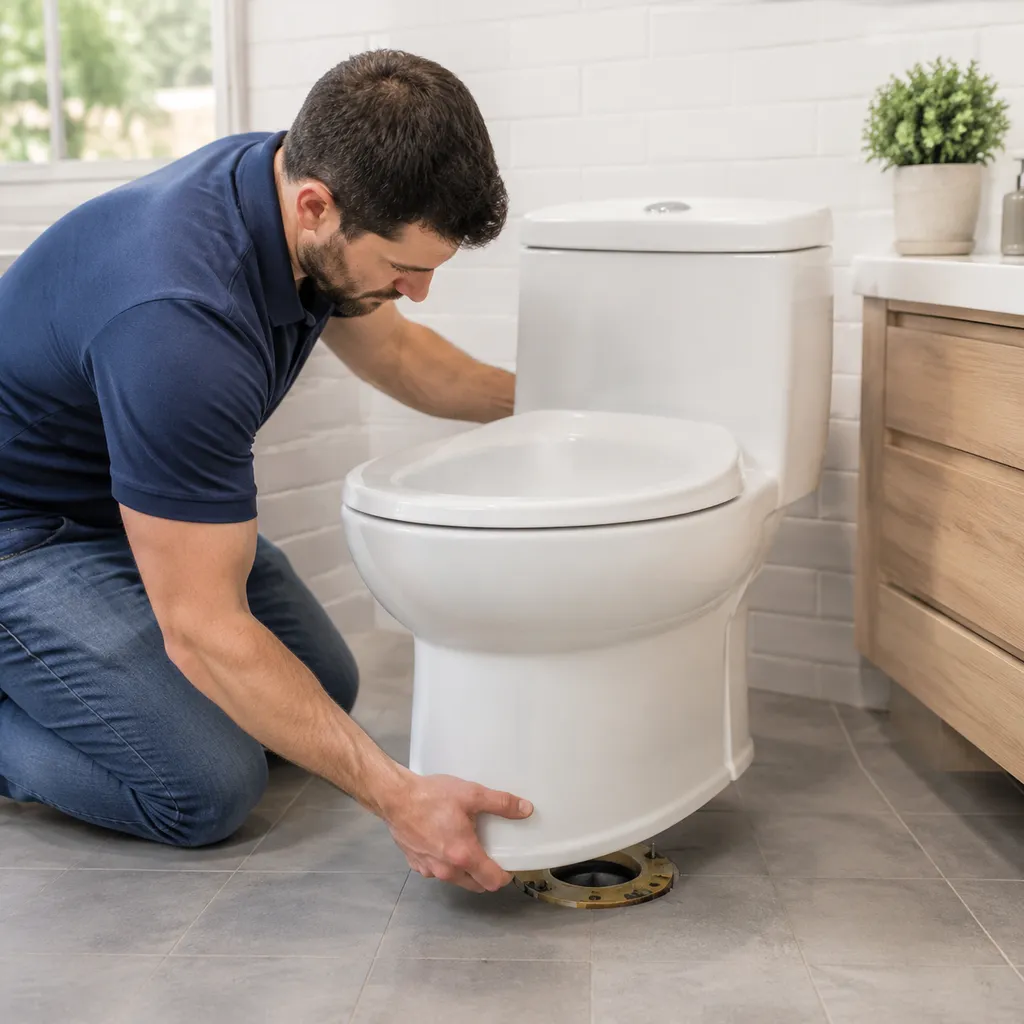
Preparing the Flange and Securing Closet Bolts
Before you begin, ensure the closet flange is clean and securely fastened to the subfloor. Remove any old wax or debris to create a smooth surface. Insert your closet bolts into the slots of the flange. If you are using an L-bar mounting bracket or nylon expansion plugs, ensure they are flush with the floor. The bolts should stand vertically; if they lean, the toilet base will not sit flat, making it difficult to center.
Dry-Fitting the Toilet Bowl to Mark Alignment
Place the toilet bowl over the flange without a wax ring. Align the bolt holes in the base with the closet bolts protruding from the floor. Once you have centered the bowl and ensured it is parallel to the wall, use painter's tape to mark the outline of the base on the floor. This provides a clear guide, ensuring you don’t shift the unit while trying to seat it onto the wax.
Placing the Wax Ring and Lowering the Toilet Straight Down
Apply the new wax ring firmly to the flange opening. When you are ready to set the bowl, lift it carefully and hover it directly over the bolts. Lower the toilet straight down in one smooth motion. Avoid tilting or rocking the bowl once it makes contact with the wax, as this can break the seal and lead to leaks. Use your body weight to press down evenly until the base touches the floor.
Leveling, Tightening Bolts, and Checking Stability
Once the toilet is in place, check for level from front to back and side to side. Use plastic shims if the floor is uneven to prevent the toilet from rocking. Install the washers and nuts onto the closet bolts, tightening them by hand first. Use a wrench to perform the final tightening of the flange nuts, but be careful not to overtighten, as this can crack the porcelain. Finally, verify the toilet is stable and firmly centered over the flange before attaching the seat or finishing the trim.
How to Center and Align the One-Piece Toilet Seat
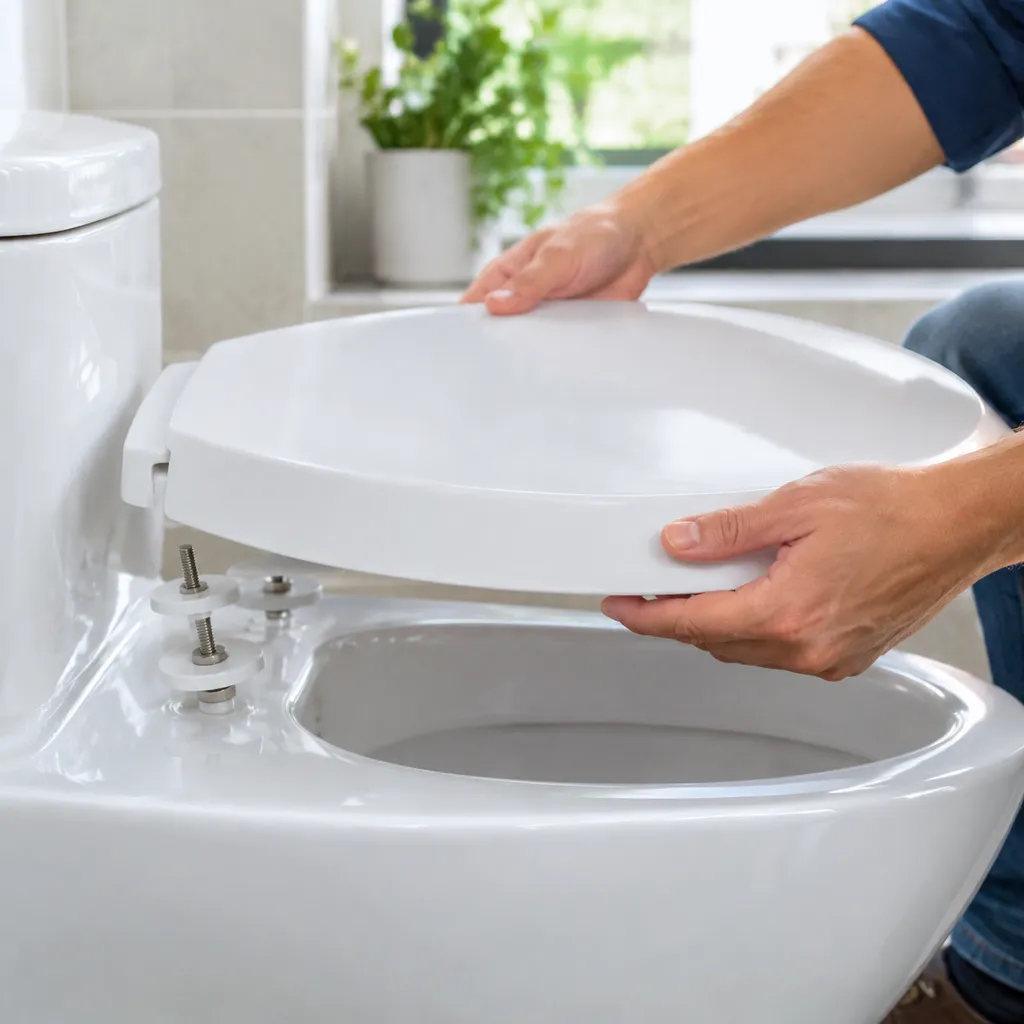
Getting your toilet seat perfectly centered on a one-piece toilet is essential for both comfort and a clean, professional aesthetic. Because one-piece toilets offer a seamless design, any misalignment becomes immediately noticeable against the rim.
Adjusting Top-Mount vs. Concealed Seat Hinges
Modern one-piece units typically feature either top-mount or concealed hinges. Top-Mount Hinges: These usually have a cover that flips up to reveal a screw. By loosening these screws, you can shift the base of the hinge left, right, forward, or backward. Concealed Hinges: These are often secured via nylon expansion plugs or an L-bar mounting bracket hidden beneath a decorative cap. If the seat is crooked, ensure the bracket is centered on the mounting holes before locking the seat into place.
Aligning the Seat Rim Evenly with the Bowl
To ensure the seat rests flush against the porcelain: Place the seat on the bowl but leave the fasteners slightly loose. Lower the seat to check its position against the rim. Gently push the seat until it sits square with the bowl’s contour. Once aligned, verify that the seat overhangs the rim uniformly on both sides.
Tightening Seat Fasteners Without Cracking Porcelain
When finalizing the position, avoid over-tightening the hardware, as this can lead to stress cracks in the fixture. Use a manual screwdriver rather than a power drill to maintain better control. Tighten until the seat is firm and no longer shifts under pressure, but stop immediately once you feel resistance. If your model uses tightening flange nuts underneath the bowl, ensure you have a steady grip so the nut doesn't slip and scratch the finish. Always perform a final stability test by sitting on the seat; if it remains steady without wobbling, the installation is secure.
Troubleshooting Common Alignment and Sealing Issues
What to Do If the Toilet Shifts After Touching the Wax Ring
If the toilet shifts or slides once it contacts the wax ring, you must lift it straight up and start over. Do not attempt to slide or rotate the toilet into position while it is resting on the ring, as this smears the wax and breaks the integrity of the seal. Use a fresh wax ring if the original has become significantly deformed or picked up debris from the floor during the initial attempt.
Fixing Crooked Toilet Bowls Caused by Offset Flanges
When dealing with an offset flange that causes your one-piece toilet to sit at an angle, you may need to use a specialized offset toilet flange adapter. If the misalignment is minor, you can often compensate by adjusting the closet bolts within the slots of the flange. Ensure the bowl is perfectly level using shims before final tightening. If the bowl remains visibly crooked, verify that the flange is properly secured to the subfloor, as a loose flange will lead to recurring instability regardless of bolt positioning.
Preventing Leaks and Wobbling After Installation
To ensure a permanent, leak-free seal and a stable base: Check Bolt Tension: Tighten the flange nuts gradually in a side-to-side pattern. Avoid over-tightening, which can crack the porcelain base. Use Proper Shims: If the floor is uneven, place plastic shims under the base to eliminate wobbling. Trim the excess shim material after the toilet is secured. Verify the Seal: After installation, perform a dye test by placing food coloring in the tank and checking for leaks around the base after flushing. Apply Silicone: Run a thin bead of sanitary-grade silicone caulk around the base where it meets the floor. This provides extra stability and keeps cleaning water from seeping under the toilet.

