Essential Pre-Installation Requirements for a Smart Toilet
Proper preparation ensures a smooth, leak-free setup when learning how to install a smart toilet. Completing all pre-installation checks beforehand prevents plumbing delays and protects sensitive electronic components.
Verify Electrical Setup and GFCI Outlet Placement
Smart toilets require a reliable and safe power source to operate heated seats, automated lids, and bidet functions.
- Dedicated GFCI Outlet: Install a standard Ground Fault Circuit Interrupter (GFCI) outlet to protect against electrical faults in wet environments.
- Proximity: Ensure the outlet is situated within 3 to 4 feet (approx. 1 meter) of the toilet base to avoid overstretching the power cord.
- Safe Elevation: Position the outlet at least 6 to 12 inches above the finished floor level to prevent water contact during floor cleaning.
Measure Rough-In Size and Check Water Pressure
Accurate measurements and sufficient water supply are vital for optimal performance.
| Parameter | Standard Requirement | Why It Matters |
|---|---|---|
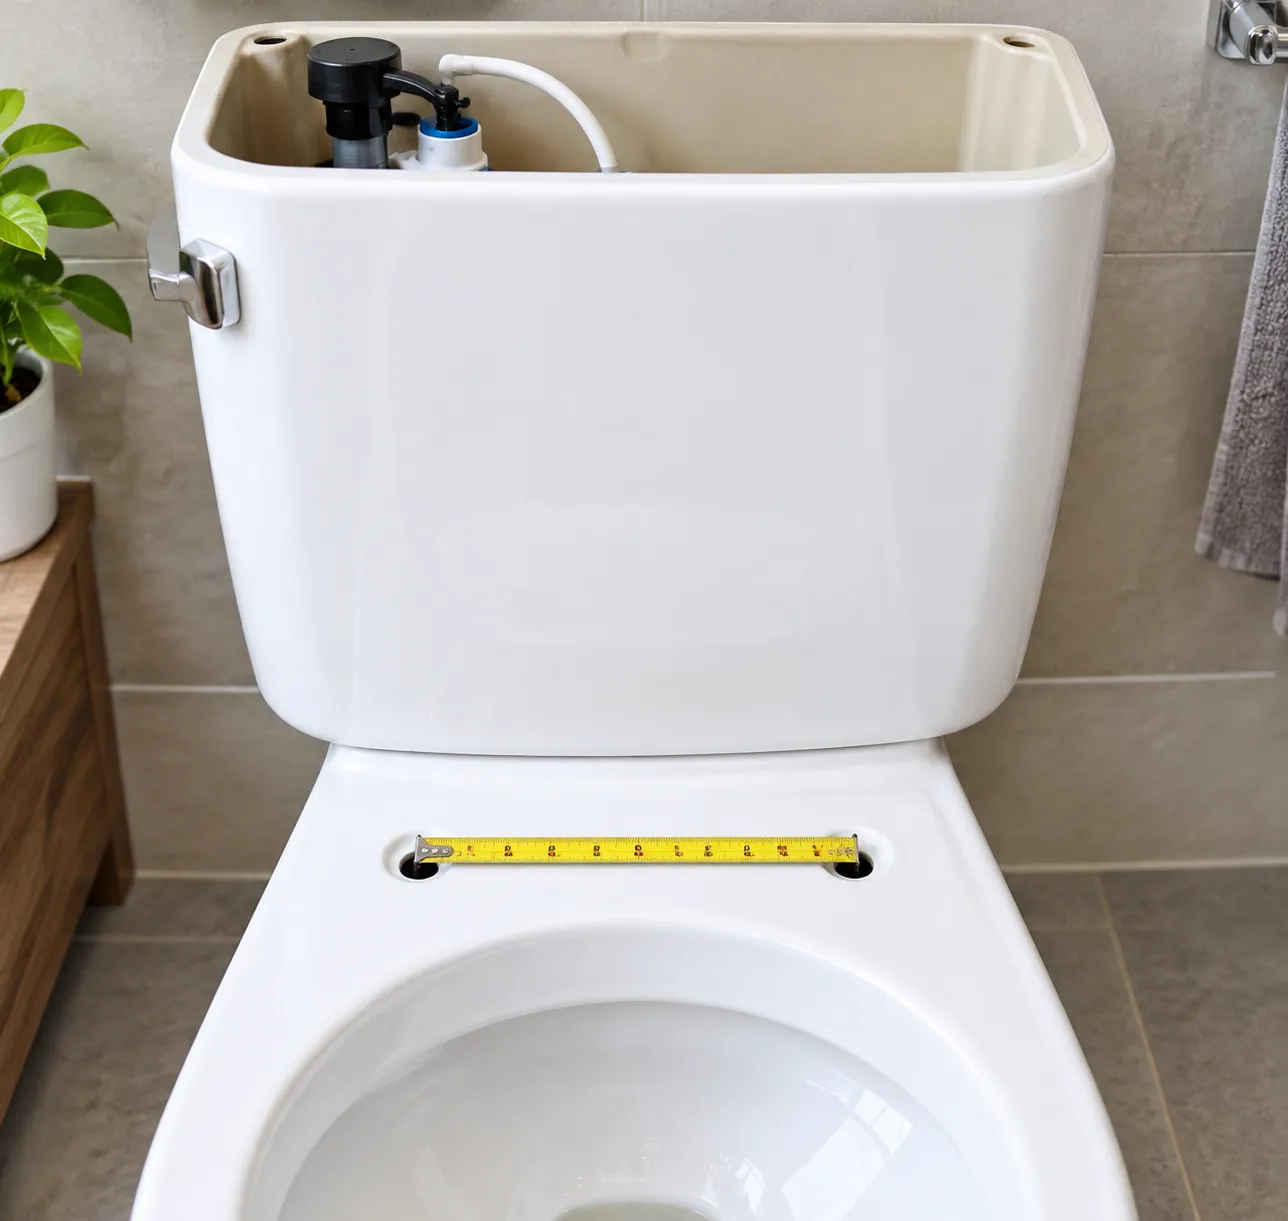
| Rough-in Measurement | 12 inches (standard) | Distance from the finished wall to the center of the drain pipe; prevents installation clearance issues. |
| Water Pressure | 0.14 MPa – 0.75 MPa (dynamic) | Tankless smart toilets require adequate line pressure for strong, complete flushes. |
| Shut-Off Valve Clearance | Minimum 6–8 inches from center line | Ensures sufficient room to connect the new dual-feed or standard supply lines. |
Gather Necessary Plumbing Tools and Materials
Having the right tools on hand prevents installation interruptions and damage to porcelain or fittings.
- Essential Tools: Adjustable wrench, flathead and Phillips screwdrivers, tape measure, spirit level, sponge, and bucket.
- Installation Materials: High-grade wax ring or rubber seal replacement, closet flange bolts, Teflon thread-seal tape, and a flexible braided water supply hose.
Step-by-Step Smart Toilet Installation Guide
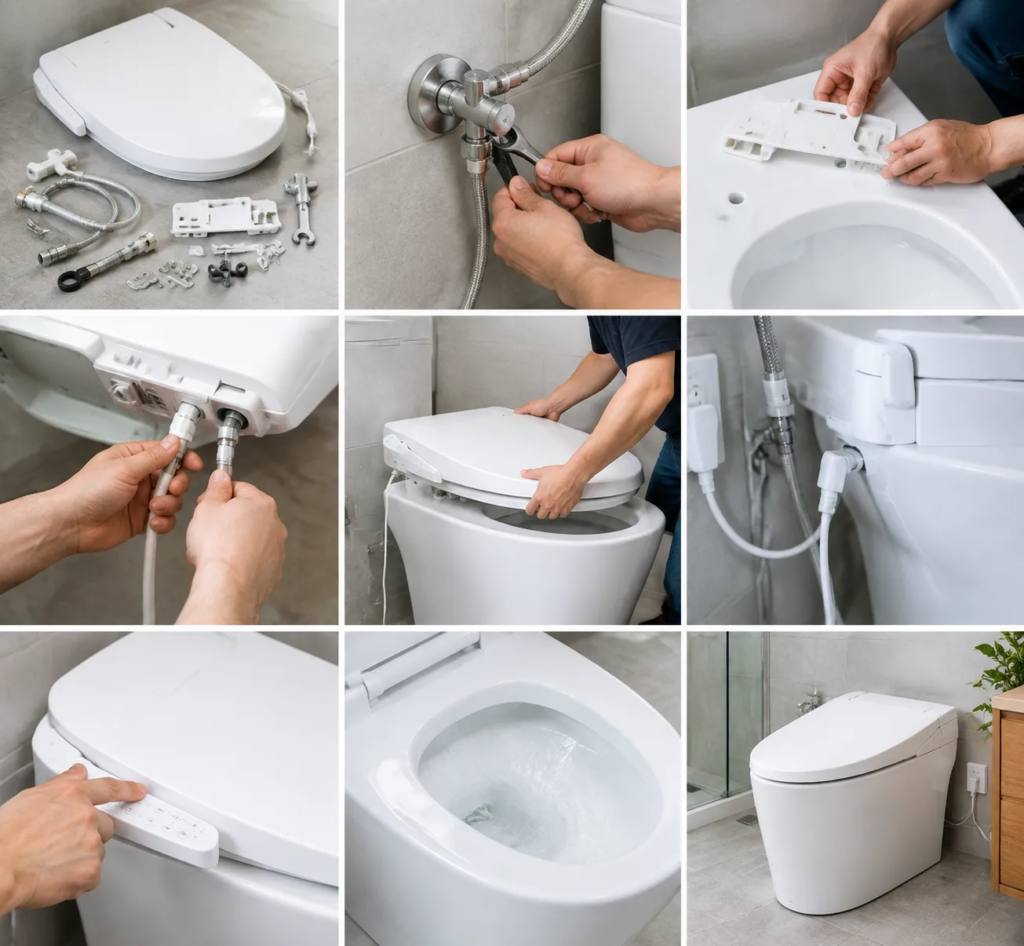
Installing a modern smart toilet is straightforward when you follow a structured, step-by-step process. I have outlined the essential installation steps below to help you complete the setup efficiently and securely.
Step 1: Turn Off Water and Remove the Old Toilet
- Close the Water Supply: Rotate the existing shut-off valve clockwise until the water flow completely stops.
- Drain the System: Flush the old toilet to empty the tank and bowl. Use a sponge or small container to remove any remaining water.
- Disconnect and Detach: Unscrew the water supply line from the tank. Remove the bolt caps and nuts securing the base to the floor.
- Remove the Fixture: Carefully lift the old toilet straight up and set it aside. Stuff a rag into the exposed drain hole to block sewer gas odors while you clean the floor area.
Step 2: Install the Flange, Seal, and Mounting Bracket
- Clean the Flange: Scrape off any old wax, residue, and dirt around the floor flange to create a clean, level surface.
- Apply the New Seal: Complete a wax ring replacement or install the specialized rubber seal included with the fixture directly over the flange.
- Verify Drain Pipe Alignment: Ensure your drain pipe alignment matches the base dimensions to prevent blockages or weak seals.
- Secure the Mounting Brackets: Place the installation template over the flange, mark the drill points, and fasten the floor mounting brackets tightly with the provided hardware.
Step 3: Position and Secure the Smart Toilet Base
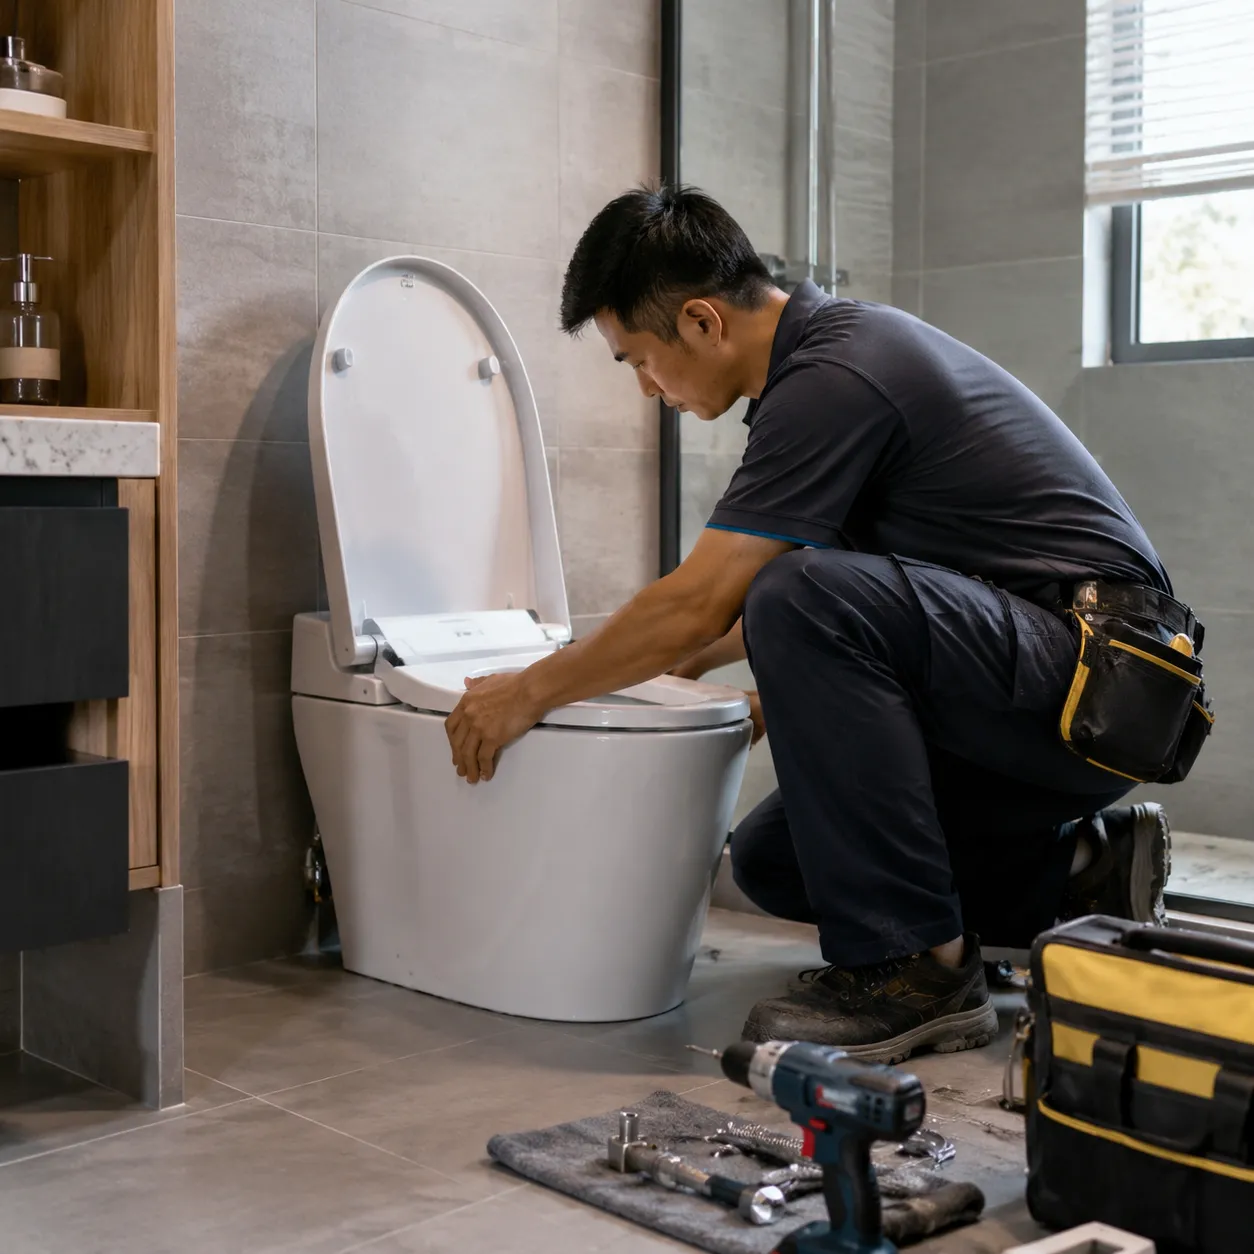
- Align the Fixture: Lift the smart toilet body and align its internal discharge outlet with the floor flange and mounting brackets.
- Press Firmly into Place: Lower the toilet straight down and apply firm, even downward pressure to compress the seal and create an airtight bond.
- Fasten the Base: Insert and tighten the lateral mounting screws into the brackets on both sides. Alternate sides as you tighten to keep the fixture completely level, taking care not to overtighten and crack the ceramic.
Step 4: Connect the Water Supply Line and Power Cord
- Attach the Water Line: Connect the flexible braided water supply hose between the shut-off valve and the smart toilet inlet connector. Tighten the fittings by hand first, then secure them with a wrench without over-torquing.
- Check the Filter: Ensure the in-line mesh filter is properly seated inside the inlet port to catch mineral sediments.
- Connect to Power: Plug the unit's grounded power cable directly into the designated GFCI electrical outlet.
Step 5: Test Bidet Functions and Check for Leaks
- Open the Water Line: Slowly turn the shut-off valve counterclockwise to restore water pressure. Watch all connection points closely for drips or seepage.
- Run the Initial Power Cycle: Turn on the power switch. The smart toilet will initialize, run a self-check, and fill the internal reservoir.
- Test Core Functions: Use the remote control or side panel to test the flush cycle, seat heating, bidet wash, and nozzle cleaning functions to confirm everything operates smoothly.
Common Smart Toilet Installation Mistakes to Avoid
Installing an advanced bidet unit requires precision across both plumbing and electrical systems. Overlooking minor setup details can quickly cause poor flushing performance, hidden leaks, or hardware damage. Here are the most critical pitfalls I always watch out for when planning how to install a smart toilet.
Failing to Test Water Pressure Before Installation
Smart toilets rely heavily on consistent household water pressure to operate their built-in flushing mechanisms and bidet wash jets.
- Static vs. Dynamic Pressure: Standard gravity-flush toilets only need basic supply flow to fill a tank, but direct-flow smart units need robust dynamic pressure directly from the shut-off valve.
- Flushing Failure Risks: Low pressure leads to weak flushes, incomplete waste clearing, and poor bidet spray volume.
- The Quick Check: Always test the flow rate at the water supply stop before securing the toilet to the floor. If the flow rate is too low, you may need a dedicated booster pump before continuing.
Improper Wax Ring or Seal Alignment Leading to Leaks
A flawless seal between the toilet outlet and the floor drain pipe is essential. Any small shift during placement can ruin the watertight barrier.
| Seal Issue | Immediate Consequence | Long-Term Risk |
|---|---|---|
| Misaligned Wax Ring | Water seepage around the base bolts | Subfloor rot and structural damage |
| Crushed/Deformed Gasket | Foul sewer gas escaping into the room | Mold growth under finished tiles |
| Uneven Drain Pipe Alignment | Incomplete seal compression on one side | Slow, hidden leaks beneath the base |
When completing a wax ring replacement or installing a modern rubber seal: Lower the unit straight down over the mounting bolts. Avoid twisting or rocking the heavy ceramic base once it touches the gasket. Fasten the floor hardware evenly on both sides to maintain balanced compression.
Using Unprotected or Incompatible Electrical Outlets
Smart toilets integrate high-draw heating elements, water pumps, and electronic sensors. Running these features through inappropriate electrical setups creates serious safety hazards.
- Lack of GFCI Protection: Never plug a smart toilet into a standard, non-GFCI electrical outlet. Bathrooms carry high moisture levels, making ground-fault circuit interrupter protection non-negotiable for shock prevention.
- Extension Cord Dangers: Avoid using extension cords or multi-plug adapters. Cords can overheat, cause voltage drops, or get damaged by floor moisture.
- Proximity to Water Lines: Position the dedicated outlet above and away from the shut-off valve to eliminate splashing risks during maintenance.
Troubleshooting Common Smart Toilet Installation Issues
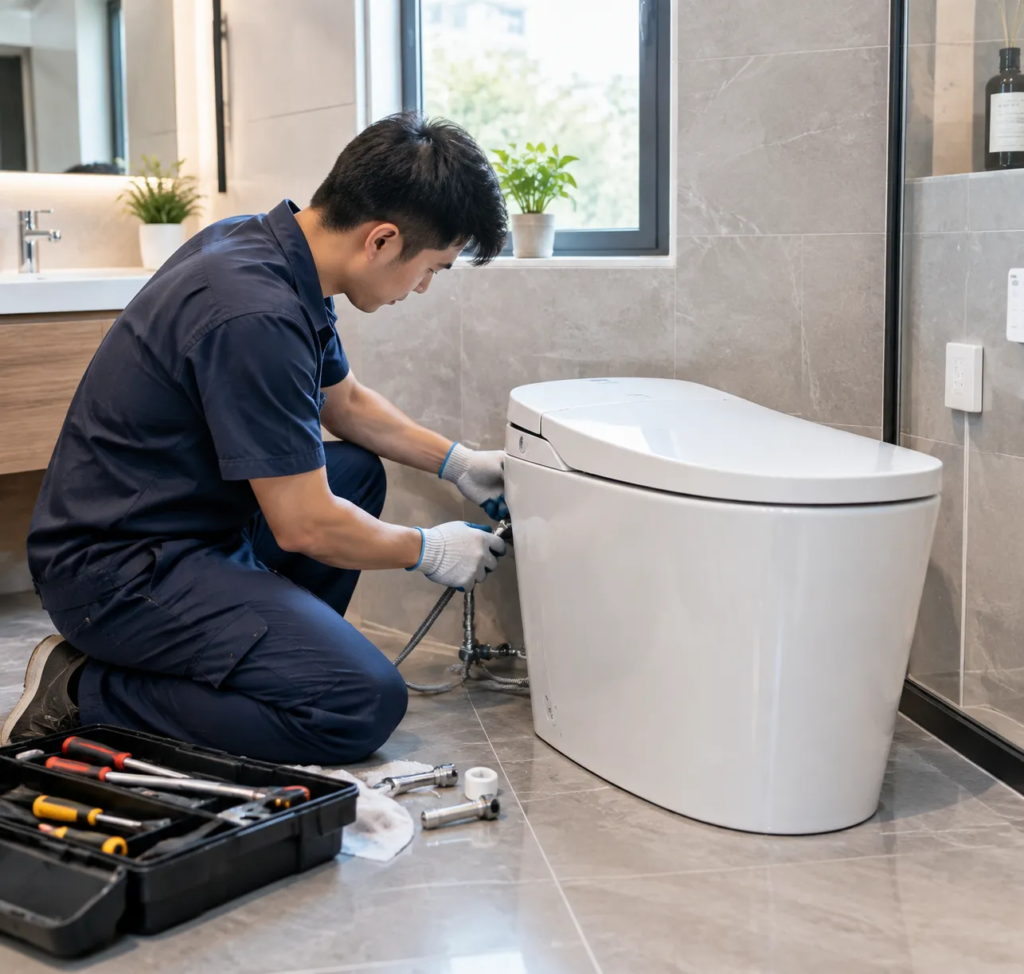
Even when you know how to install a smart toilet properly, unexpected operational glitches can still pop up. I always recommend running through a quick diagnostic checklist to pinpoint and resolve minor issues immediately after setup.
Resolving Water Leaks at the Base or Connectors
Water leaks are the most critical issue to catch early. Most leaks stem from connection points or a compromised base seal.
- Base leaks: If water pools around the bottom of the bowl after flushing, inspect your drain pipe alignment. A cracked or improperly seated seal usually requires a swift wax ring replacement or rubber gasket reseating.
- Supply line leaks: Water dripping from the back indicates a loose connection at the shut-off valve or the bidet inlet. Hand-tighten the coupling first, apply fresh thread-seal tape, and secure it firmly with a wrench without overtightening.
| Leak Location | Probable Cause | Corrective Action |
|---|---|---|
| Floor perimeter | Failed wax seal / misaligned flange | Re-align toilet and perform wax ring replacement |
| Water inlet joint | Loose nut or damaged washer | Tighten coupling; replace rubber O-ring if pinched |
| Shut-off valve | Worn thread tape or loose fitting | Wrap with PTFE tape and secure valve threads |
Fixing Low Bidet Spray Pressure
Inadequate water spray performance usually points to flow restrictions rather than a defective unit:
- Open the shut-off valve completely: Ensure the water supply valve is turned fully counterclockwise to provide maximum flow.
- Clean the inlet filter: Sediment often dislodges during installation. Shut off the water, remove the inline filter screen at the inlet, rinse out debris, and reinstall it.
- Check kinked supply lines: Ensure the flexible braided hose is not bent or twisted behind the fixture.
Addressing Power, Remote, and Sensor Malfunctions
Smart toilets rely heavily on stable electrical input and precise sensor engagement.
- No power response: Verify that the dedicated GFCI outlet has not tripped. Press the "Reset" button directly on the outlet or cord module to restore power.
- Unresponsive remote control: Check that the batteries are seated properly. Re-pair the remote to the base unit according to standard pairing sequences if the connection drops.
- Faulty seat sensor: The bidet and auto-flush features require direct contact with the seat sensor. Make sure the seat is level, free of protective shipping plastic, and unobstructed.
Post-Installation Care and Maintenance Tips
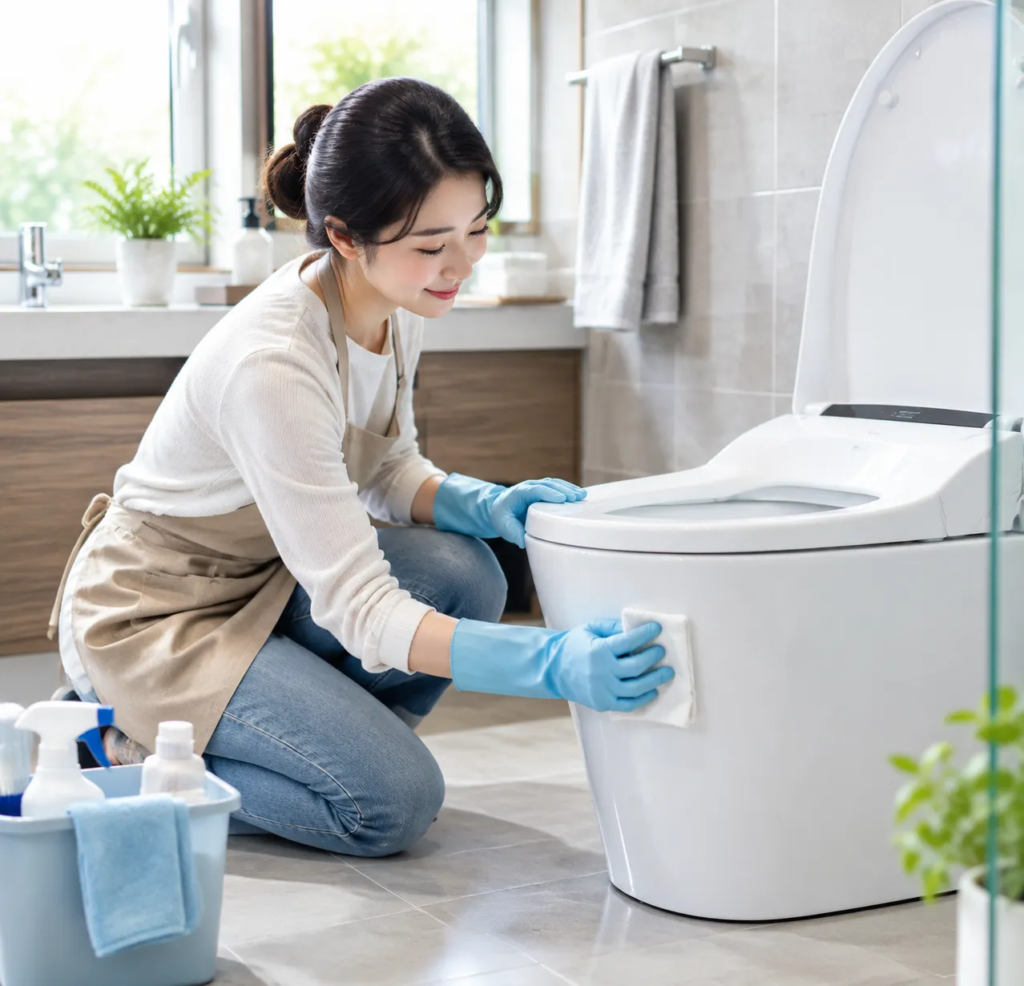
Keeping a newly installed smart toilet in top condition requires simple, consistent upkeep. Once you know how to install a smart toilet properly, following standard maintenance practices protects internal electronics, extends component life, and ensures optimal hygiene.
Routine Cleaning and Nozzle Maintenance
Smart toilets feature delicate sensors and motorized components that require gentle care during routine cleaning.
- Ceramic and Seat Care: Wipe surfaces using a soft microfiber cloth and a mild, non-abrasive cleaner. Avoid harsh bleaches, scouring powders, or alcohol-based solvents that can degrade plastic seals and finish coatings.
- Bidet Nozzle Cleaning: Most units include an automated self-cleaning cycle. For manual cleaning, extend the wand using the remote command and gently clean the tip with a soft-bristled brush and warm water.
- Sensor Windows: Keep the motion and infrared sensors clean and dry to prevent delayed responses or unintended auto-flushing.
| Component | Cleaning Frequency | Recommended Cleaning Agent |
|---|---|---|
| Ceramic Bowl | Weekly | Neutral bathroom cleaner |
| Bidet Wand & Nozzle | Bi-weekly | Warm water and soft brush |
| Seat & Cover | Weekly | Damp microfiber cloth |
| Infrared Sensors | Monthly | Dry, lint-free cloth |
Replacing Water Filters and Preventing Limescale
Hard water deposits and sediment can clog internal valves and lower spray performance over time.
- Water Filter Replacements: Replace the inline water filter every 4 to 6 months depending on incoming water quality. This prevents debris from entering the internal heating tank and bidet wand.
- Limescale Prevention: In areas with hard water, flush internal lines periodically according to system guidelines to stop mineral accumulation.
- Mesh Filter Servicing: Close the shut-off valve, remove the inlet mesh screen, rinse away trapped sediment under running water, and secure it back in place to maintain steady water pressure.
Frequently Asked Questions About Smart Toilet Installation
Can I install a smart toilet myself without a plumber?
Yes, you can install a smart toilet yourself if you have basic DIY plumbing experience and an existing GFCI electrical outlet nearby. The process is straightforward when replacing a standard toilet:
- Plumbing connections: You only need standard tools to close the shut-off valve, secure the mounting hardware, and ensure accurate drain pipe alignment.
- Electrical requirements: If your bathroom already has an outlet within reach of the power cord, no electrical work is required.
- When to hire help: If you need to relocate plumbing lines, adjust your rough-in measurement, or run brand-new electrical wiring, hiring a licensed professional is the safest choice.
Do smart toilets require a dedicated electrical circuit?
Most smart toilets run on standard residential voltage, but power demands vary based on the heating system:
- Circuit capacity: A standard 15-amp or 20-amp GFCI-protected circuit is typically required.
- Tankless vs. Tank models: Smart toilets with instant, continuous water heaters draw more power quickly. For these models, I always recommend a dedicated circuit to prevent breaker trips when the seat heater, water heater, and dryer run at the same time.
- Safety compliance: Always ensure the outlet is GFCI-rated to protect against moisture in the bathroom environment.
How does a smart toilet work during a power outage?
While electronic functions like the heated seat, bidet spray, and auto-lid opening stop working during a blackout, flushing functionality remains accessible through built-in backup systems:
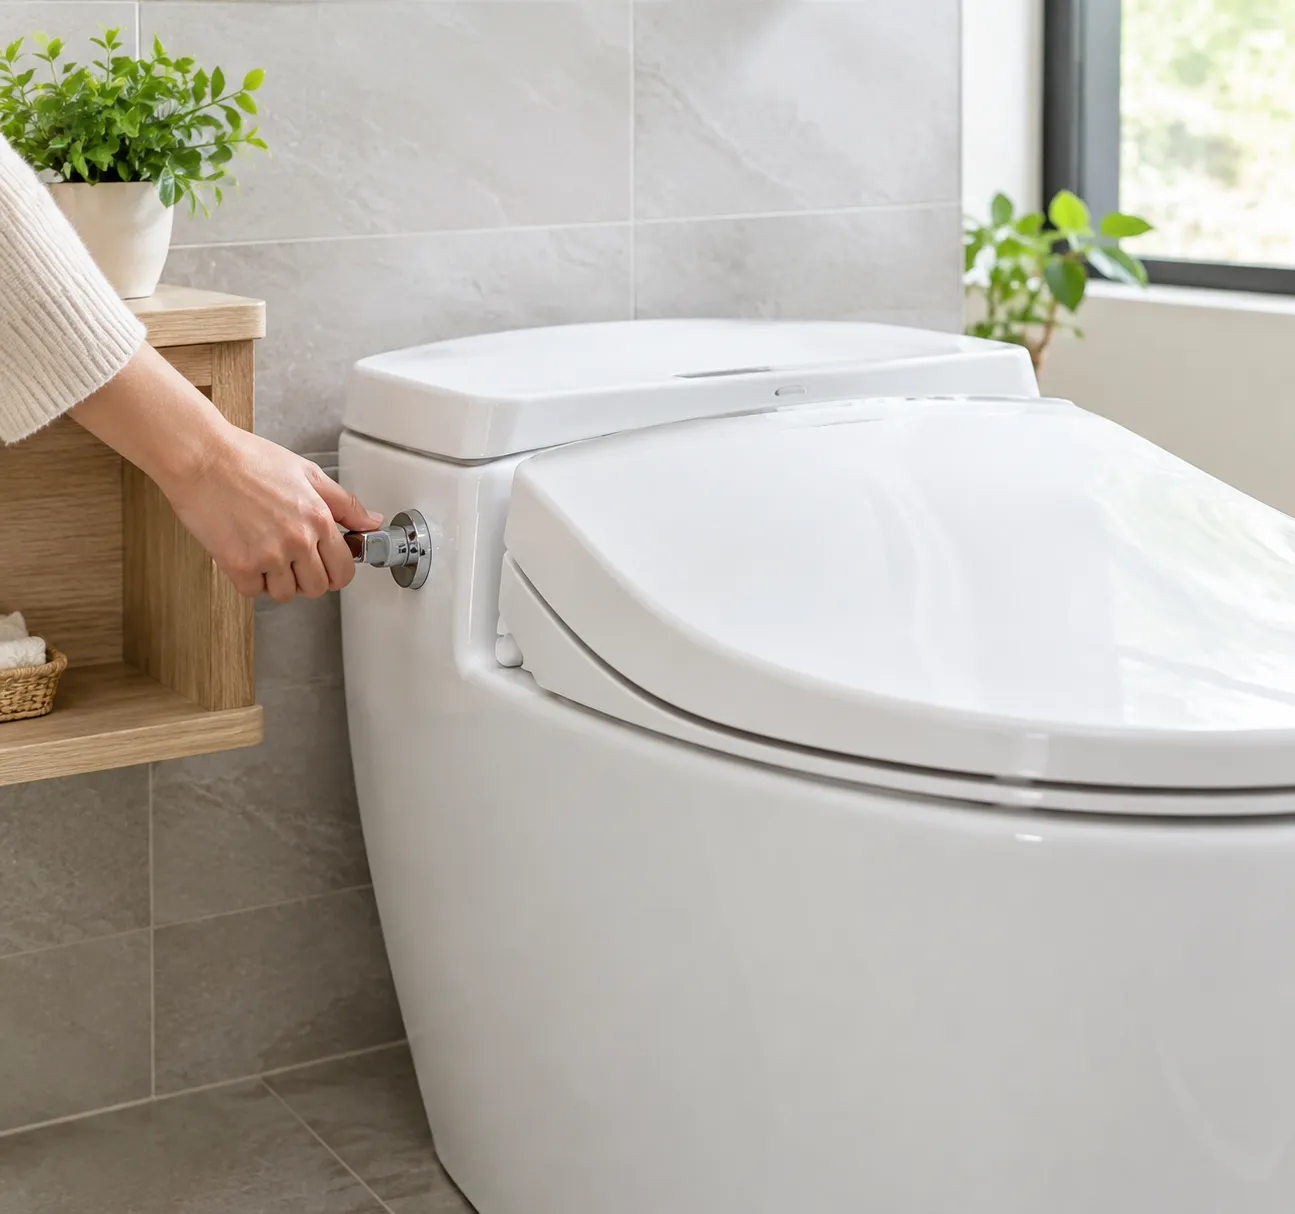
- Manual flush buttons: Most models feature an auxiliary mechanical button or side lever that bypasses electrical controls.
- Backup battery slots: Many units include a 9V battery compartment designed specifically to power the flush valve when main power drops out.
- Manual pour flush: In an emergency, pouring a bucket of water directly into the bowl will clear the waste via the standard siphon trap.