Preparation and Tools Needed for Disassembling a Two-Piece Toilet
Mastering how to take apart a two piece toilet requires gathering the right equipment and preparing your workspace. Proper preparation prevents accidental water damage, protects your bathroom flooring, and simplifies the entire toilet disassembly process.
Essential Tools and Supplies
| Tool / Supply | Primary Purpose |
|---|---|
| Adjustable Wrench | Loosening water supply line fittings and mounting nuts |
| Sponge & Bucket | Soaking up residual water remaining in the tank and bowl |
| Flathead Screwdriver | Prying off plastic cap nuts and holding tank bolts |
| Putty Knife | Scraping away old sealant and wax residue |
| Heavy Towels / Cardboard | Cushioning ceramic pieces and protecting floor tiles |
| Nitrile Gloves | Maintaining sanitation throughout the disassembly |
Pre-Removal Setup and Workspace Preparation
- Clear the Perimeter: Remove bath mats, trash cans, and nearby fixtures to create an unobstructed 3-foot radius around the unit.
- Protect the Subfloor: Lay thick towels or corrugated cardboard adjacent to the toilet base. Wet porcelain is extremely slippery and can easily crack tile surfaces.
- Establish a Staging Area: Set up a dedicated spot nearby where you can safely set down components after you separate tank from bowl.
- Ensure Ventilation: Turn on the bathroom exhaust fan or open a window to maintain fresh airflow before exposing the plumbing line.
Shutting Off Water and Draining the Toilet
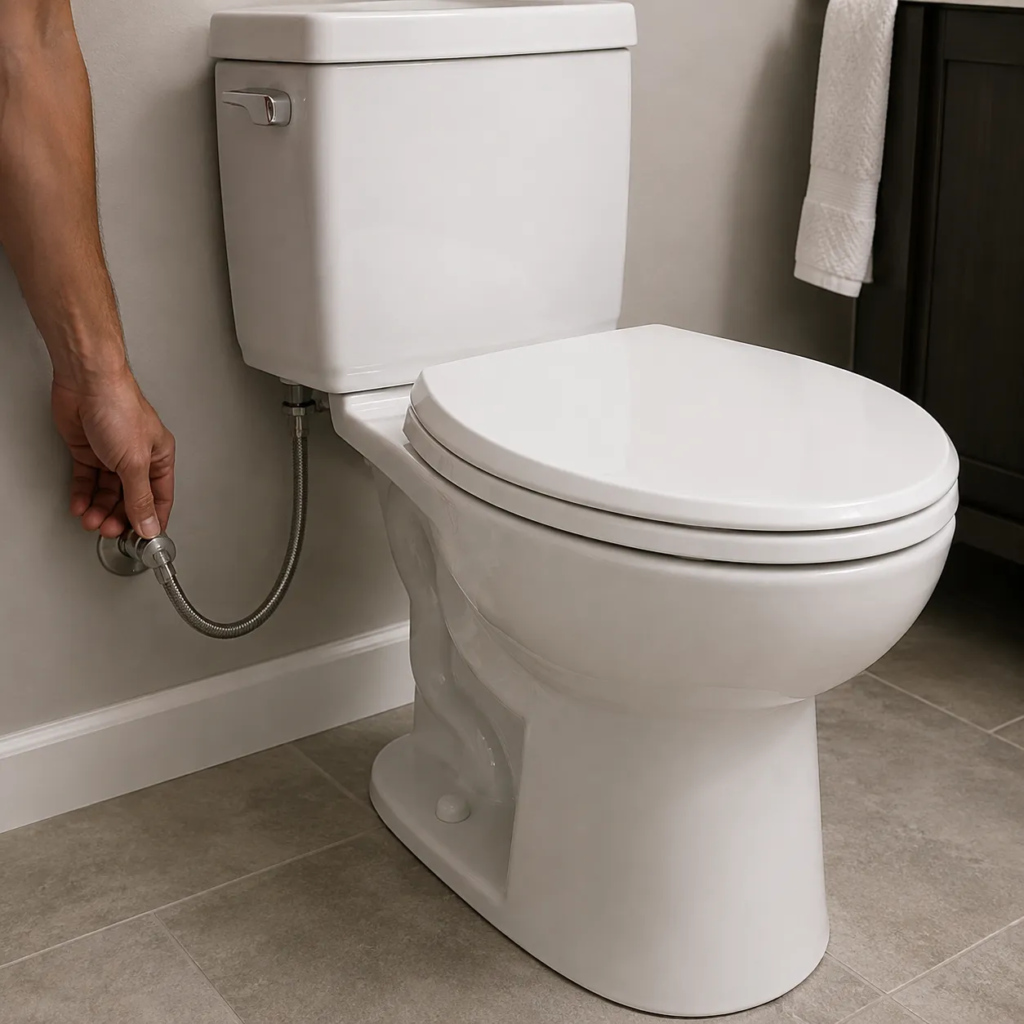
Before learning how to take apart a two piece toilet, I always start by turning off the water supply and completely draining the system. Clearing out standing water prevents messy spills on your bathroom floor during the toilet disassembly process.
Turning Off the Water Supply Valve
- Locate the oval shut-off valve on the wall or floor behind the toilet base.
- Turn the valve handle clockwise until it stops completely to cut off incoming water flow.
- If the valve is old or stuck tight, turn off the main water supply to the house to avoid damaging the pipe.
Flushing and Draining Water from the Tank and Bowl
- Flush the toilet and hold the handle down to drain as much water as possible from the tank into the bowl.
- Soak up the remaining 1 to 2 inches of standing water at the bottom of the tank using a large sponge or wet/dry vacuum.
- Bail out and dry the remaining water inside the toilet bowl so it stays clean and light when you prepare to separate tank from bowl components later.
Disconnecting the Water Supply Line
- Place a small bucket or towel beneath the supply line connection on the bottom left side of the tank.
- Twist the plastic or metal coupling nut counterclockwise by hand or with an adjustable wrench to disconnect the flexible supply line.
- Let any trapped water drain directly into the bucket.
Removing the Tank from a Two-Piece Toilet Bowl
Knowing how to take apart a two piece toilet requires extra care when handling fragile porcelain. I always focus on controlled movements during toilet disassembly to prevent structural damage.
Unbolting the Tank Mounting Bolts
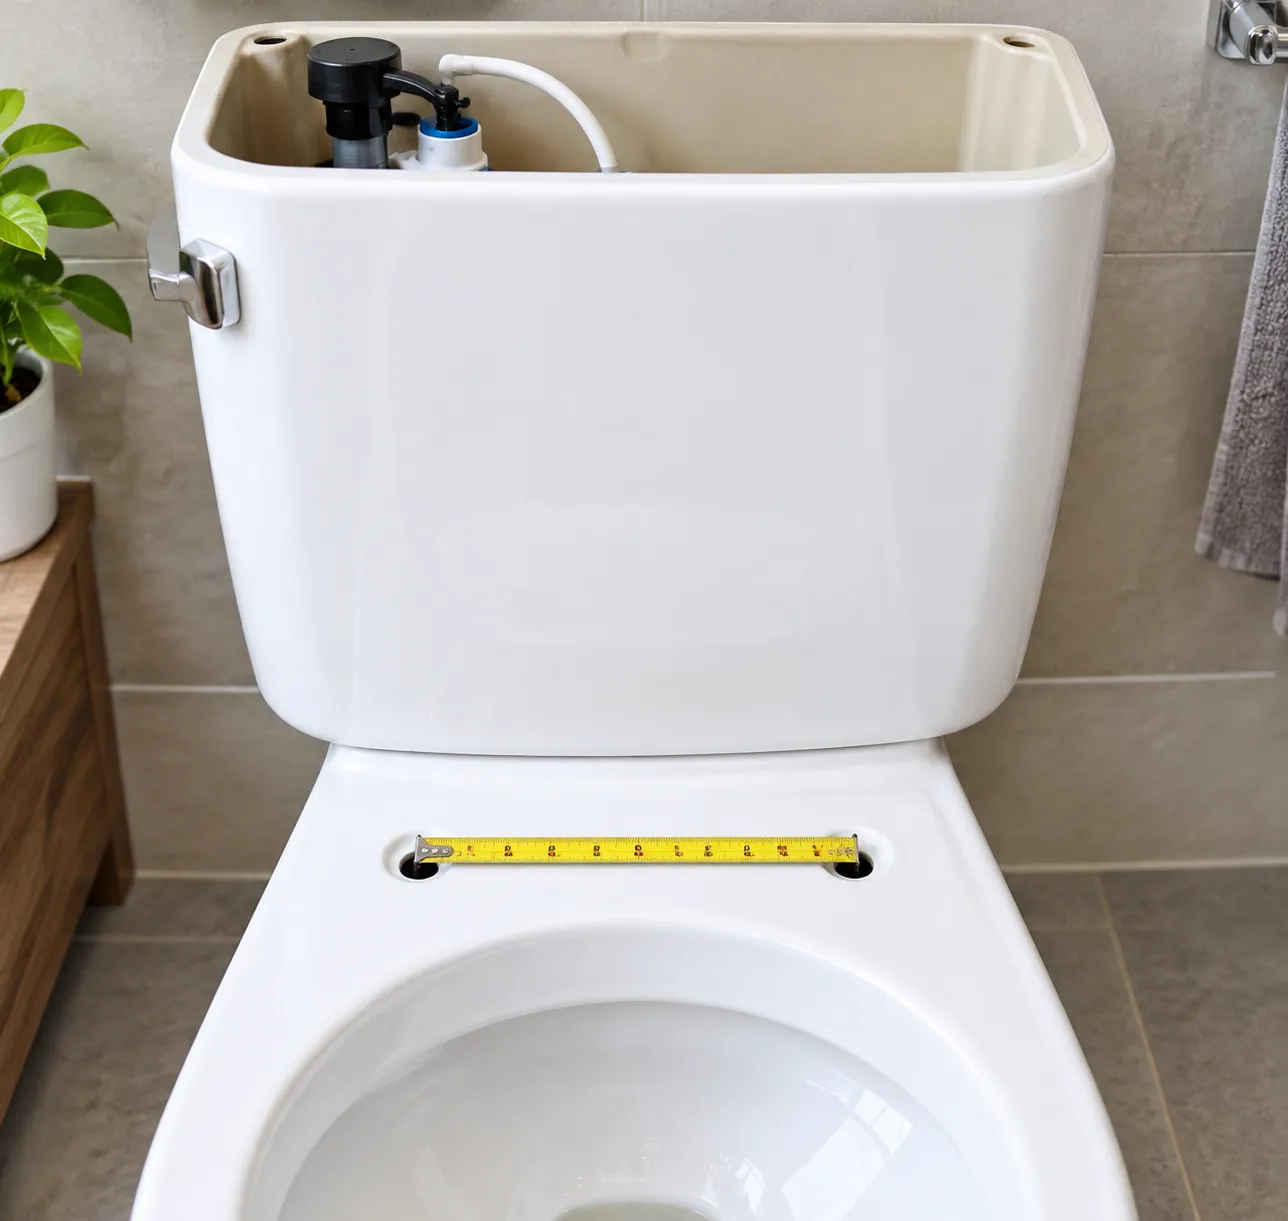
I start by removing the bolts securing the upper unit to the bowl.
- Secure the bolt head: Place a long flathead screwdriver into the bolt head inside the tank.
- Grip the nut: Use an adjustable wrench or socket to hold the nut beneath the rear bowl rim.
- Loosen the hardware: Turn counterclockwise to back the nut off. If rusted, spray penetrating oil on the threads and wait ten minutes before trying again.
Lifting and Removing the Toilet Tank
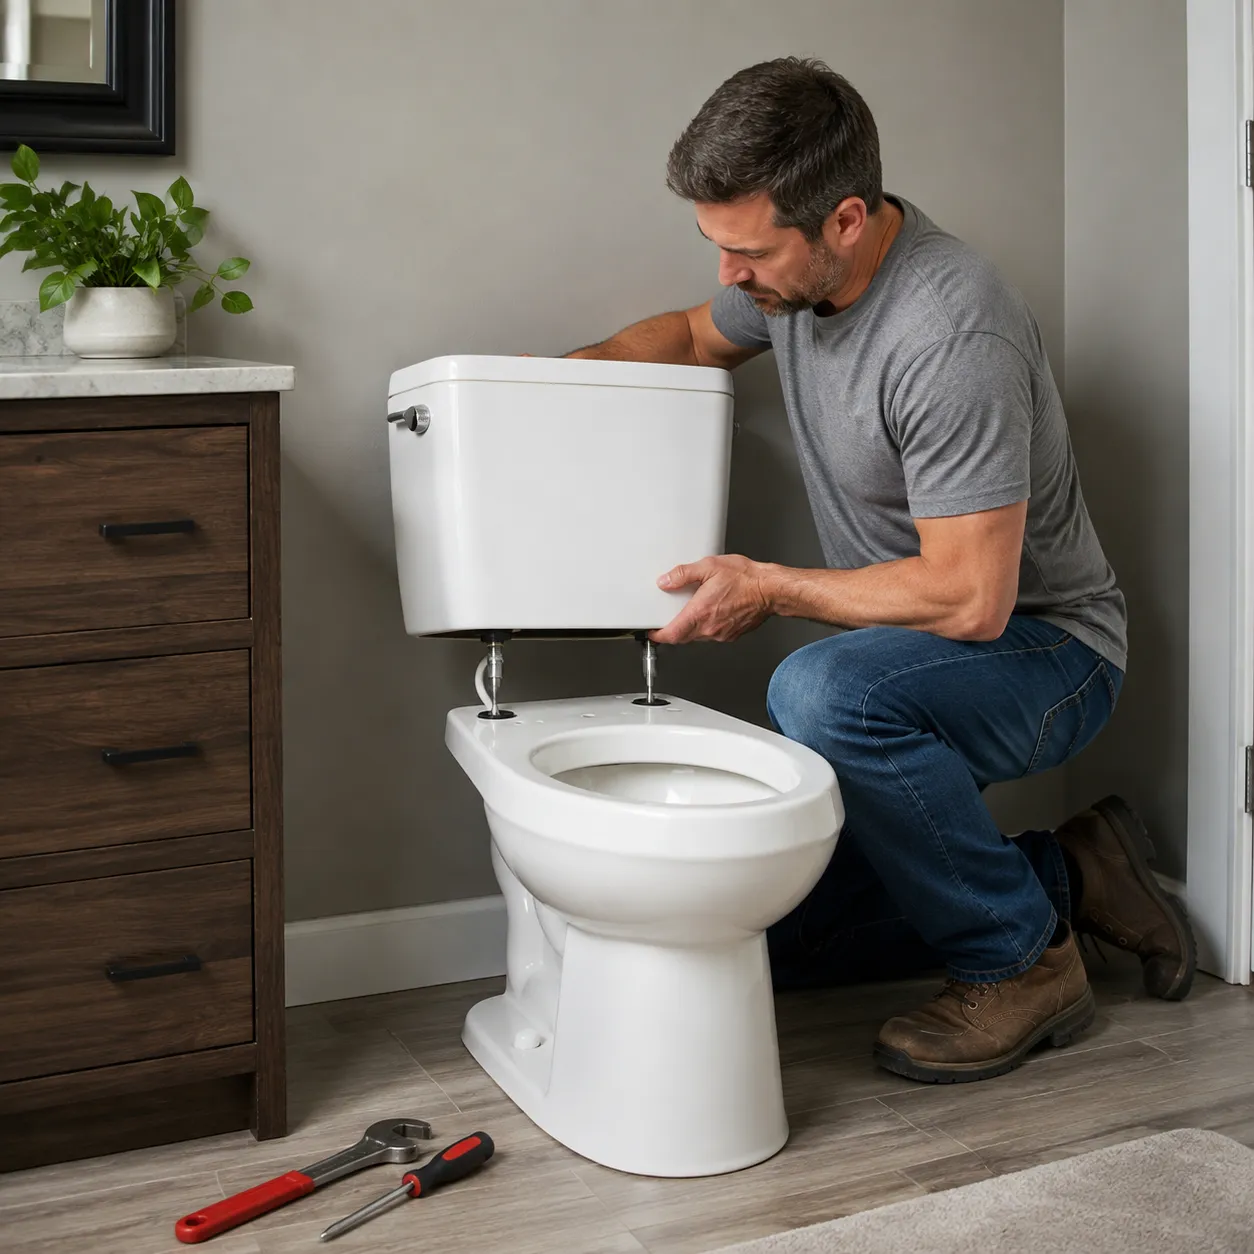
Once the hardware is off, it is time to separate tank from bowl without putting stress on the porcelain.
- Lift straight up: Grab both sides of the tank firmly and pull directly upward to break the seal.
- Avoid tilting: Keep the tank level to avoid spilling any remaining trapped water.
- Stash safely: Place the tank flat on cardboard or a thick towel to prevent cracking the porcelain base.
Inspecting the Tank-to-Bowl Gasket and Sponge Washer
With the tank off, I inspect the sealing hardware to determine what needs to be replaced before reassembly.
| Component | What to Look For | Action Needed |
|---|---|---|
| Sponge Washer | Cracks, brittle rubber, or flattened edges | Replace immediately to prevent future leaks |
| Tank Bolt Rubber Washers | Decay, mineral build-up, or tears | Swap out with a fresh bolt hardware kit |
Unbolting and Removing the Toilet Bowl
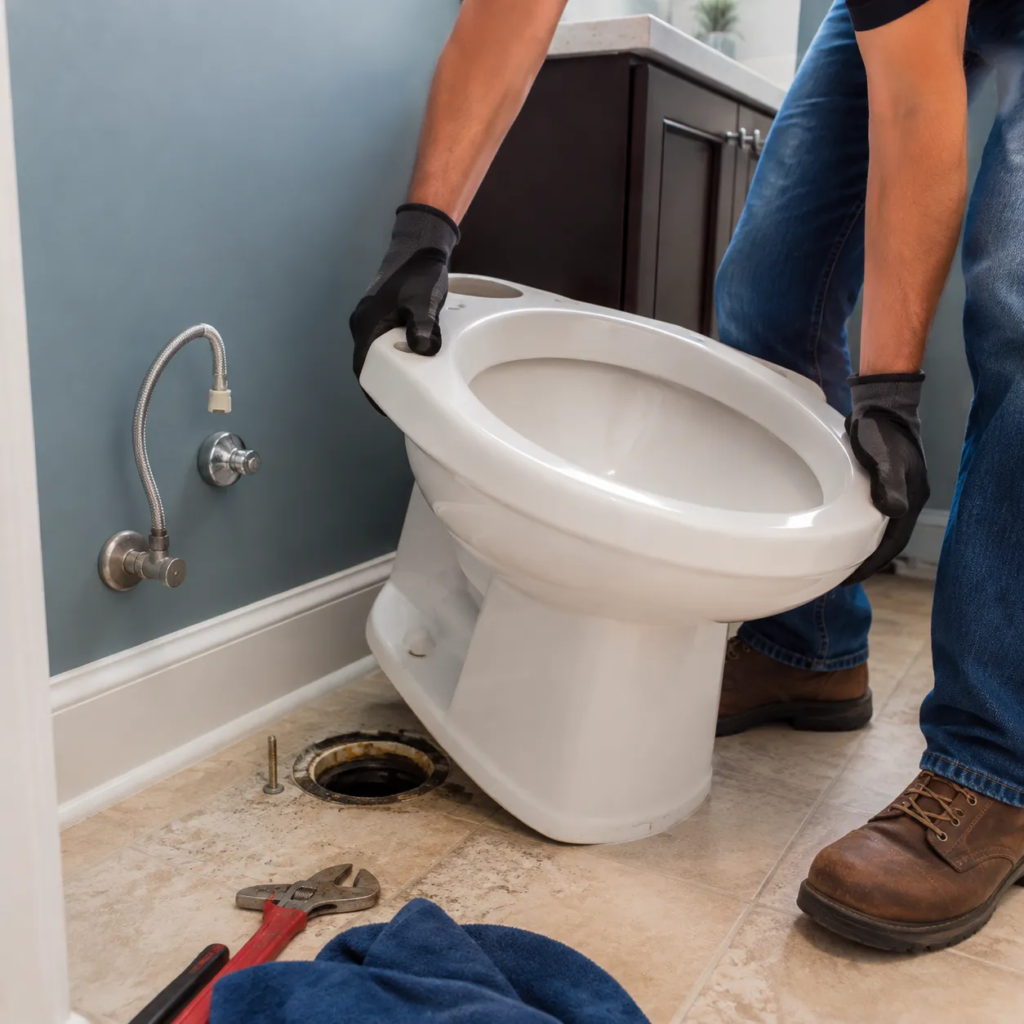
Once I have detached the tank, the final phase of toilet disassembly is pulling the bowl from the floor.
Removing Floor Bolt Covers and Nuts
- Prying the Cap Nuts: Pry off the plastic cap nuts at the base of the toilet using a flathead screwdriver to expose the anchor bolts.
- Unbolting the Base: Use an adjustable wrench to unscrew the metal nuts securing the bowl to the floor flange.
- Handling Rust: If corroded hardware refuses to turn, apply penetrating oil, wait ten minutes, or cut through the bolts with a mini hacksaw.
Breaking the Wax Ring Seal
- Gently Rocking: Grasp the edges of the bowl and gently rock it side-to-side to break the seal created by the old wax ring.
- Avoiding Forceful Twisting: Avoid twisting the porcelain excessively to protect the underlying closet flange from cracking.
Lifting and Transporting the Toilet Bowl
- Lifting Technique: Bend at your knees and lift the bowl straight up by gripping under the rim.
- Protecting Surfaces: Move the bowl directly onto a cardboard box or plastic tarp to streamline wax ring removal and avoid staining your bathroom flooring.
Cleaning the Flange and Sealing the Sewer Drain
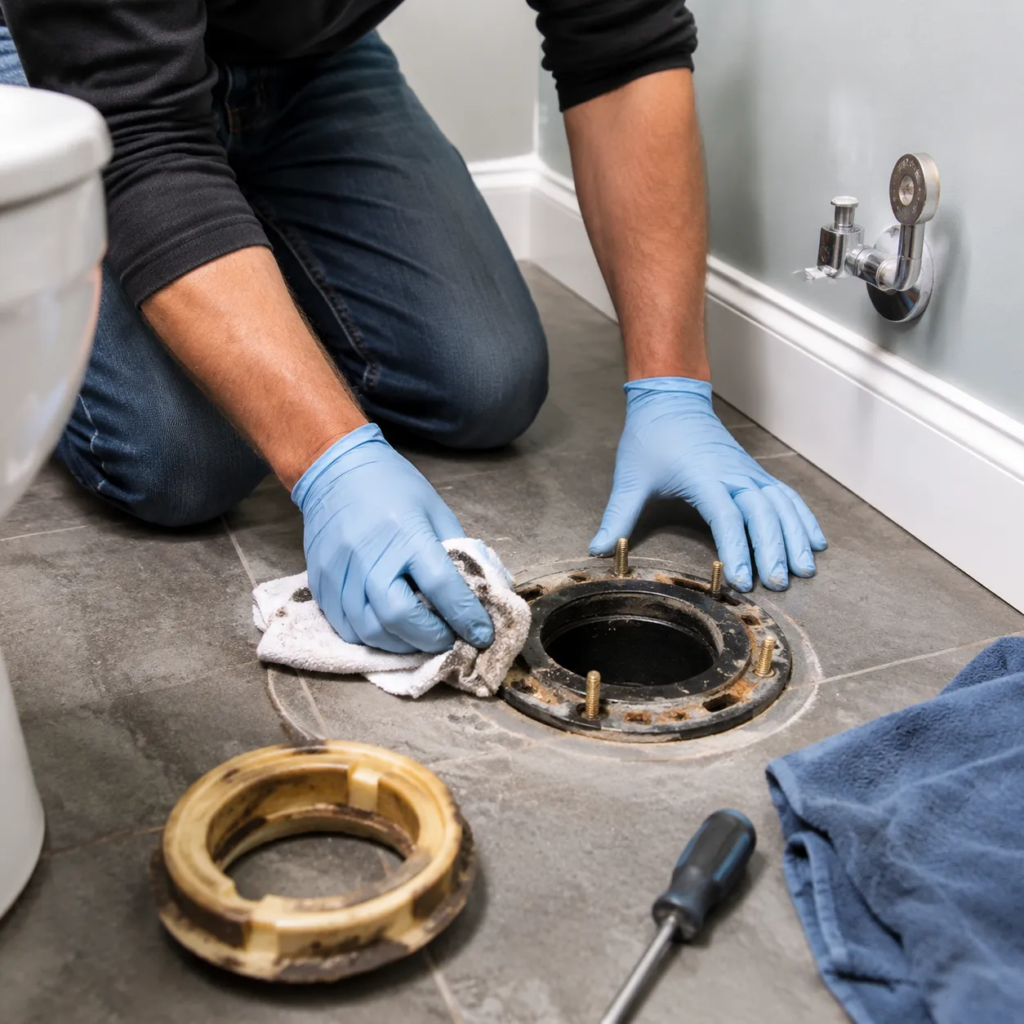
Once I complete the toilet disassembly and set the bowl aside, the exposed drain area requires immediate cleanup and protection. Properly preparing this section prevents hazardous odors from entering your home and creates a clean surface for future installation.
Scraping Away the Old Wax Ring Residue
Effective wax ring removal is critical for establishing a clean, level surface on the floor fitting.
- Put on heavy-duty gloves: Old plumbing wax is extremely sticky and harbors bacteria.
- Scrape the closet flange: I use a stiff plastic or metal putty knife to slice away the bulk of the old wax stuck to the flange base.
- Clean remaining film: Wipe down the flange surface with paper towels dampened with mineral spirits to dissolve residual wax sticky film. Throw all wax waste directly into a trash bag to keep your workspace clear.
Inspecting the Closet Flange for Damage
Before completing this phase of how to take apart a two piece toilet, I thoroughly inspect the closet flange to ensure it can support a reinstallation or new unit.
| Inspection Area | What I Look For | Necessary Action |
|---|---|---|
| Plastic/Metal Rim | Cracks, fractures, or missing sections | Install a metal repair ring or replace the flange if cracked. |
| Bolt Slots | Stripped or broken channel slots | Ensure floor bolt channels are solid so new bolts lock tight. |
| Floor Height | Alignment relative to floor level | Flange should sit firmly on top of the finished floor (approx. 1/4 inch above). |
Plugging the Drain Pipe to Block Sewer Gas
An open waste pipe vents foul hydrogen sulfide gases into the room and presents a hazard for dropping small tools.
- Stuff the opening immediately: I tightly roll up an old rag, towel, or insert an expanding test plug into the center of the drain pipe opening.
- Keep the plug visible: Leave a portion of the rag sticking out above floor level so it cannot slip down into the main line.
- Block foreign objects: This simple barrier prevents hardware, wax scraps, or utility tools from accidentally falling down the sewer line while you work.
Troubleshooting Common Toilet Disassembly Issues
When I tackle toilet disassembly, unexpected hiccups can slow down the project. Knowing how to take apart a two piece toilet means being ready for rusted hardware, stubborn residual water, and fragile porcelain before they turn a simple task into a plumbing emergency.
Removing Rusted or Corrosion-Locked Bolts
Metal bolts connecting the tank or securing the base often corrode over time, seizing up completely.
- Penetrating Oil: Spray a generous amount of penetrating lubricant directly onto rusted threads and stubborn cap nuts. Allow 10 to 15 minutes for it to break down the corrosion.
- Hacksaw or Oscillating Tool: If bolts refuse to turn, slip a mini hacksaw blade or an oscillating multi-tool with a metal blade beneath the bolt head or washer, then carefully cut through the metal.
- Locking Pliers: Clamp locking pliers tightly onto the top bolt head inside the tank while unscrewing the nut underneath to keep the bolt from spinning in place.
Handling Trapped Water in the Toilet Trap
Even after shutting off the line and flushing, standing water remains trapped inside the bowl curve.
- Sponge and Bucket: Soak up standing water using a heavy-duty sponge, squeezing the liquid out into a bucket.
- Wet/Dry Vacuum: Use a shop vac for the quickest, cleanest extraction of all remaining liquid from the trap and tank base.
- Absorbing Gel: Add a specialized water-solidifying compound into the trap to instantly turn remaining liquid into a gel for spill-free removal.
Preventing Cracked Porcelain During Demolition or Repair
Vitreous china cracks easily under uneven force or sudden impacts.
- Avoid Excessive Torque: Apply steady, balanced pressure. Never force a frozen bolt using extreme leverage against raw porcelain.
- Set Down a Cushion: Lay down a thick towel, cardboard sheet, or moving blanket on the floor to protect the china before you separate tank from bowl.
- Distribute Tension: Alternate loosening bolts evenly between the left and right sides to keep structural stress balanced across the porcelain frame.