Overview
Key One Piece Toilet Components and How They Work
Flush Valve Assembly
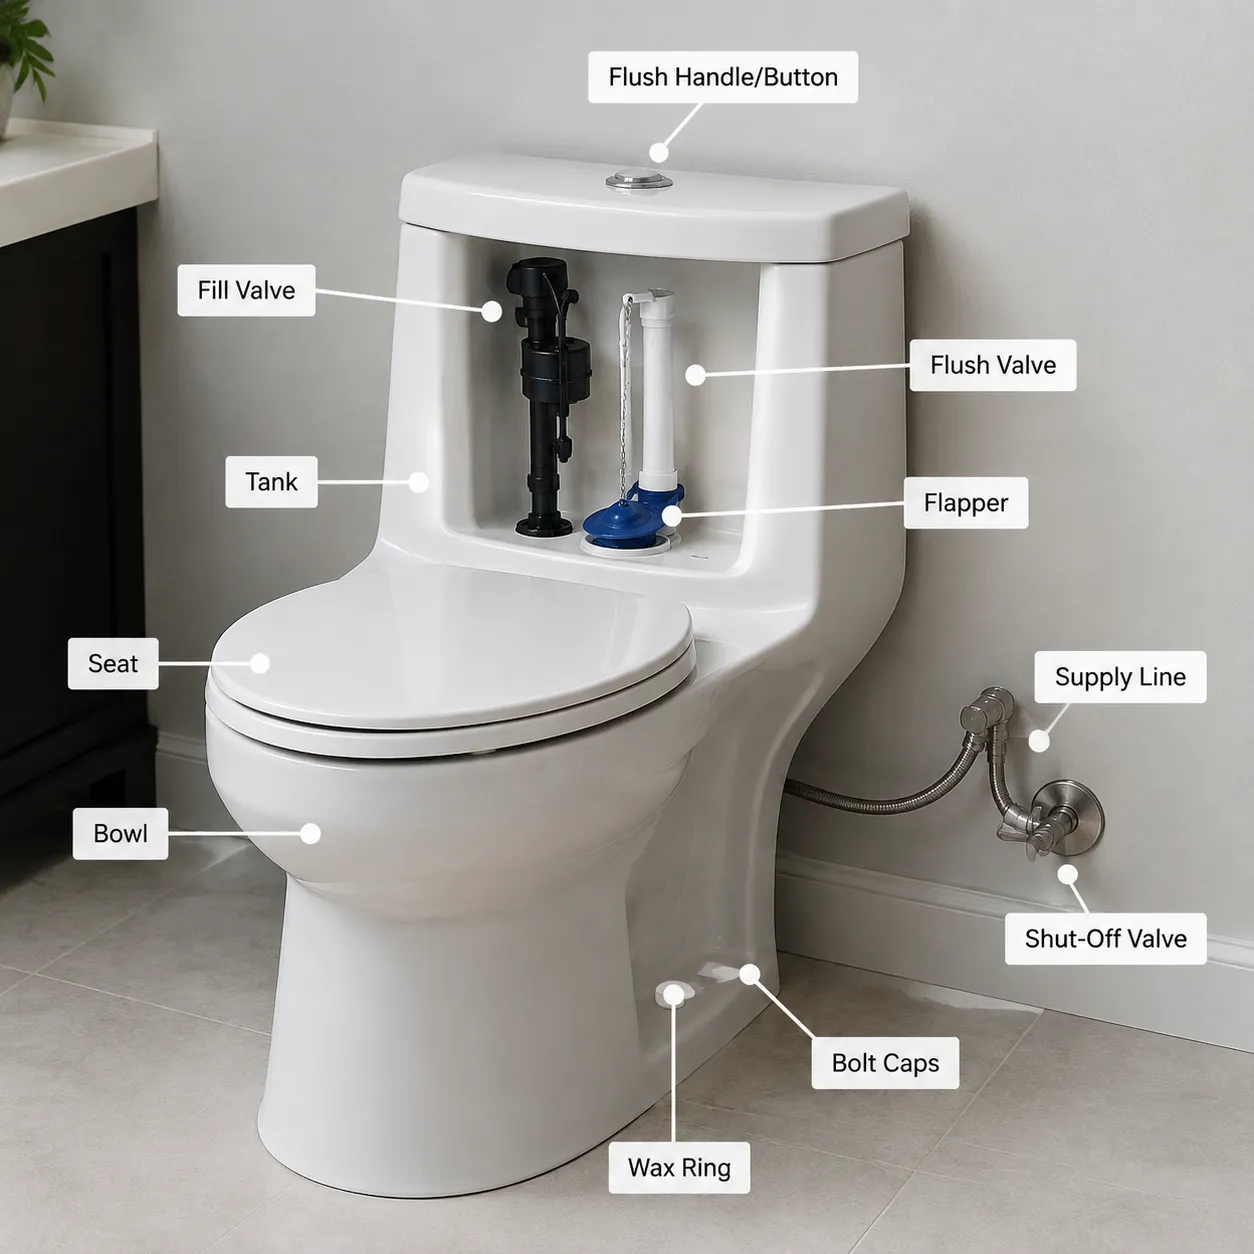
The flush valve assembly controls the volume of water entering the bowl during a flush. When activated, the rubber flapper or flush tower seal lifts, letting water discharge rapidly to clear waste before dropping back down to seal the tank bottom.
Fill Valve and Water Supply Line
The toilet fill valve manages tank replenishment. Connected to the external water supply line, it automatically refills the tank to a preset level after each flush and stops water flow using an adjustable float mechanism.
Flush Button or Lever Mechanism
This component initiates the flushing cycle:
Toilet push button: Modern top-mounted controls designed for a dual flush mechanism (partial or full flush).
Toilet flush lever: Traditional side-mounted handle connected to a trip lever and chain assembly.
Integrated Trapway and Bowl
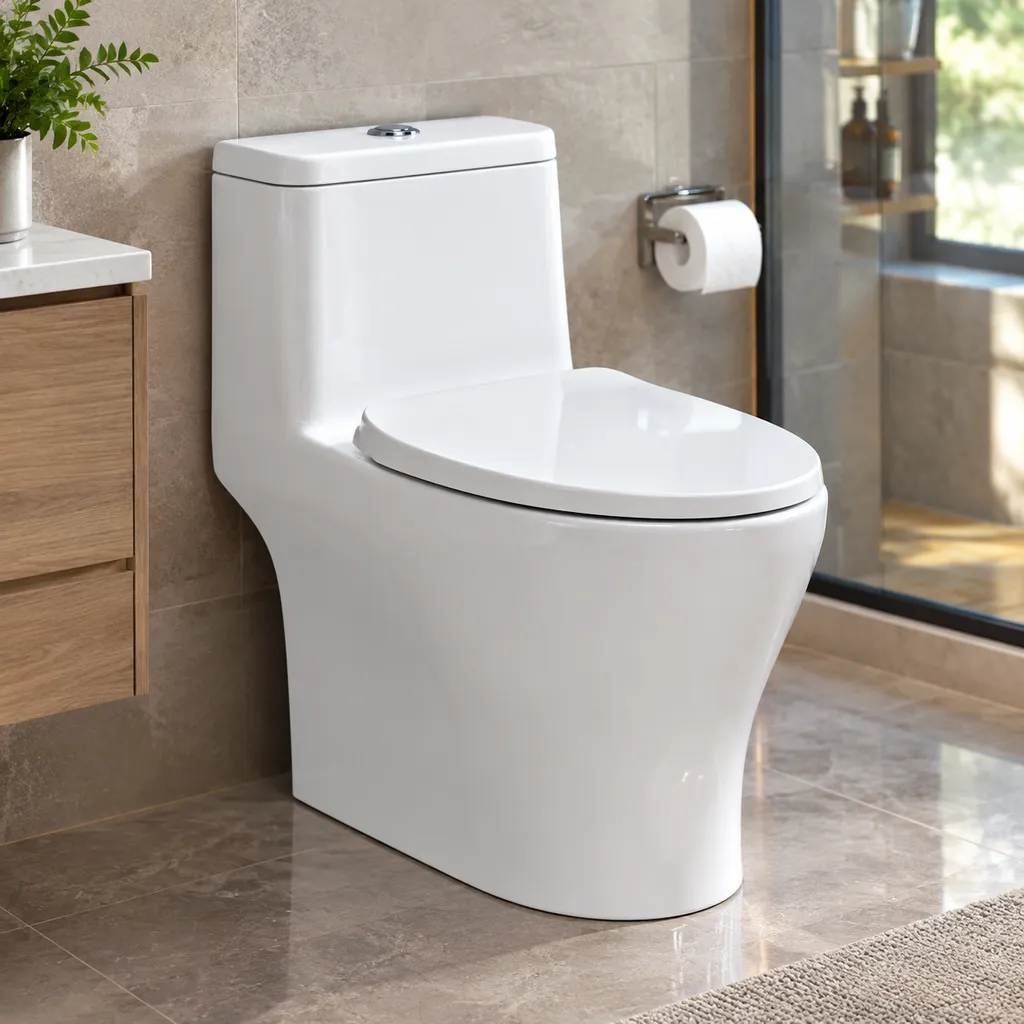
The internal toilet base and trapway forms a fully enclosed, smooth siphonic channel. Because the tank and bowl are unified, water travels through the trapway with maximum momentum, eliminating potential leak points between the upper and lower sections.
Toilet Seat Hinges and Quick Release
Heavy-duty toilet seat hinges secure the seat directly to the ceramic top. Built-in soft-close dampeners prevent slamming, while quick-release hardware allows effortless removal for deep cleaning or replacement.
One Piece vs Two Piece Toilet Parts Differences
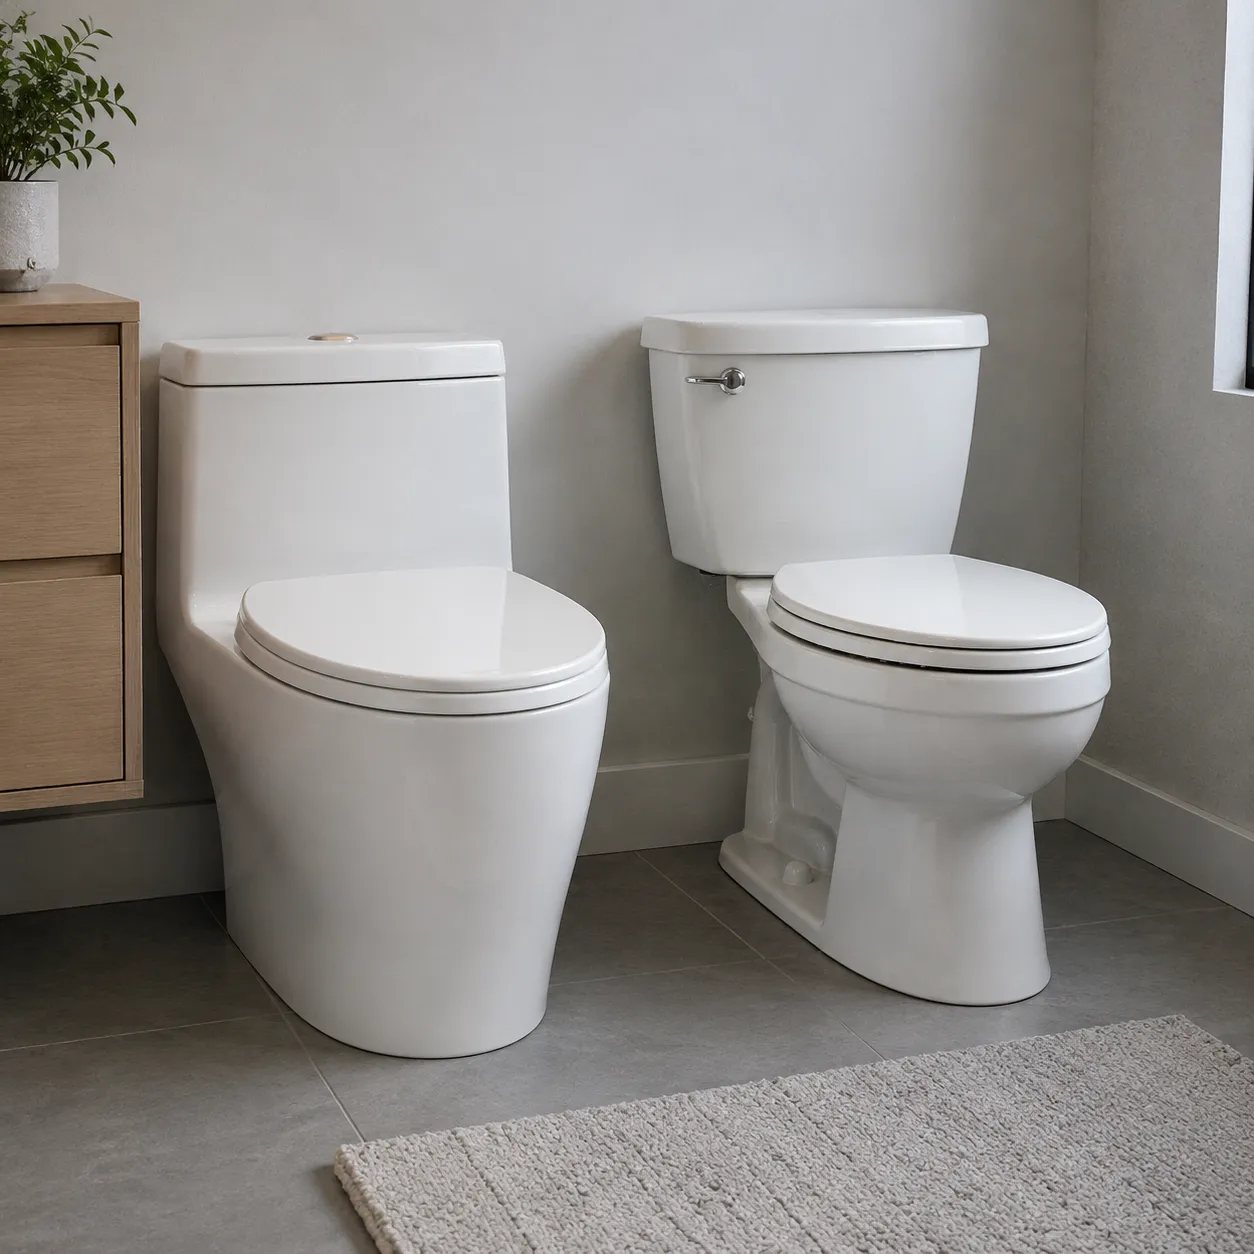
Understanding structural design differences helps you select the right one piece toilet components for fast repairs and long-term reliability.
| Component Feature | One Piece Toilet Parts | Two Piece Toilet Parts |
|---|---|---|
| Tank-to-Bowl Gasket | None required (Integrated ceramic mold) | Large rubber toilet tank seal (Prone to wear) |
| Mounting Hardware | Zero connecting tank bolts | 2–3 metal bolts with rubber washers |
| Flush Valve Assembly | Drop-in tower or dual flush mechanism | Standard flapper valve or bolt-down unit |
| Leak Vulnerability | Reduced internal leak points | High risk of tank-to-bowl leaks |
| Maintenance & Cleaning | Smooth, crevice-free ceramic exterior | Tight gap between tank and bowl collects grime |
Integrated Tank Design Eliminates Common Leaks
We eliminate the most frequent failure points found in conventional fixtures by molding the ceramic body into a single continuous structure.
- No Mounting Bolts: Traditional designs rely on metal bolts that rust and break down. One piece toilet parts skip this hardware entirely.
- No Rotting Gaskets: Without a joined seam, you never need to replace a degrading tank-to-bowl gasket.
- Simplified Service: Internal components like the toilet fill valve and flush towers install straight down, speeding up maintenance.
Superior Component Durability and Easy Upkeep
Fewer structural joints mean internal replacement toilet hardware suffers far less mechanical stress.
- Extended Seal Life: Internal seals sit in a stable housing, preventing premature wear on the flush valve assembly.
- Hassle-Free Cleaning: Smooth ceramic lines keep dust, water, and grime away from external fittings and seat hardware.
- Direct Drop-In Upgrades: Swapping out old valves or converting to a modern fill valve requires zero dismantling of the toilet body.
Common Signs of Failing One Piece Toilet Parts
Spotting worn one piece toilet components early prevents high water bills and costly bathroom leaks. In my experience, these four key signs indicate your internal hardware needs immediate attention.
Water Running Continuously in the Bowl
- Degraded Toilet Tank Seal: A worn flapper or bottom flush valve washer lets water constantly trickle down into the bowl.
- Faulty Fill Valve: A misaligned float or broken toilet fill valve continuously overflows water into the center tube.
Weak Flush Performance or Partial Flush
- Stuck Dual Flush Mechanism: Worn springs or snapped cables inside the flush valve assembly fail to release the correct water volume.
- Restricted Flow: Mineral deposits clog the jet inlet connecting the tank to the toilet base and trapway.
Water Leaking Around the Base or Flush Button
- Top-Button Seepage: Deteriorated rubber seals underneath the toilet push button allow water to leak onto the tank cover during a flush.
- Failed Base Ring: Damaged wax ring and mounting bolts cause water to pool around the bottom edge on the floor.
Noisy or Slow Tank Refilling
- Clogged Valve Diaphragm: Sediment buildup inside the valve restricts water inflow, causing harsh whistling or exceptionally long refill times.
- Simple Fix: Installing a modern quiet fill valve replacement quickly restores fast, silent tank refills.
Step-by-Step Guide to Replacing One Piece Toilet Components
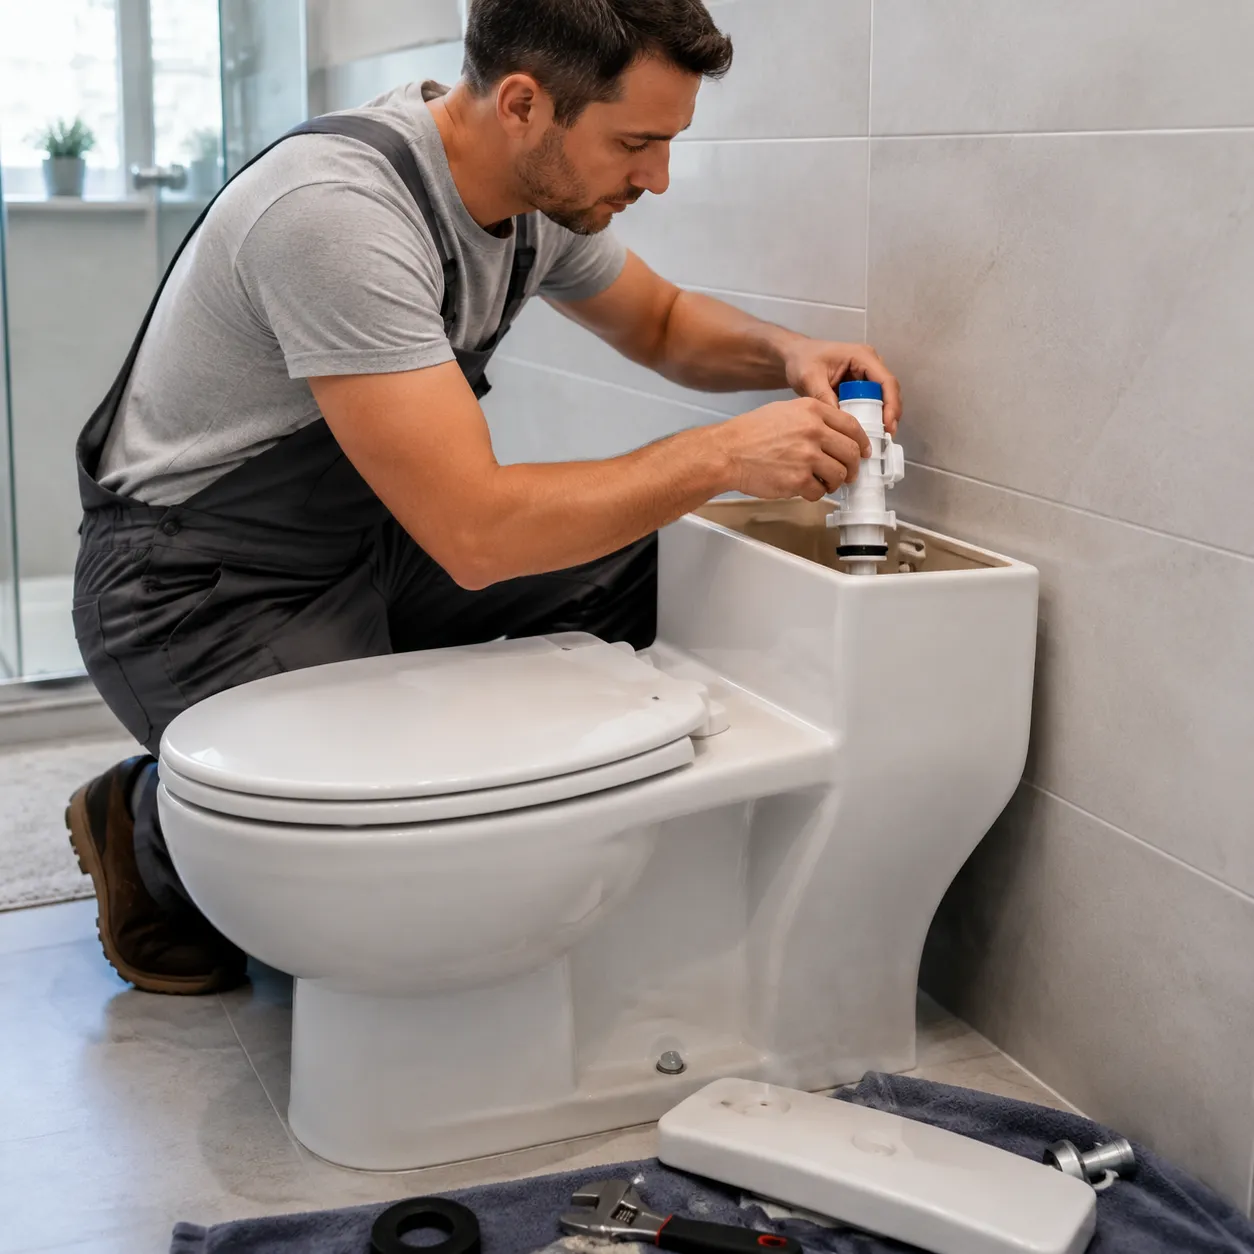
Fixing or upgrading one piece toilet components is a simple task when completed in the right order. I always follow a structured process to ensure leak-free installations and long-term performance using reliable replacement toilet hardware.
Shutting Off Water Valve and Draining the Tank
Before replacing any one piece toilet parts, isolate the water supply completely to prevent spills.
- Turn Off Supply: Rotate the shut-off valve behind the toilet clockwise until completely closed.
- Drain the Water: Hold down the flush lever or toilet push button until the tank drains completely.
- Sponge Dry: Soak up remaining water at the bottom of the tank using a sponge or towel to maintain a dry workspace.
Replacing the Toilet Fill Valve and Float
A worn-out fill valve causes slow tank refilling and constant running. Swap it out with a modern quiet fill valve replacement:
- Disconnect Supply Line: Unscrew the water supply line nut from the shank of the old toilet fill valve.
- Remove Mounting Nut: Loosen the plastic locking nut under the tank base and lift out the old valve.
- Adjust and Insert: Set the height of the new fill valve so the critical level mark sits 1 inch above the overflow pipe.
- Secure and Reconnect: Hand-tighten the bottom locknut, reattach the supply hose, and clip the refill tube into the overflow pipe.
Installing a New Dual Flush Valve Mechanism
Replacing the flush valve assembly in a single-piece setup is straightforward because you do not need to lift or detach the tank.
- Remove Old Mechanism: Twist the main flush housing counterclockwise to unlock it from the base socket.
- Inspect the Tank Seal: Clean the valve socket base and ensure the rubber toilet tank seal sits flush.
- Install New Mechanism: Lock the new dual flush mechanism tower into the base. Set the full-flush and half-flush adjustment sliders for optimal water savings.
- Attach Controls: Connect the button rods or flush lever linkage directly to the top of the tower.
Upgrading Soft-Close Toilet Seat Hinges
Upgrading to toilet seat hinges and quick release mountings improves daily comfort and simplifies routine cleaning.
| Step | Action | Key Detail |
|---|---|---|
| 1. Remove Hardware | Unbolt old top-mount hardware | Access top-fixing expansion anchors from above |
| 2. Align Hinges | Place new hinge base plates | Center plates directly over the pre-drilled mounting holes |
| 3. Secure Bolts | Tighten top-fix screws | Leave slightly loose to adjust seat alignment |
| 4. Mount Seat | Click seat onto quick-release pins | Check alignment on the bowl rim, then tighten fully and snap covers closed |
How to Choose Compatible One Piece Toilet Components
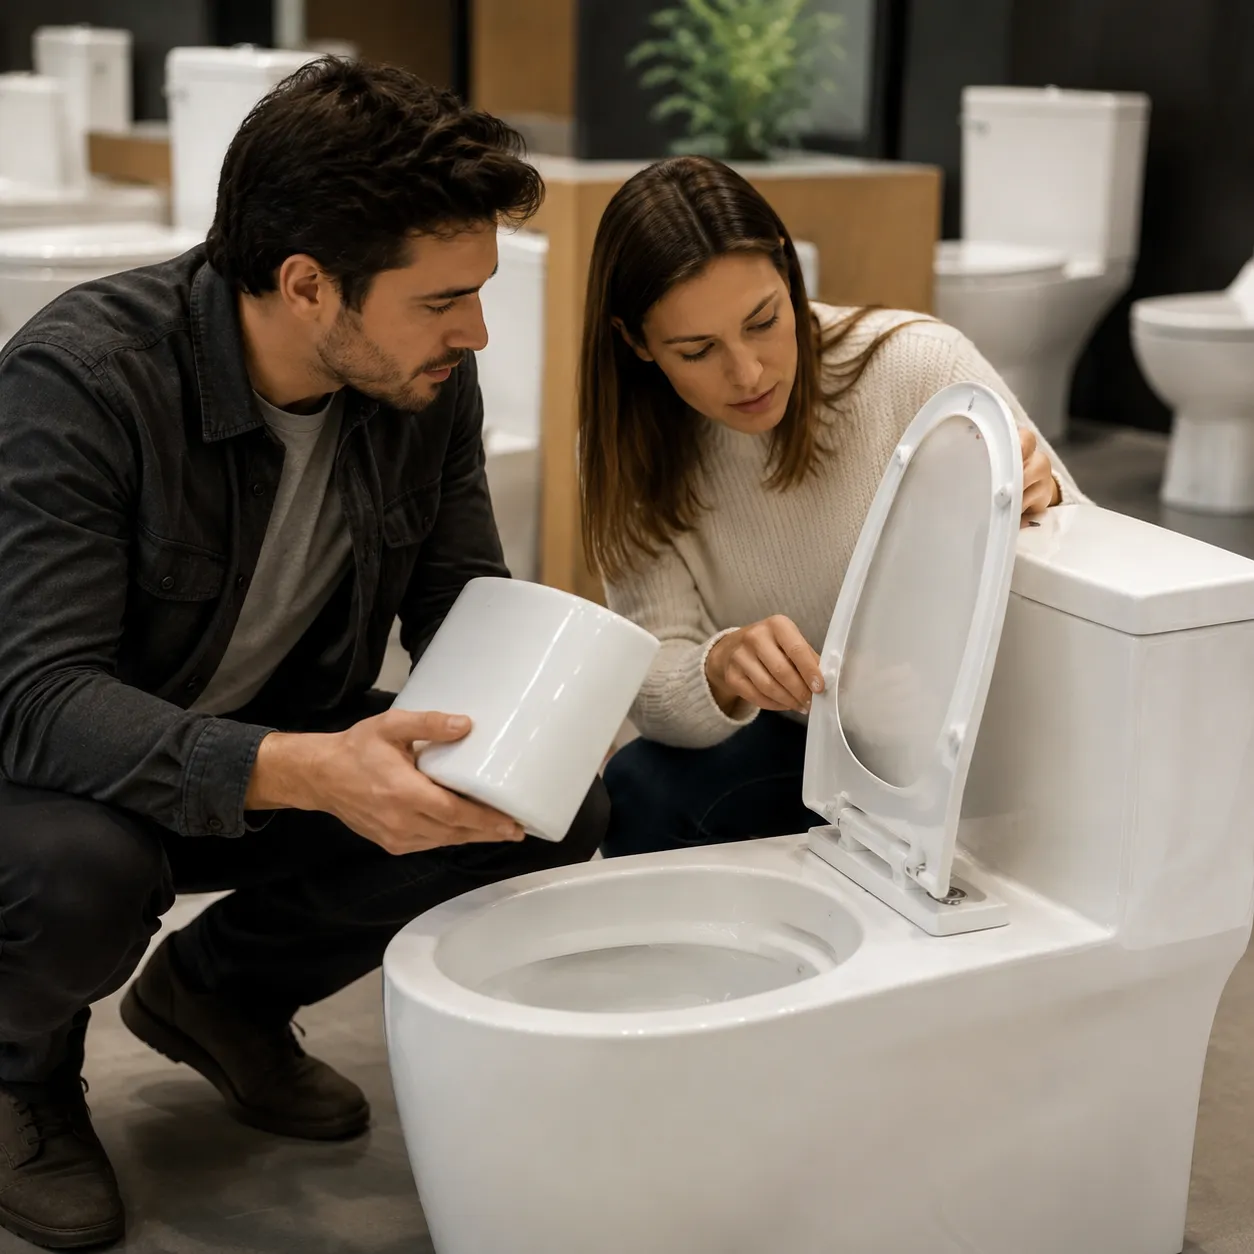
Finding the right one piece toilet components requires exact matching to ensure a leak-free seal and optimal flush power. We recommend checking three critical specifications before buying any replacement hardware.
Matching Flush Valve Sizes (2-inch vs 3-inch)
Measure the discharge opening at the bottom of the tank before purchasing a flush valve assembly.
| Valve Size | Standard Application | Key Traits |
|---|---|---|
| 2-Inch Valve | Standard & older models | Steady flow, uses traditional flapper or tower seals |
| 3-Inch Valve | Modern high-efficiency toilets | Rapid water discharge, stronger flush performance |
| 4-Inch Valve | Specialty oversized designs | Maximum velocity, brand-specific tank openings |
- Pro Tip: Measure the drain hole diameter at the bottom of the tank, not the top flapper cap.
Checking Top-Mount vs Side-Mount Lever Designs
The mounting hole location determines which toilet push button or toilet flush lever setup your tank accepts.
- Side/Front-Mount Levers: Uses a trip lever arm connected to a flapper chain.
- Top-Mount Push Buttons: Connects directly to a dual flush mechanism via dual pneumatic cables or direct push rods.
- Hole Geometry: Verify whether your tank lid or sidewall features a round or square mounting hole before installing new replacement toilet hardware.
Selecting Universal vs OEM Replacement Parts
We balance cost, durability, and exact fitment when selecting toilet service parts.
- Universal Parts: Cost-effective and widely compatible. Ideal for a standard toilet fill valve or quiet fill valve replacement.
- OEM Parts: Essential for custom tank geometries, unique push-button thread depths, and proprietary flush tower seals.
- Bottom Line: Choose universal options for standard fill valves, but stick to OEM components for custom flush valve towers and tank buttons.
Frequently Asked Questions About One Piece Toilet Components
Are one piece toilet components universal?
Not completely. While older two-piece units often rely on standard 2-inch fittings, one piece toilet components frequently feature 3-inch flush openings or specialized tank profiles.
- Flush valve assembly: Modern one-piece models usually feature an oversized 3-inch flush tower or a top-mounted toilet push button mechanism rather than a traditional flapper.
- Toilet fill valve: Standard bottom-entry valves generally fit, but slim or curved tank designs require a compact quiet fill valve replacement.
- Actuation style: Lever orientation varies between top-mount, side-mount, and front-mount. Always measure your valve diameter before buying replacement toilet hardware.
How do I fix a running one piece toilet?
A running unit usually points to a degraded toilet tank seal or an incorrect float level. Here is how we fix it step-by-step:
- Adjust float height: Turn the fill valve screw until water stops 1/2 inch below the top of the overflow tube.
- Clean or replace the seal: Mineral buildup prevents silicone washers from sealing flat against the flush valve assembly. Wipe the seal clean or replace it if warped.
- Swap the fill valve: If water continuously drains into the overflow pipe regardless of float height, replace the toilet fill valve.
How often should toilet fill valves and seals be replaced?
Water quality and chemical cleaners directly impact component lifespans. We recommend following this maintenance timetable:
- Toilet tank seal & flappers: Replace every 3 to 5 years. Drop-in bleach tablets accelerate rubber degradation.
- Toilet fill valve: Replace every 5 to 7 years, or immediately if refilling grows excessively slow or noisy.
- Toilet seat hinges: Inspect hardware annually to ensure quick-release latches and soft-close dampers stay secure.