Do One-Piece Toilets Have to Go Against the Wall?
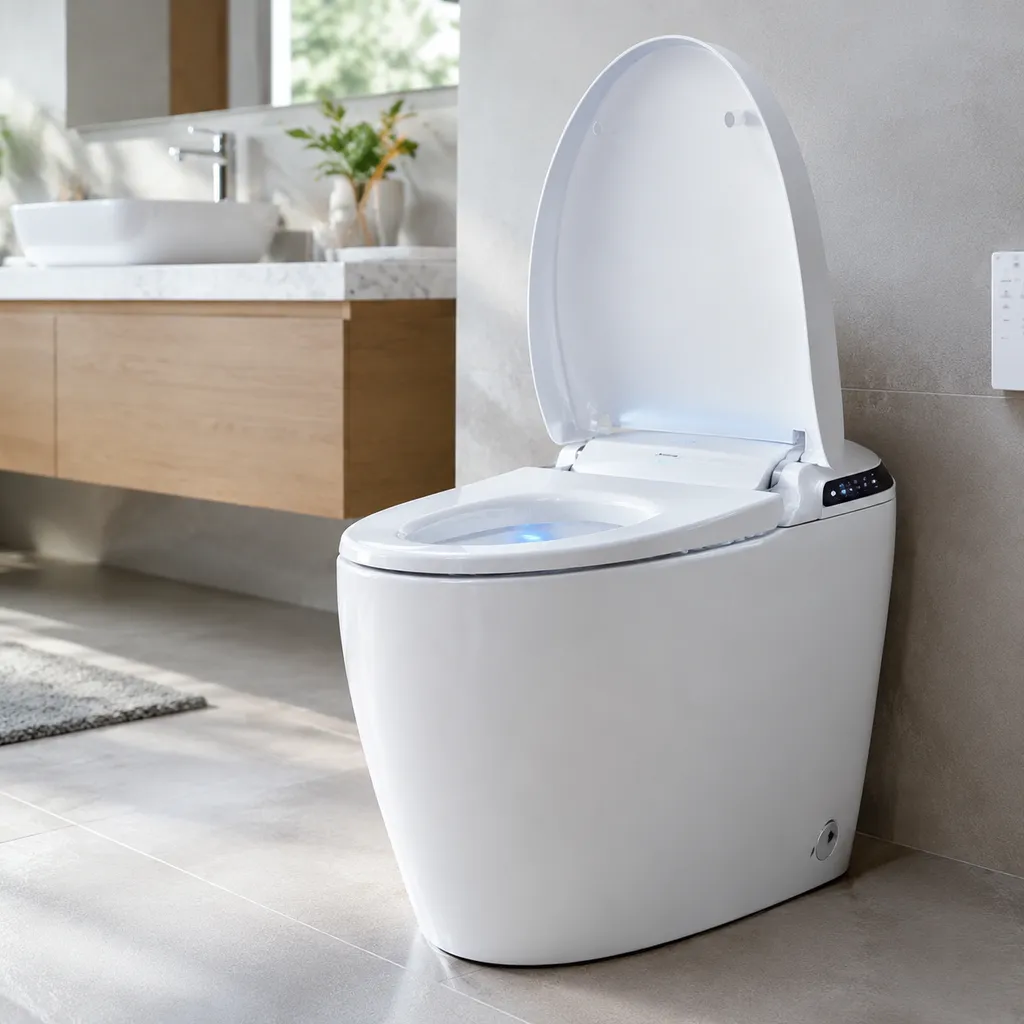
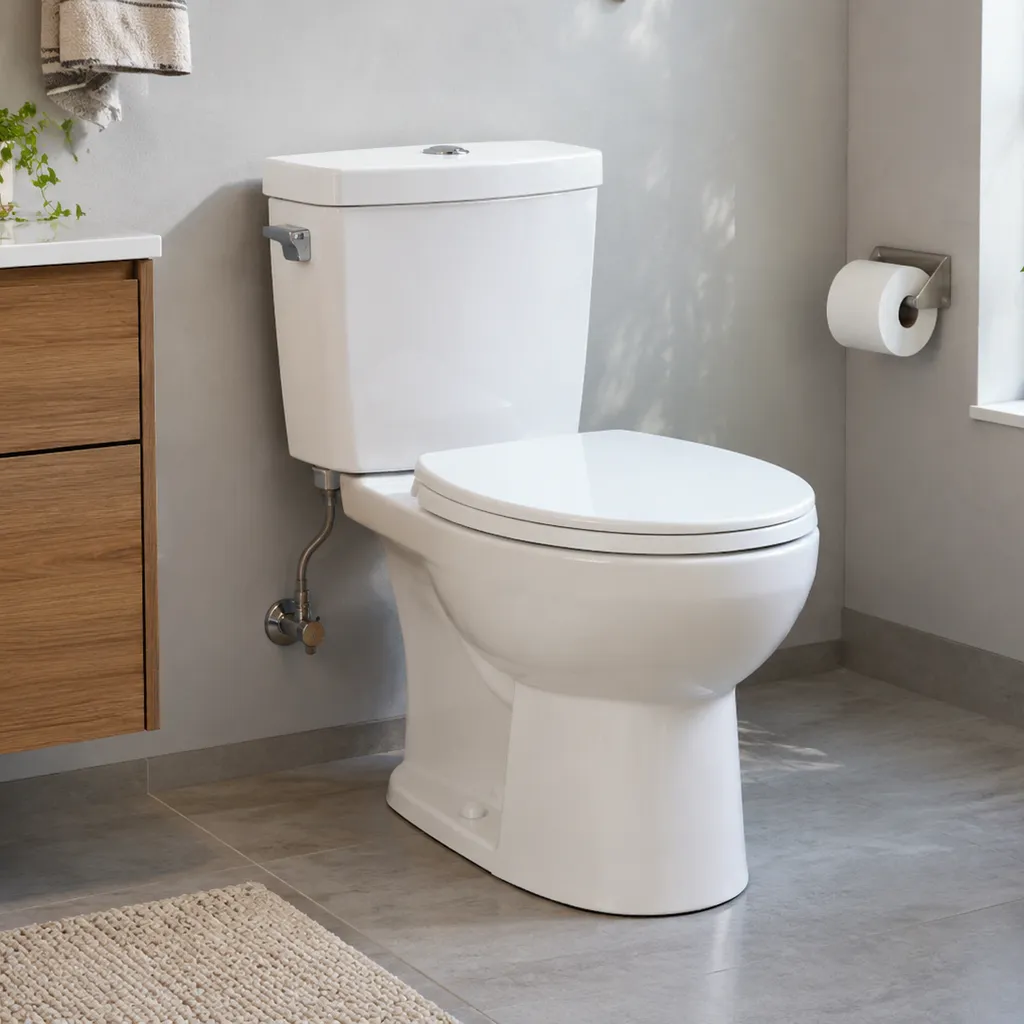
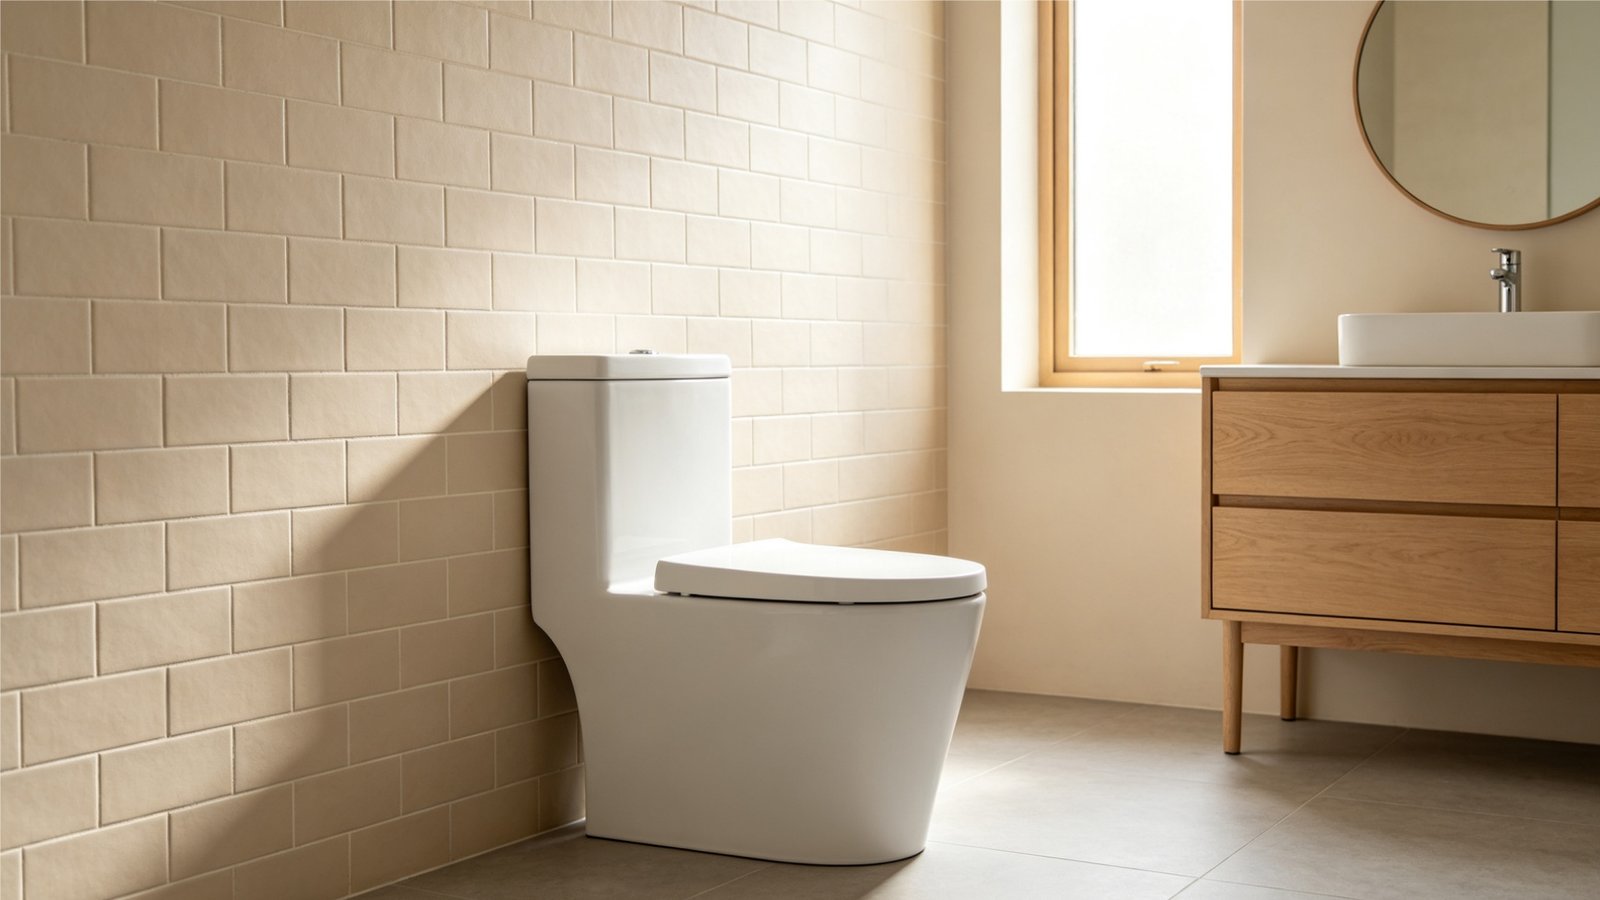
Standard floor-mounted one-piece toilets do not need to sit directly flush against the bathroom wall. A small gap between the back of the tank and the finished wall is standard engineering practice designed to ensure proper installation, prevent structural damage, and allow room for maintenance.
Understanding One-Piece Toilet Placement and Wall Gap
Floor-mounted one-piece toilets anchor to the floor rather than the wall. The exact distance from the wall is determined by your floor's waste pipe placement—known as the toilet rough-in distance—and not by the back wall itself.
- Standard Gap Size: A typical installation leaves a toilet tank gap of 0.5 to 1.5 inches.
- Structural Purpose: Walls are rarely perfectly straight or vertical; a built-in gap prevents uneven drywall from interfering with proper waste pipe alignment.
Why Standard One-Piece Toilets Do Not Touch the Wall
Placing a ceramic toilet tank directly against rigid drywall creates several long-term functional issues.
- Damage Prevention: House settling and vibration from flushing cause movement. Direct wall contact can crack porcelain or damage drywall.
- Lid Accessibility: A tight wall fit prevents smooth removal and replacement of the ceramic tank lid during routine maintenance.
- Air Circulation: Adequate clearance reduces moisture accumulation and mold growth caused by tank condensation.
- Plumbing Code Requirements: Proper spacing ensures full compliance with local plumbing code requirements for access and fitting stability.
Floor-Mounted vs. Wall-Hung Toilet Designs
Understanding the distinction between floor-mounted one-piece fixtures and true wall-mounted models clarifies installation expectations.
| Feature | Floor-Mounted One-Piece | Wall-Hung Toilet |
|---|---|---|
| Wall Contact | Leaves a 0.5 to 1.5-inch clearance gap | Mounted completely flush against the wall surface |
| Support Structure | Bolted directly to the floor flange | Supported by an in-wall steel carrier frame |
| Waste Outlet | Discharges vertically into the floor | Discharges horizontally into the wall cavity |
| Space Footprint | Extends further into the room | Saves up to 10–12 inches of floor space |
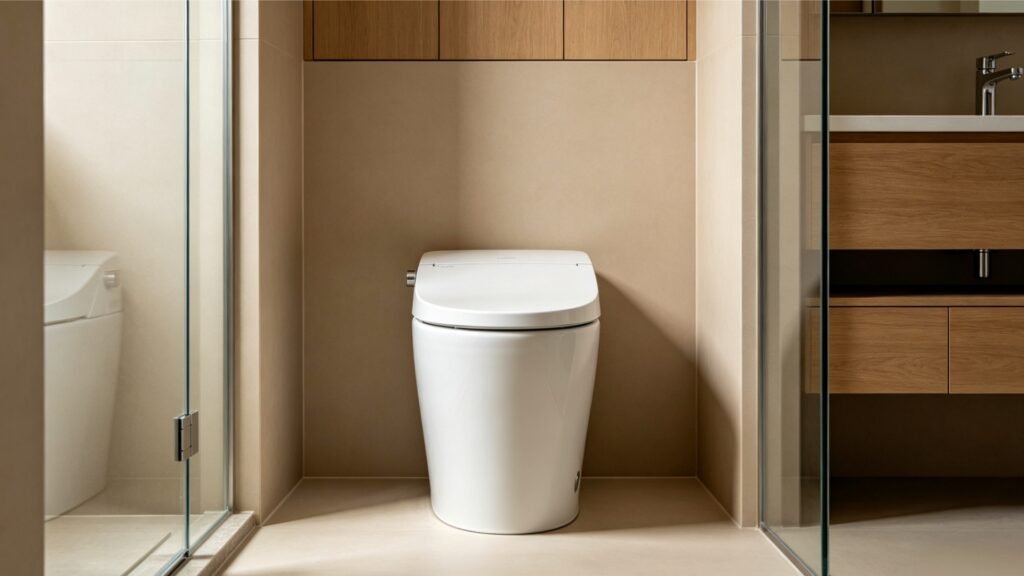
Rough-In Measurements and Wall Clearance Guidelines
What Is Toilet Rough-In and How It Impacts Wall Distance
The toilet rough-in distance is the space between the finished back wall and the center of your floor drain. This key measurement controls where the fixture sits in your room and dictates the final toilet tank gap. If your waste pipe alignment does not match the toilet specs, your unit will either hit the wall before sitting over the flange or sit awkwardly far forward.
How to Correctly Measure from Wall to Closet Flange
- Locate the Floor Bolts: Find the bolts securing the toilet base to the floor; these sit directly in the center of the drain outlet.
- Measure from the Drywall: Pull a tape measure from the finished wall behind the unit straight to the center of the closet flange bolts. Do not measure from baseboards or trim moldings.
- Check Drain Line Straightness: Confirm your drain pipe sits parallel to the side walls to ensure your one-piece unit aligns straight once mounted.
One-Piece Toilets vs. Wall-Hung Toilets
When clients ask me if do one piece toilets have to go against wall surfaces, I always compare them directly to wall-hung alternatives. While both offer a sleek, modern look, their footprint, plumbing alignment, and mounting systems differ completely.
Space-Saving and Layout Flexibility
Floor-mounted one-piece toilets sit directly on the subfloor over the waste line, leaving a standard toilet tank gap of 0.5 to 1.5 inches against the drywall. Wall-hung toilets eliminate the exterior tank entirely by mounting it inside the wall frame.
- Floor Footprint: Wall-hung toilets save up to 10 to 12 inches of room depth by concealing the water carrier inside the wall.
- Positioning Flexibility: One-piece toilets are locked into your existing toilet rough-in distance (typically 12 inches), whereas wall-hung models allow adjustable rim heights during installation.
- Visual Clearance: Floating wall-hung bowls make small bathrooms feel larger by keeping the floor continuous beneath the fixture.
Installation Requirements and Wall Structure
Installing a standard one-piece fixture requires basic plumbing hookups, whereas a wall-hung unit demands significant structural modifications behind the sheetrock.
| Installation Feature | Floor-Mounted One-Piece Toilet | Wall-Hung Toilet |
|---|---|---|
| Support Structure | Standard subfloor around the closet flange | Heavy-duty steel carrier frame inside the wall studs |
| Plumbing Alignment | Standard vertical floor waste pipe alignment | Horizontal in-wall waste line discharge |
| Wall Framing | Standard 2x4 stud wall behind fixture | Reinforced 2x4 or 2x6 wall cavity to hold carrier weight |
| Code Inspections | Standard residential plumbing code requirements | Framing and structural inspection required for wall frame |
Maintenance and Easy Cleaning Features
Both options drastically simplify bathroom maintenance compared to traditional two-piece models, but each offers distinct cleaning advantages.
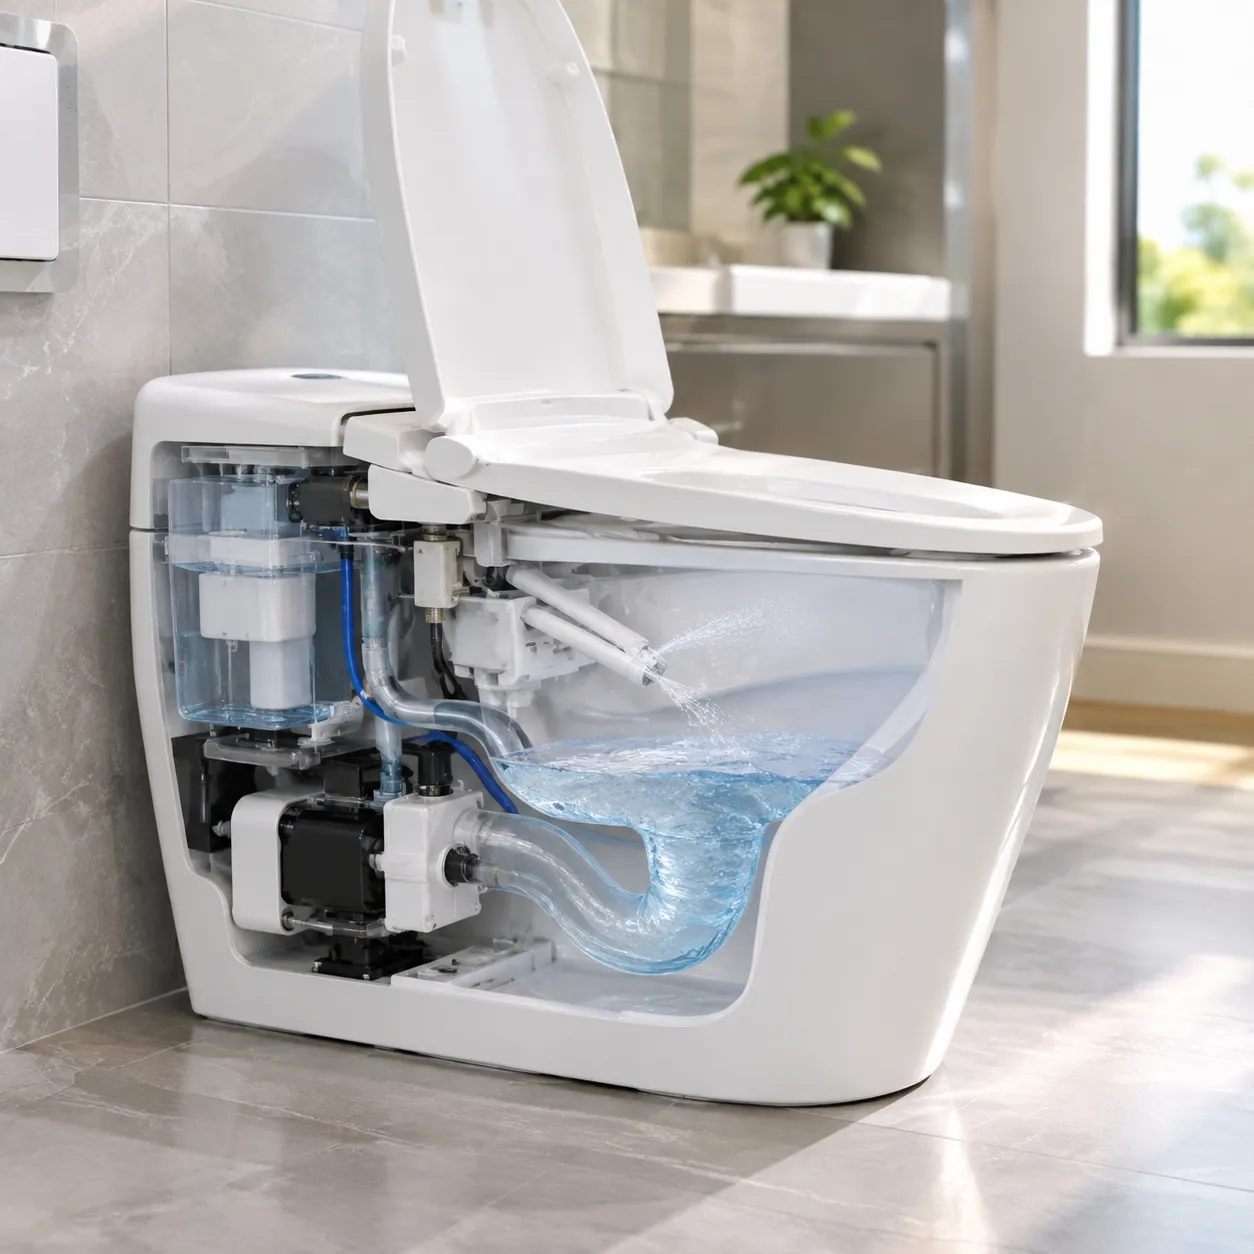
- Seamless Ceramic Body: One-piece designs fuse the tank and bowl together, eliminating the grime-catching seam found on traditional toilets.
- Unobstructed Floor Access: Wall-hung fixtures hover off the floor entirely, letting you mop straight underneath without scrubbing around floor bolts or wax ring seals.
- Component Reliability: One-piece toilets keep all flush valves and fill mechanisms exposed inside the exterior tank for effortless, tool-free servicing.
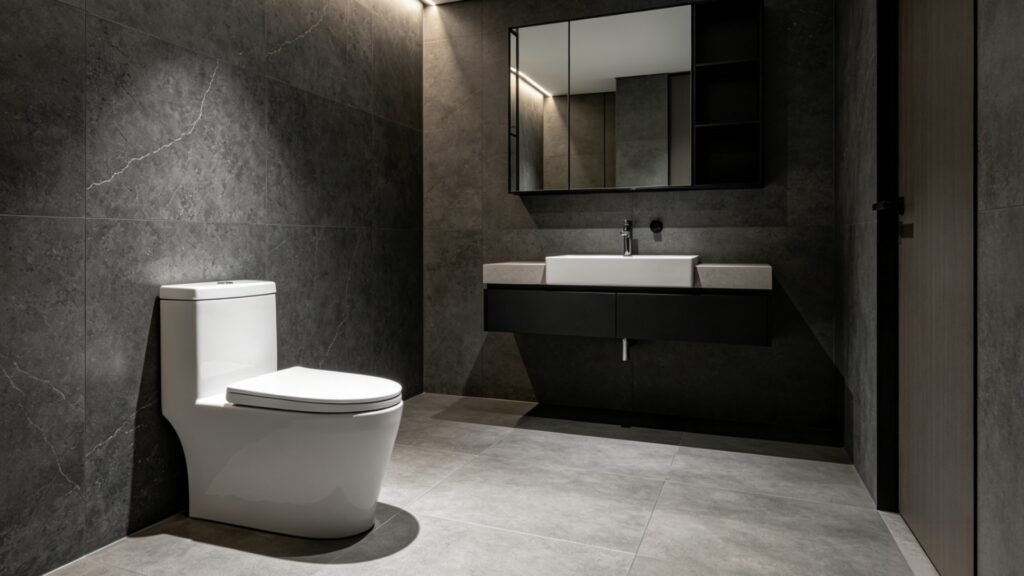
Installation Factors for One-Piece Toilet Wall Alignment
When installing a one-piece toilet, precise plumbing placement determines how close the unit sits to your bathroom wall. Because the tank and bowl form a single solid piece of ceramic, accurate positioning during early installation steps prevents uneven gaps and fitment issues.
Positioning the Closet Flange and Wax Seal
Achieving proper waste pipe alignment is the primary factor in setting your toilet's distance from the back wall.
- Center the Flange: Align the closet flange so its mounting slots run parallel to the rear wall, exactly centered at your desired toilet rough-in distance (typically 12 inches).
- Flange Height: Mount the flange top ring roughly 1/4 inch above the finished floor level to guarantee a proper compression seal.
- Set the Wax Ring: Position a high-grade wax seal or rubber gasket centered over the flange opening before lowering the ceramic unit.
Connecting Water Supply Lines Behind the Unit
One-piece toilets feature solid porcelain skirts that restrict hand space behind the bowl, making water line placement critical for proper clearance.
- Position the Valve: Set the shut-off valve 6 inches to the left of the bowl centerline and 6 to 8 inches above the floor to prevent it from bumping the ceramic body.
- Use Flexible Lines: Attach a flexible braided stainless steel supply line to the fill valve before placing the toilet over the flange bolts.
- Protect the Back Wall: Keep connections flush so the hose does not press against the drywall or widen the toilet tank gap.
Avoiding Common Wall-Spacing Mistakes During Setup
Minor measuring oversights during installation create noticeable alignment issues and potential building code violations.
| Installation Mistake | Impact on Toilet Alignment | Proper Setup Solution |
|---|---|---|
| Measuring from Baseboards | Shifts the unit too far forward from the wall | Always measure rough-in distances from the finished drywall, not trim. |
| Uneven Flange Slots | Causes the toilet tank to sit crooked against the wall | Ensure closet bolts are perfectly parallel with the back wall. |
| Ignoring Side Clearances | Fails local plumbing code requirements | Keep at least 15 inches of clearance from the bowl centerline to any side wall or vanity. |
How to Fix a Large Gap Between the Toilet Tank and Wall
A large space behind your fixture usually means the drain outlet doesn't match the unit's dimensions. While standard fixtures don't need to touch the wall directly, an oversized toilet tank gap looks unfinished and wastes space. Correcting this comes down to matching hardware or using simple architectural workarounds.
Choosing the Right Rough-In Size
The most direct fix is selecting a fixture built for your exact toilet rough-in distance. Installing the wrong size creates severe spacing issues:
| Rough-In Measurement | Ideal Use Case | Wall Clearance Impact |
|---|---|---|
| 10-Inch | Older homes, compact bathrooms | Leaves a ~2-inch extra gap on a standard 12-inch pipe |
| 12-Inch | Standard modern residential builds | Maintains the ideal 0.5-inch to 1-inch clearance |
| 14-Inch | Custom or legacy plumbing layouts | Sitting on a 12-inch pipe will push the fixture too far forward |
Measuring from the finished wall to the center of the closet bolts ensures you select a unit that sits naturally close to the wall.
Using Offset Flanges or Wall Extensions
When keeping your current fixture is necessary, adjusting the underlying structure or plumbing bridges the gap:
- Install an Offset Closet Flange: An offset flange lets you shift the waste pipe alignment by 1 to 2 inches without breaking up concrete or subflooring. Always check local plumbing code requirements to ensure offset fittings are permitted for your waste line.
- Build out a Faux Wall Ledge: Framing a shallow wall extension or furring strip behind the unit brings the wall forward to meet the tank, creating a built-in ledge for toiletries.
Decorative Solutions for Bathroom Wall Gaps
If moving plumbing isn't practical, strategic design fixes disguise excess clearance:
- Wainscoting and Accent Panels: Adding beadboard, board-and-batten, or wall tile behind the tank reduces the depth of the gap by up to an inch.
- Floating Shelves and Storage Units: Mounting tiered shelving directly above the tank draws visual focus away from the wall gap.
- Extended Countertop Ledges: Continuing a granite or quartz vanity top over the toilet creates a seamless shelf that hides space behind the tank.