What Is a One-Piece Toilet Rough-In?
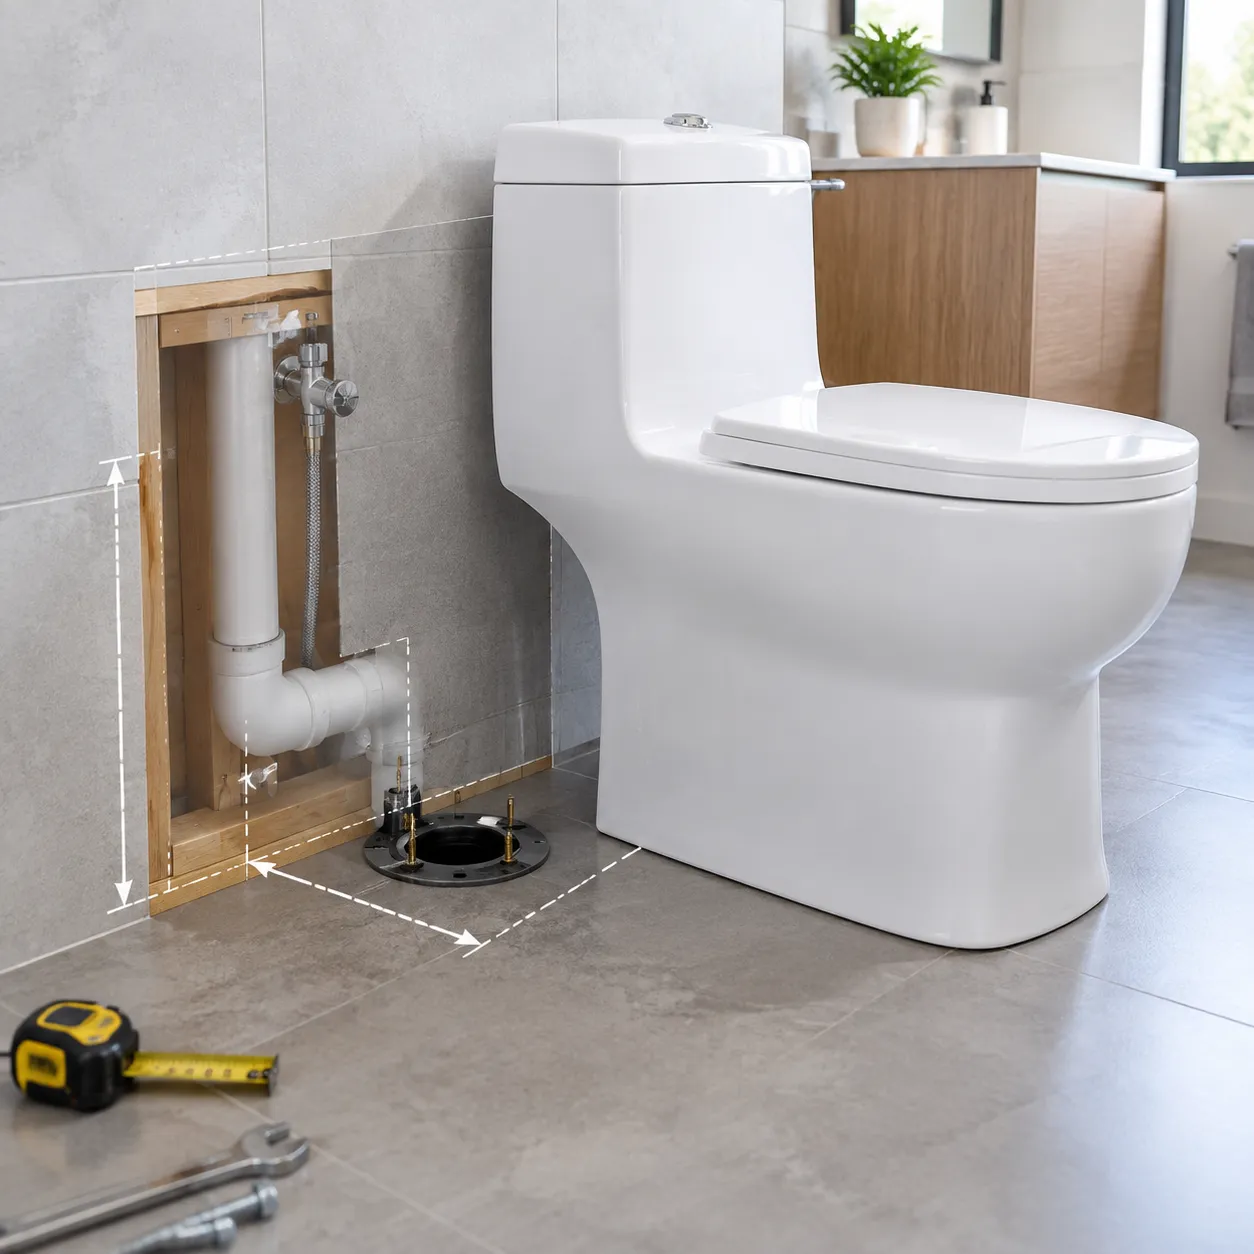
A one-piece toilet rough-in refers to the exact distance from the finished back wall to the center of the floor waste outlet (the toilet flange). Because a one-piece toilet integrates the tank and bowl into a single solid ceramic casting, knowing your exact rough-in measurement is essential before purchasing and installing your fixture.
Understanding the Rough-In Dimension
The rough-in represents the critical layout spacing required to align your bathroom's drainage system with the fixture.
- Plumbing rough in measurement: The straight horizontal line taken from the finished wall to the toilet flange center (or the center of the closet bolts securing the base).
- Wall-to-flange distance: Standard installations require this span to match the manufacturer's specific rough-in rating for the trapway to seal properly.
- Finished wall baseline: The measurement must always start from the drywall or tile surface, excluding baseboards or decorative trim.
Why Accurate Rough-In Measurement Matters
Precision during rough-in planning prevents costly plumbing relocations and ensures a secure, leak-free installation.
- Prevents Installation Failure: If the space between the wall and flange is smaller than the toilet's required dimension, the back of the toilet will collide with the wall, making bolt attachment impossible.
- Eliminates Awkward Gaps: Buying a unit designed for a smaller rough-in than your space provides creates an excessive, unsightly gap behind the tank that wastes floor space.
- Protects the Wax Ring Seal: A correctly aligned rough-in ensures direct vertical compression onto the gasket, stopping sewer gases and water leaks permanently.
Standard Toilet Rough-In Sizes Explaine
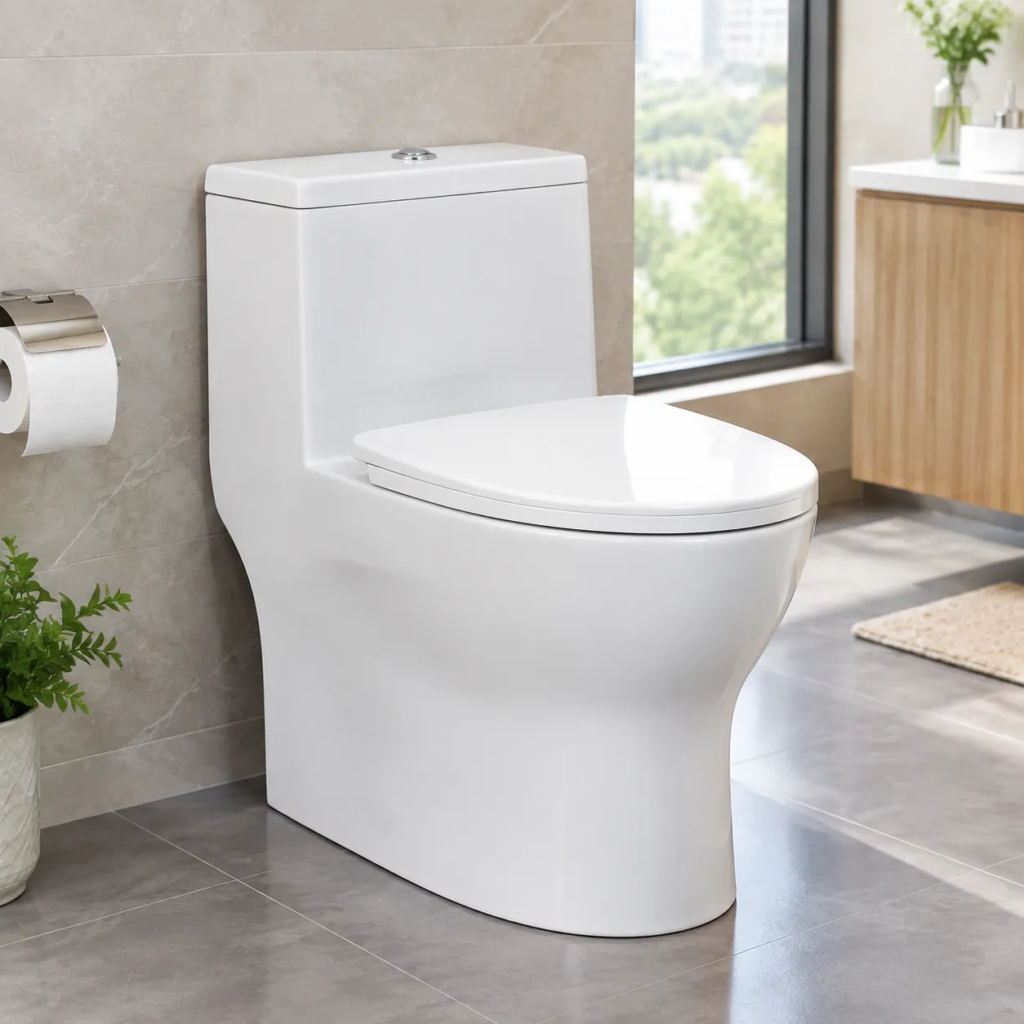
When shopping for a one-piece toilet, knowing the standard rough-in sizes ensures a seamless fit without costly plumbing modifications. Rough-in dimensions determine how far your drain sits from the wall, dictating which models will work in your space.
| Rough-In Size | Common Application | Model Availability |
|---|---|---|
| 10-Inch (254 mm) | Tight spaces, older builds, basement baths | Limited selection |
| 12-Inch (305 mm) | Modern residential construction (Standard) | Widest variety |
| 14-Inch (356 mm) | Older properties, retrofits | Specialized selection |
12-Inch Rough-In (Industry Standard)
The 12-inch rough-in is the universal benchmark across modern residential construction.
- The Measure: Measures exactly 12 inches from the finished wall to the toilet flange center.
- Variety: Provides the broadest selection of styles, flushing systems, and skirted one-piece toilet designs.
- Fit: Offers optimal tank clearance without leaving excessive gaps behind the fixture.
In our installations, we always recommend verifying the wall-to-flange distance beforehand to ensure standard compatibility.
10-Inch and 14-Inch Non-Standard Sizes
Not every bathroom conforms to standard dimensions. Non-standard rough-in sizes require precise model selection to prevent clearance issues:
- 10-Inch Rough-In: Ideal for compact bathrooms, retrofits, or older renovations where the plumbing rough in sits tighter to the wall. Using a standard unit here will cause the tank to hit the wall before the base aligns with the flange.
- 14-Inch Rough-In: Typically found in older properties. Installing a standard 12-inch toilet leaves a two-inch gap between the tank and wall, which functions normally but creates an awkward aesthetic.
Flexible Adaptors and Unifit Rough-In Systems
Relocating waste pipes through concrete or finished subfloors is labor-intensive and expensive. Modern manufacturers offer specialized components to bridge non-standard gaps easily:
- Unifit Adapter Systems: Modular trapway adaptors that allow specific skirted one-piece toilets to adapt instantly to 10-inch, 12-inch, or 14-inch rough-in locations.
- Offset Closet Flanges: Provide up to 1.5 inches of shift in any direction when aligning the drain pipe to the toilet base.
- Direct Fit Traps: Integrated rear discharge and modular connectors designed to preserve factory warranties while eliminating structural adjustments.
How to Measure Rough-In for a One-Piece Toilet
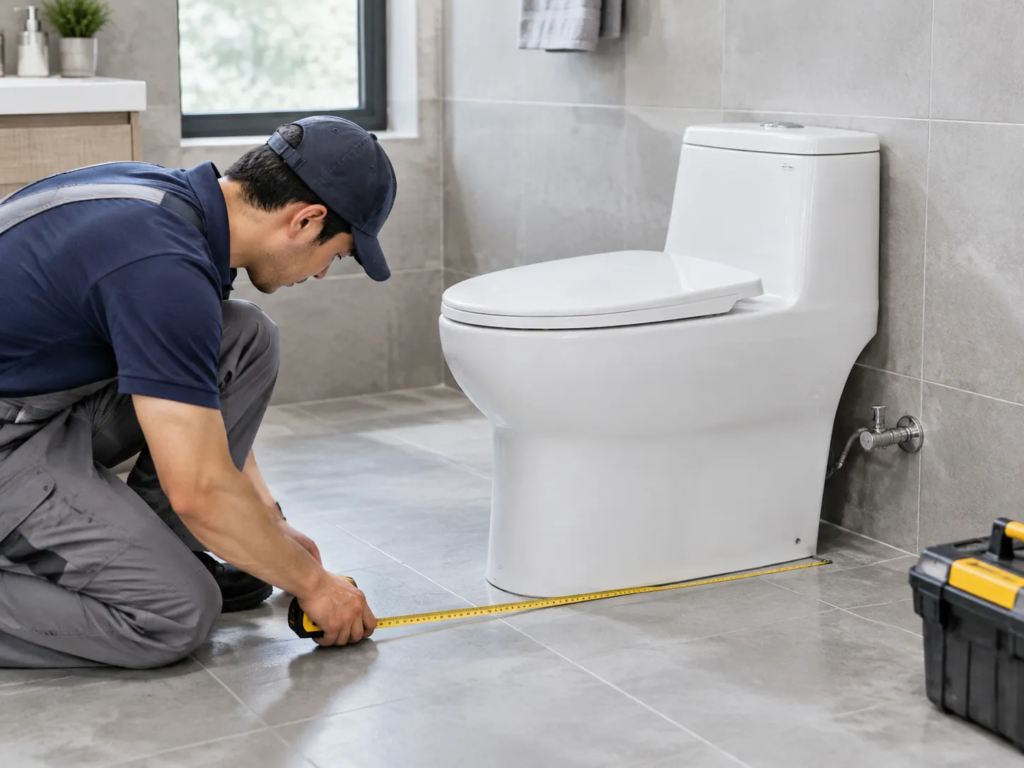
Getting the correct measurement for your one-piece toilet ensures a smooth, leak-free installation without unwanted gaps behind the tank.
Measuring from the Finished Wall to the Flange Bolts
To find the true wall-to-flange distance, follow these direct steps:
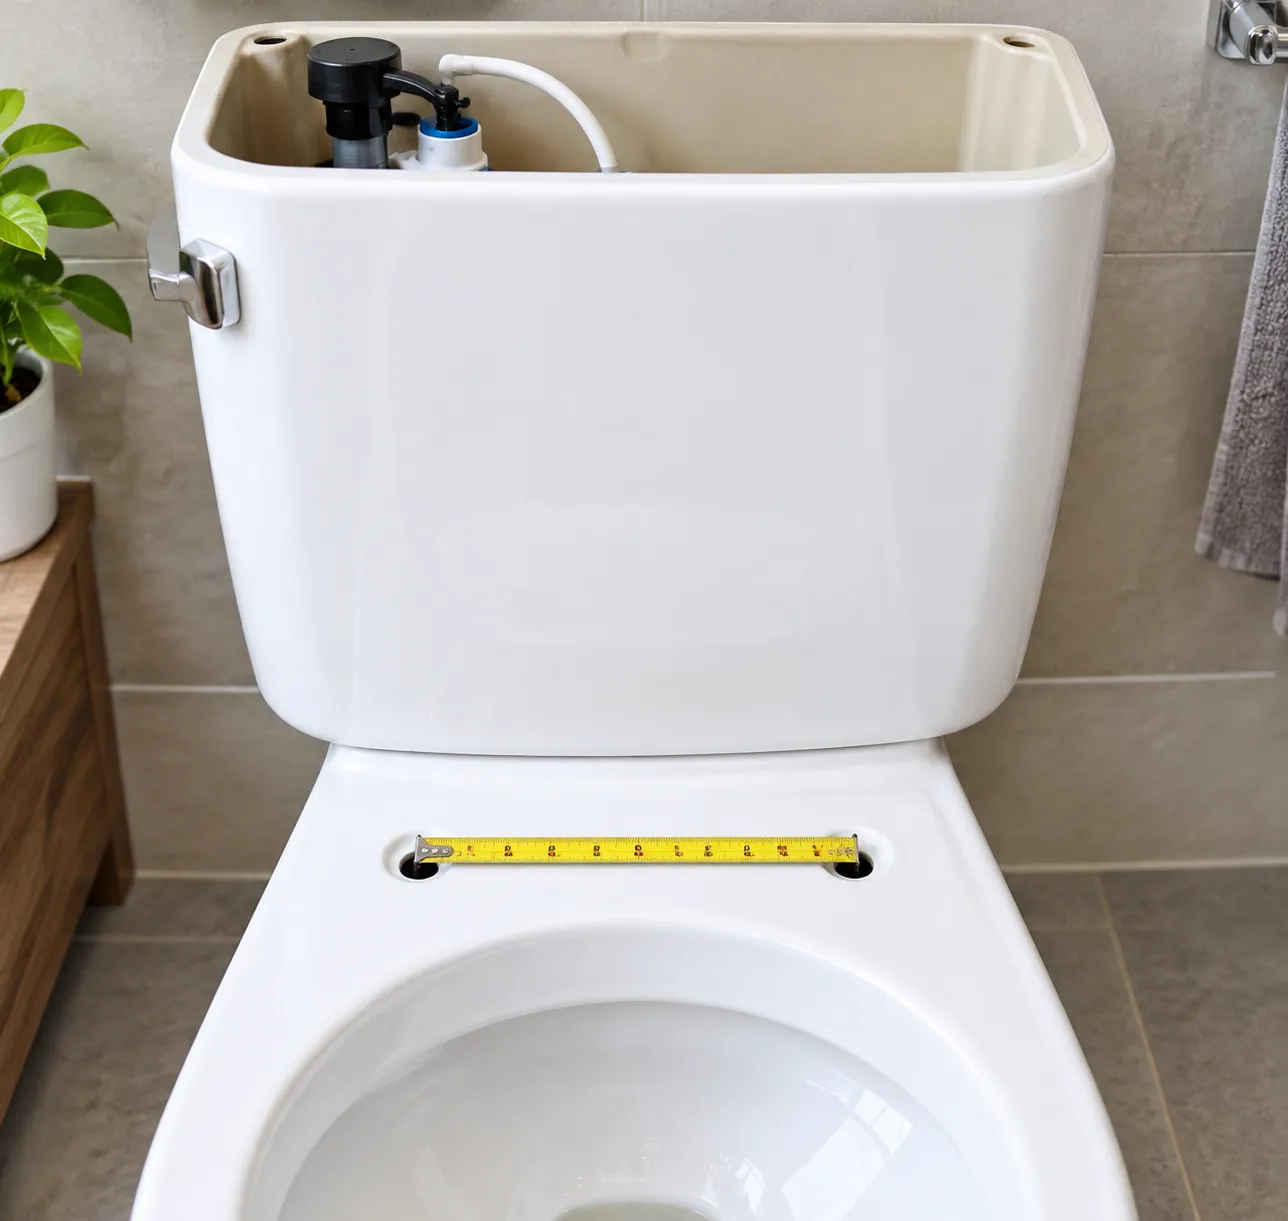
- Locate the bolts: Find the caps covering the closet bolts on either side of your existing toilet base.
- Set the tape measure: Place the end of your tape measure against the finished drywall behind the toilet.
- Measure to the center: Pull the tape straight to the center of the closet bolt. This measurement represents the toilet flange center.
| Measurement Reading | Standard Fit Category |
|---|---|
| 11.5" to 12.5" | Standard 12-inch rough-in |
| 9.5" to 10.5" | 10-inch compact rough-in |
| 13.5" to 14.5" | 14-inch extended rough-in |
Accounting for Baseboards and Tile Thickness
Always measure directly from the solid, finished wall surface rather than the trim:
- Avoid the baseboard: Measuring from trim or molding distorts the actual baseboard clearance by 1/2 inch or more, leading to purchasing the wrong toilet size.
- Unfinished walls: If your bathroom is down to the studs during a remodel, add the thickness of the drywall and future tile (typically 1/2" to 3/4") to your plumbing rough in calculation.
Checking Water Supply Line Placement
One-piece toilets frequently feature wide, skirted bases that require adequate side space for the shut-off valve:
- Horizontal clearance: Measure from the center of the flange to the left side of the wall. Ensure there is at least 6 to 8 inches of space for the stop valve.
- Vertical height: Verify that the water supply line sits roughly 6 inches above the finished floor level to prevent interference with low-profile one-piece toilet trapways.
Measuring Bathroom Clearances for One-Piece Toilets
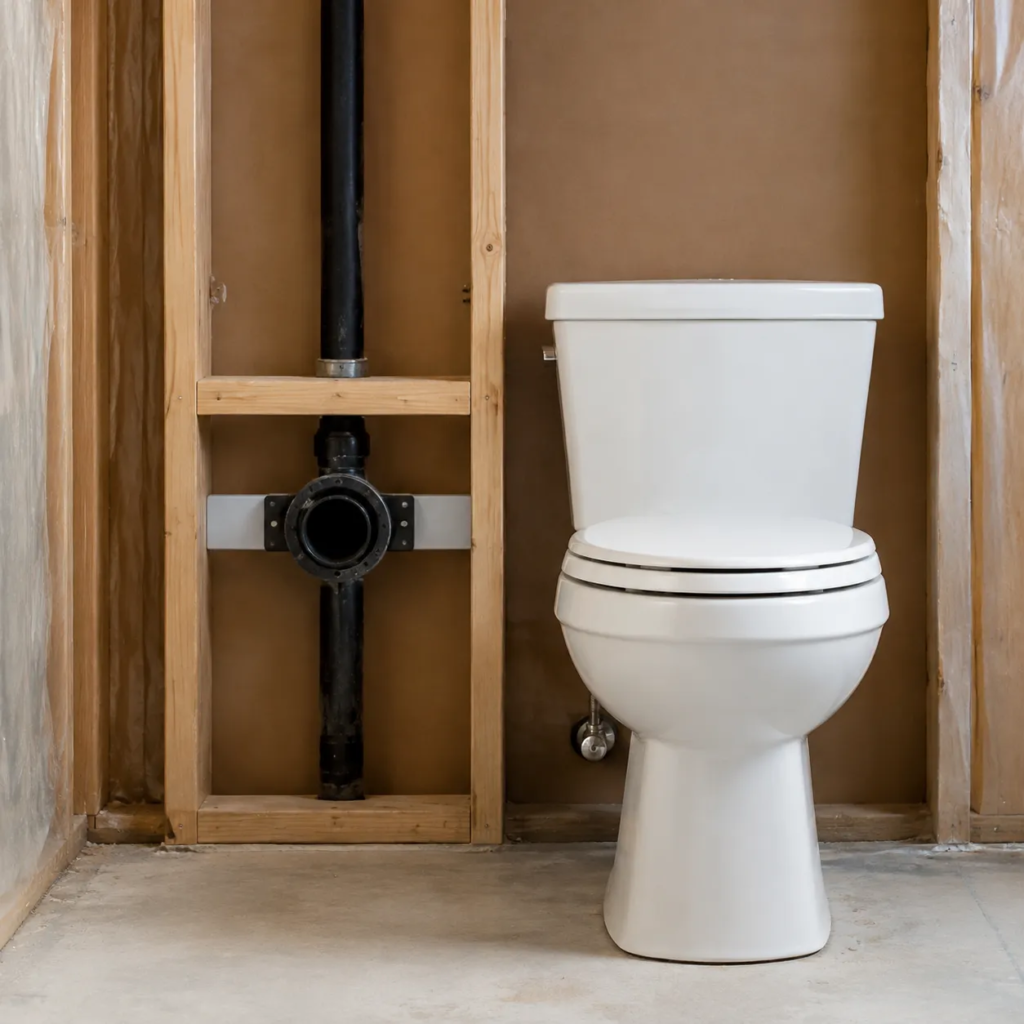
Understanding what is rough in for one piece toilet setups goes beyond the wall-to-flange distance. Clearances around the fixture determine whether your bathroom meets local building codes and remains functional for daily use. We always evaluate both rough-in depth and surrounding room boundaries before selecting a one-piece unit.
Side Clearance Requirements
Side space ensures proper elbow room and allows for easy cleaning around the seamless base of a one-piece toilet.
- Centerline to Side Wall: Maintain a minimum of 15 inches (38.1 cm) from the toilet flange center to any side obstruction, such as a finished wall, vanity, or shower glass.
- Total Width: Ensure a total unobstructed width of at least 30 inches (76.2 cm) for the fixture footprint.
- Baseboard Allowance: Factor in baseboard clearance along side walls, especially if you choose a one-piece model with a wider, fully skirted trapway.
Front Clearance and Knee Room Space
Front clearance directly affects knee room and the overall traffic flow in your bathroom.
- Minimum Code Requirement: Building codes generally require at least 21 inches (53.3 cm) of clear space in front of the toilet bowl edge.
- Comfort Standard: For optimal usability, we recommend planning for 24 to 30 inches (61 to 76.2 cm) of open space.
- Door Clearance: Confirm that swinging bathroom doors, shower doors, and vanity pull-out drawers do not collide with the front rim of the bowl.
One-Piece Toilet Bowl Shapes and Front Dimensions
The total depth of your one-piece toilet depends on the bowl profile you install over your plumbing rough in.
| Bowl Shape | Total Depth (From Finished Wall) | Recommended Clearance Space | Best Application |
|---|---|---|---|
| Round Front | 25" – 28" (63.5 – 71 cm) | 21" min. front clearance | Powder rooms and compact bathrooms |
| Elongated | 28" – 31" (71 – 78.7 cm) | 24"+ front clearance | Master baths and spacious layouts |
| Compact Elongated | 26" – 28" (66 – 71 cm) | 21" – 24" front clearance | Tight spaces needing elongated comfort |
- Round-Front Models: Feature a shorter projection, making them the best match for tight powder rooms where front clearance is limited.
- Elongated Models: Offer an ergonomic, oval seating area extending an extra 2 inches forward, requiring adequate open space in front.
- Compact Elongated Models: Combine an elongated seat with a space-saving one-piece tank structure, preserving walkway space while maintaining comfort.
How to Choose and Buy the Right One-Piece Toilet
Understanding what is rough in for one piece toilet installations ensures you purchase a fixture that fits your bathroom layout without costly plumbing modifications. Matching your exact floor measurements to the product specifications eliminates installation delays and returns.
Matching One-Piece Toilet Models to Your Measurement
When selecting a fixture, always align your wall-to-flange distance directly with the manufacturer specifications. One-piece toilets feature a seamless tank-and-bowl casting, meaning you cannot adjust the tank position relative to the base.
| Measured Distance | Recommended Toilet Spec | Fit Characteristics |
|---|---|---|
| 11.5" to 13" | 12-Inch (Standard) | Sits flush against standard plumbing rough in setups |
| 9.5" to 11" | 10-Inch (Compact) | Designed for small footprints and older home configurations |
| 13.5" and above | 14-Inch (Deep) | Fills deep recesses; 12-inch models also fit but leave a larger rear gap |
Solutions for Non-Standard Rough-In Sizes
If your bathroom features non-standard spacing, several practical solutions allow you to install a modern one-piece fixture:
- Unifit Adapter Systems: Modular trapway systems adapt a standard fixture to fit 10-inch, 12-inch, or 14-inch dimensions without relocating the drainpipe.
- Dedicated Rough-In Models: Specially engineered 10-inch or 14-inch one-piece toilets provide a factory fit for unusual floor layouts.
- Offset Closet Flanges: An offset flange shifts the toilet flange center up to 1.5 inches in any direction to accommodate minor alignment issues.
Common Rough-In Measurement Mistakes to Avoid
Avoiding simple measuring errors ensures a seamless, gap-free installation:
- Measuring from the Baseboard: Always measure directly from the finished drywall or tile. Factoring in thick baseboard clearance skews the measurement and leads to ordering the wrong size.
- Mislocating the Flange Center: Ensure your tape measure targets the center of the floor drain or the closet bolts, not the outer edge of the flange ring.
- Ignoring Water Supply Lines: Verify that the existing stop valve does not collide with the wider, skirted base common on modern one-piece designs.
- Confusing Total Depth with Rough-In: The rough-in refers strictly to the floor connection point, not the total exterior footprint or bowl extension into the room.