Tools and Preparation for Removing a One-Piece Toilet Seat
Proper preparation ensures a smooth, efficient removal process when learning how to remove one piece toilet seat hardware. Gathering the correct gear and setting up a hygienic workspace protects your fixture and speeds up maintenance.
Essential Tools and Equipment Needed
Removing a seat from a modern one-piece ceramic toilet requires standard hand tools tailored for top-fixing expansion mounts:
- Flathead Screwdriver: Safely pops open the decorative seat cap cover on hidden hinge designs.
- Phillips Head Screwdriver: Fits the top-access mounting bolts and expansion screws used on blind-hole mounts.
- Adjustable Wrench: Provides extra leverage for gripping stubborn base pins or lower nuts.
- Penetrating Oil (WD-40): Loosens corroded metal fasteners fast.
- Plastic Putty Knife: Safely pries up base caps without scratching porcelain glaze.
Safety and Sanitation Guidelines
Bathroom fixtures harbor bacteria; follow these essential precautions before starting work:
- Wear Heavy-Duty Nitrile Gloves: Protects hands from germs, grime, and sharp, degraded hardware.
- Disinfect First: Spray antibacterial cleaner over the mounting bases and hinge assemblies before touching hardware.
- Protect Your Workspace: Place a rag or foam board underneath the work zone to catch loose screws and protect the floor.
- Control Force: Apply firm, controlled pressure with your screwdriver to avoid stripping screw heads or damaging porcelain finish.
Understanding One-Piece Toilet Seat Fixing Types
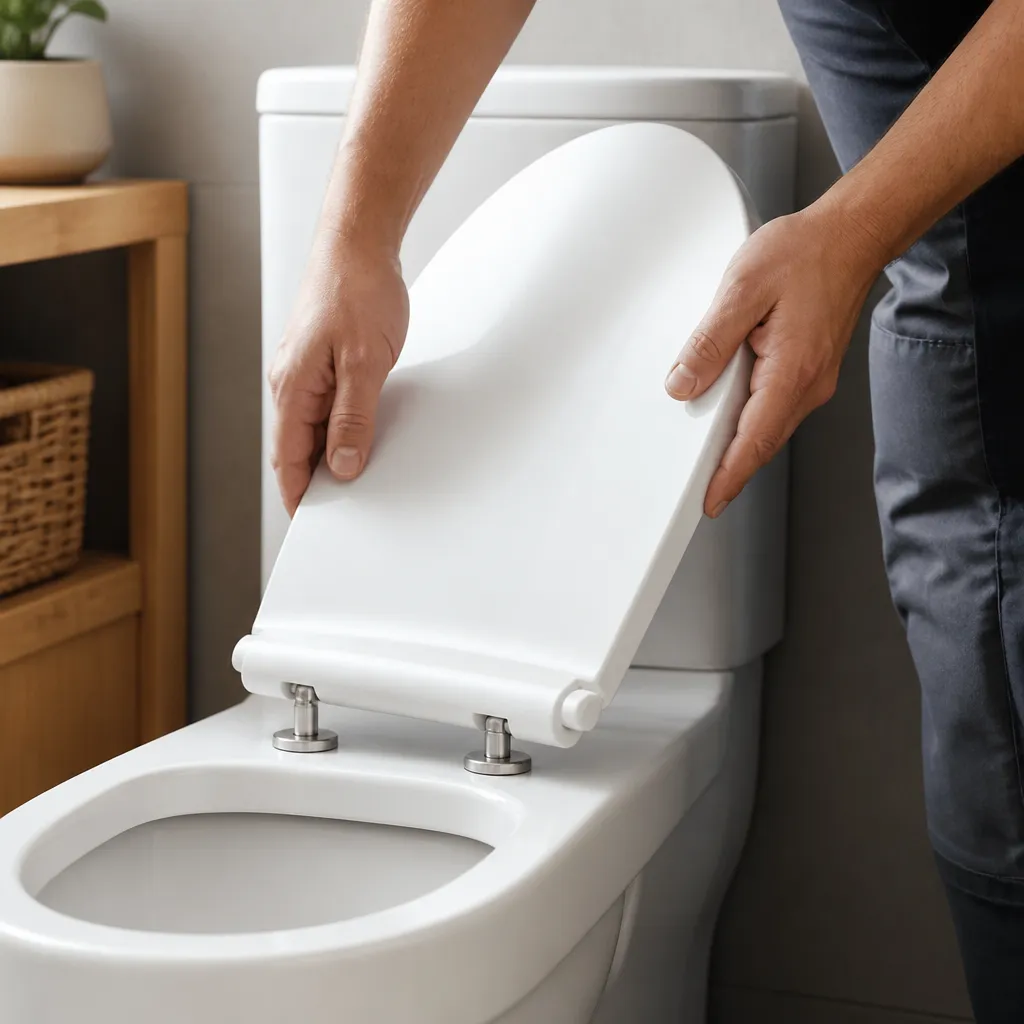
When working with modern sanitaryware, we design one-piece toilets with seamless outer walls that eliminate reach-through access to the underside of the bowl. Because you cannot reach beneath the porcelain, learning how to remove a one-piece toilet seat starts with identifying the top-mount fixing system used on your fixture.
Top-Fixing (Blind Hole) Expansion Bolts
Most one-piece units rely on top-fixing hardware installed entirely from above the ceramic surface:
- Rubber Expansion Well Nuts: A rubber sleeve drops into the blind mounting hole. As you drive in the mounting bolts, the rubber expands beneath the porcelain rim to lock the seat in place.
- Toggle Bolts & Metal Anchors: Heavy-duty metal fasteners drop through the top and spring open beneath the ceramic rim, secured firmly from above using a standard screwdriver.
Quick-Release and Hidden Hinge Mechanisms
Premium one-piece toilets feature modular hinge systems designed for effortless removal:
- Push-Button Quick Release: A single or double release button at the back of the seat lets you lift the seat straight off the base pins in seconds.
- Concealed Hinge Caps: A decorative metal or plastic seat cap cover snaps over the mounting base to hide screws, prevent rusting, and keep moisture out.
Step-by-Step Guide: How to Remove a One-Piece Toilet Seat
Removing a seat from a seamless porcelain body requires a top-down approach since there is no open access under the bowl. Here is the exact method we use to strip down the top-fixing hardware cleanly without damaging the ceramic surface.
Step 1: Access the Hinge Caps and Mounting Bolts
Locate the protective seat cap cover over each hinge mechanism at the back of the toilet seat. Insert a thin flat-head screwdriver or putty knife under the back edge of the cap. Gently pry upward until the cover snaps open, exposing the top-fixing mounting bolts beneath.
Step 2: Loosen Top-Fixing Expansion Screws
One-piece designs rely on rubber well nuts or expansion anchors that collapse inside the blind holes when tightened. Insert a Phillips-head screwdriver into the top of the bolt. Turn the screw counterclockwise to loosen the anchor's tension inside the porcelain channel. Continue unthreading until the screw turns freely and releases its grip on the expanding lower sleeve.
Step 3: Lift Off the Seat and Remove Hardware
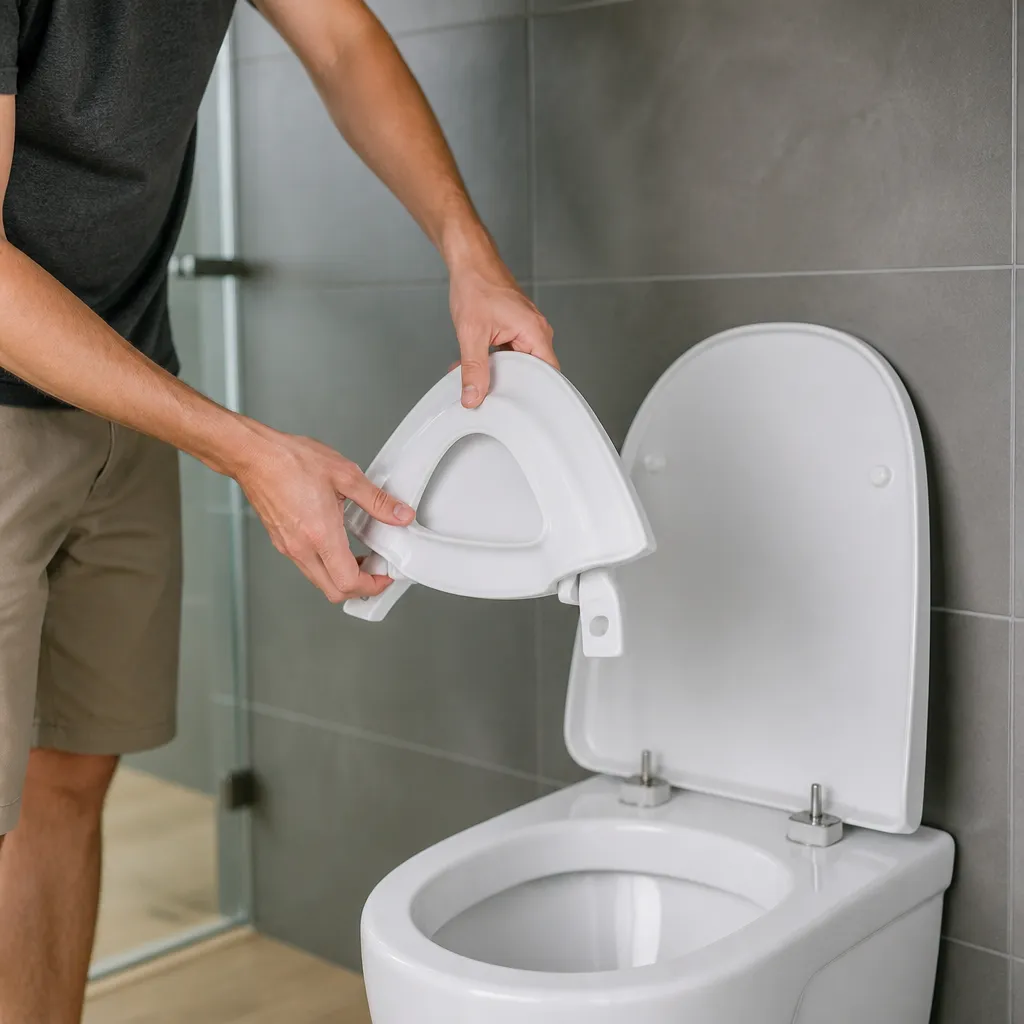
With the tension released, the seat and its base components will disconnect easily. Pull the toilet seat straight up and away from the rim. Pull out the remaining top-fixing screws, washer plates, and rubber expansion plugs from the two mounting holes. Set the old fittings aside for disposal or reuse.
Step 4: Clean and Sanitize the Toilet Rim
The area underneath sealed hinge covers collects hidden mineral deposits, soap scum, and bacteria over time. Apply a heavy-duty disinfectant or multi-surface spray directly over the exposed mounting zone. Scrub around the mounting holes with a non-abrasive pad to remove build-up. Dry the porcelain completely with a microfiber cloth so the surface is clean and prepped for the new hardware installation.
How to Remove a Quick-Release One-Piece Toilet Seat
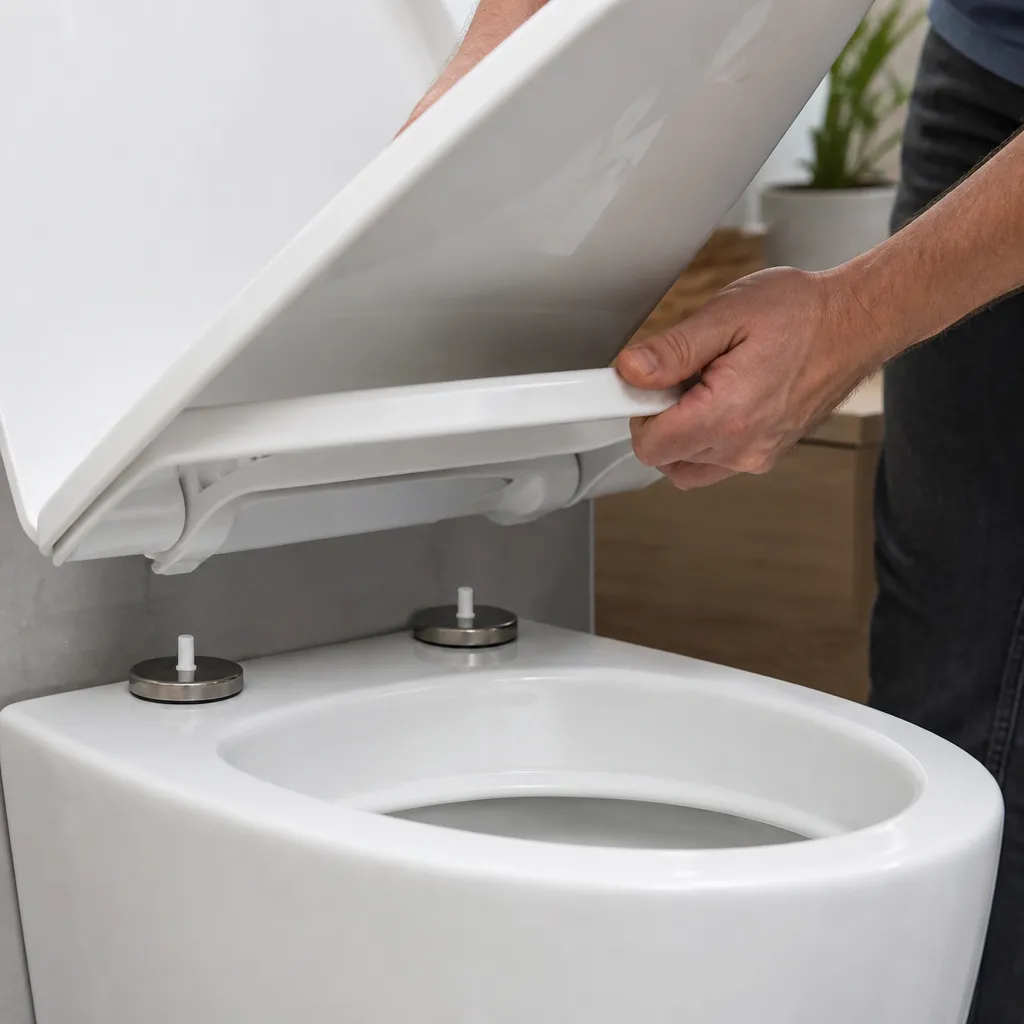
In my experience, removing a quick-release seat from a one-piece toilet is one of the simplest bathroom maintenance tasks you can do. Most modern designs use an intuitive button system that lets you detach the seat body in seconds without touching heavy tools first.
Engaging the Quick-Release Push-Button Mechanism
To separate the seat from the porcelain rim, start with the built-in quick-release mechanism:
- Locate the button: Find the single release button in the center of the hinge bridge, or locate the dual push-buttons on the outer sides of each hinge.
- Press and lift: Firmly push the button down while pulling the entire seat straight up away from the toilet bowl.
- Clear the posts: Slide the seat off the upright pins to expose the remaining mounting hardware.
Removing Base Pins and Hinge Plates
With the seat removed, clear the remaining mounting hardware attached to the bowl:
- Pry off caps: Lift open or pop off the stainless steel seat cap cover on each base plate to reveal the screws.
- Unscrew mounting bolts: Insert a screwdriver into the top-fixing screw heads and turn counterclockwise to loosen the mounting bolts.
- Remove hardware: Lift out the metal base pins, hinge plates, and rubber expansion anchors directly from the top mounting holes.
Troubleshooting Stuck, Rusted, or Damaged Screws
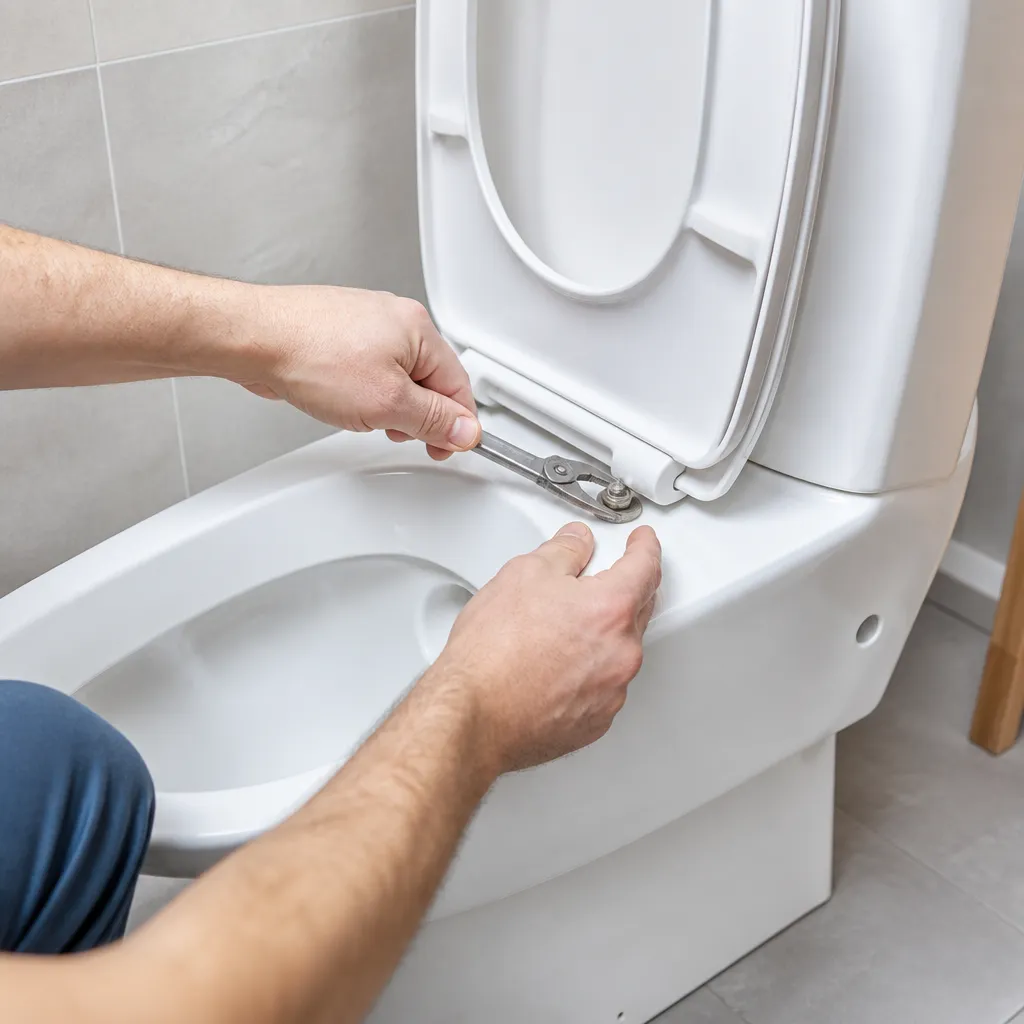
Removing a one-piece toilet seat usually takes minutes, but rusted or damaged hardware can quickly stall the job. Because one-piece toilets lack bottom access, you must extract stubborn fasteners directly from the top.
How to Handle Rusted or Corroded Metal Bolts
When moisture corrodes metal mounting bolts inside top-fixing anchors, standard turning won't work. Here is how I break seized bolts free without damaging the porcelain:
- Apply Penetrating Oil: Spray penetrating oil directly around the screw head. Let it soak for 10 to 15 minutes to break down rust inside the blind hole.
- Use Downward Pressure: Insert a heavy-duty Phillips head screwdriver into the bolt. Apply firm downward pressure while turning counterclockwise to prevent slipping.
- Add Torque: If the screw refuses to budge, grip the handle of your screwdriver or use an adjustable wrench on a hex-head bolt to gain extra leverage.
- Cut Frozen Hardware: If the metal bolt is completely fused, slide a hacksaw blade under the hinge base to carefully cut through the fastener. Protect the toilet porcelain with painter's tape before cutting.
Removing Stripped Plastic Bolts or Stuck Well Nuts
Plastic fasteners and rubber well nuts are common in top-fixing toilet mounts, but they can strip or spin endlessly inside the mounting hole over time.
- Grip Stripped Plastic Screws: If the screwdriver strips the plastic head slot, clamp locking pliers tightly onto the outer rim of the bolt and twist it counterclockwise.
- Apply Upward Tension: If the rubber well nut spins inside the cavity without loosening, pull upward firmly on the hinge base while turning the screw. This tension prevents the well nut from spinning underneath.
- Slice the Rubber Collar: For severely jammed rubber expansion anchors, take a sharp utility knife and slice off the top rubber lip resting on the porcelain rim. Once the top lip is sliced, push the remaining sleeve straight down into the cavity to clear the mounting hole.
Frequently Asked Questions
Why do one-piece toilets require top-fixing seat mounts?
One-piece toilets are molded into a single solid ceramic unit with no open space underneath the bowl rim. Because you cannot reach behind or under the porcelain to hold standard nuts, they require top-fixing expansion bolts. These well nuts drop in from above and expand inside the mounting holes as you tighten them from the top surface.
Which way do you turn screws to loosen toilet seat bolts?
Turn the screws counterclockwise (to the left) to loosen them. Stick to the classic rule: lefty-loosey, righty-tighty. Firmly press your screwdriver into the head of the mounting bolts to prevent stripping, then turn counterclockwise until the hardware frees itself.
Can any replacement seat fit on a one-piece toilet?
No, not every seat works. In our experience, you need to verify three key details before buying a replacement:
- Top-Fixing Capability: The seat must support top-mount hardware designed for closed-bottom toilets.
- Bowl Shape: Confirm whether you have a round or elongated bowl.
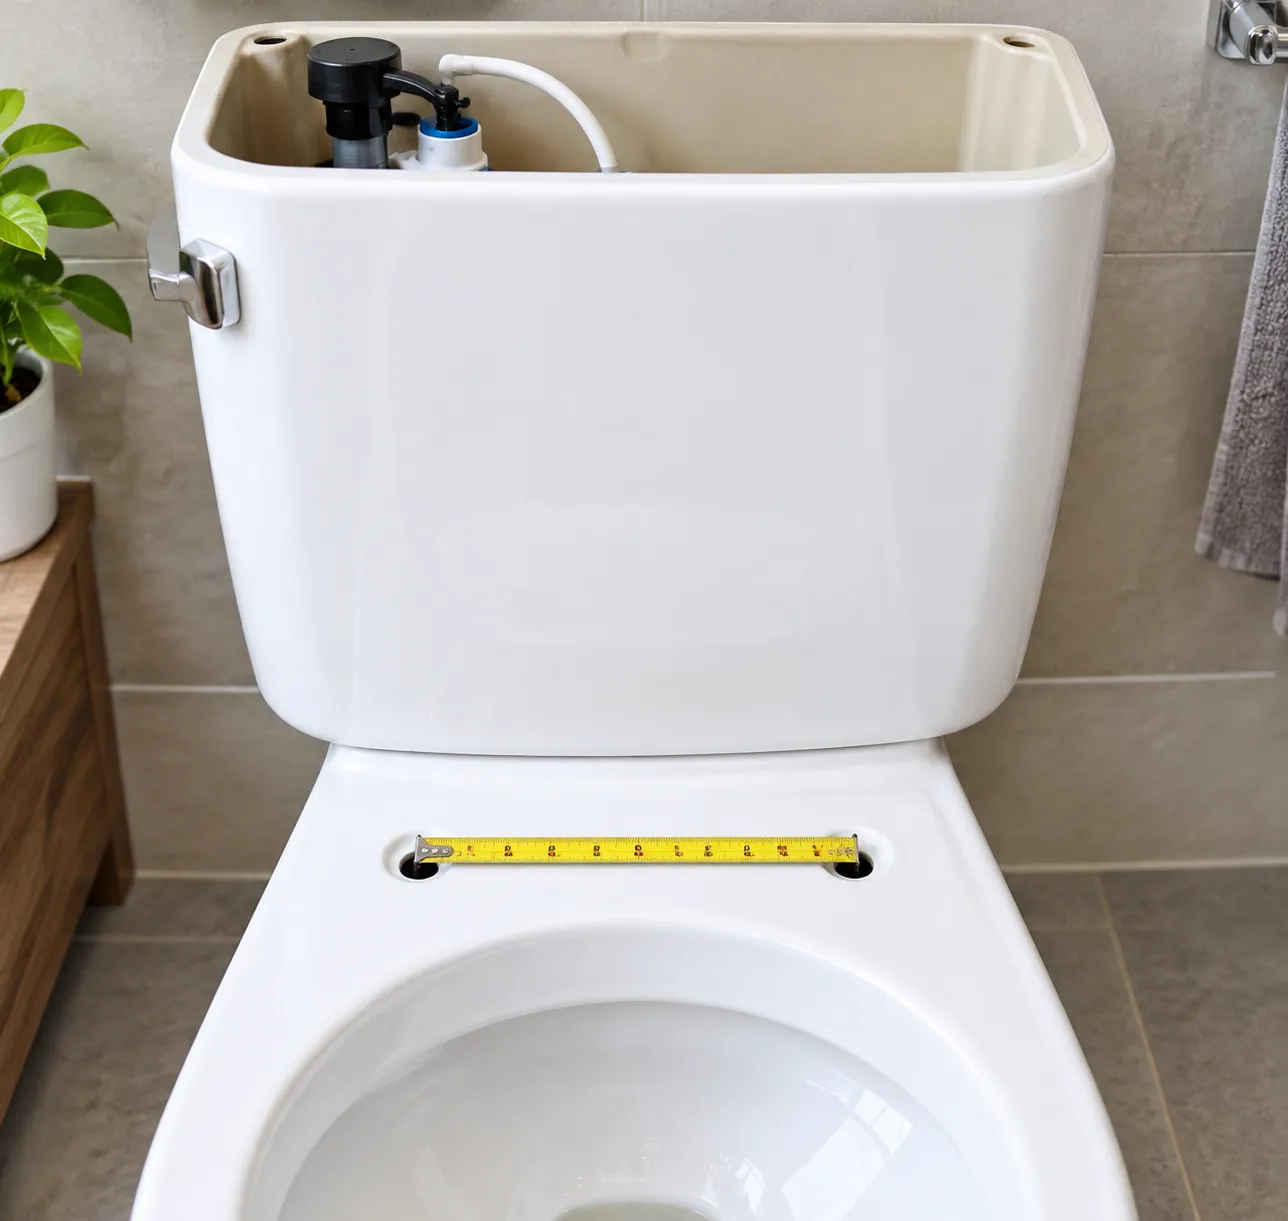
- Hole Spacing: Check that the distance between the mounting holes matches the standard center-to-center measurement (typically 5.5 inches in the US).