Overview
Understanding Toilets with Flush Handles
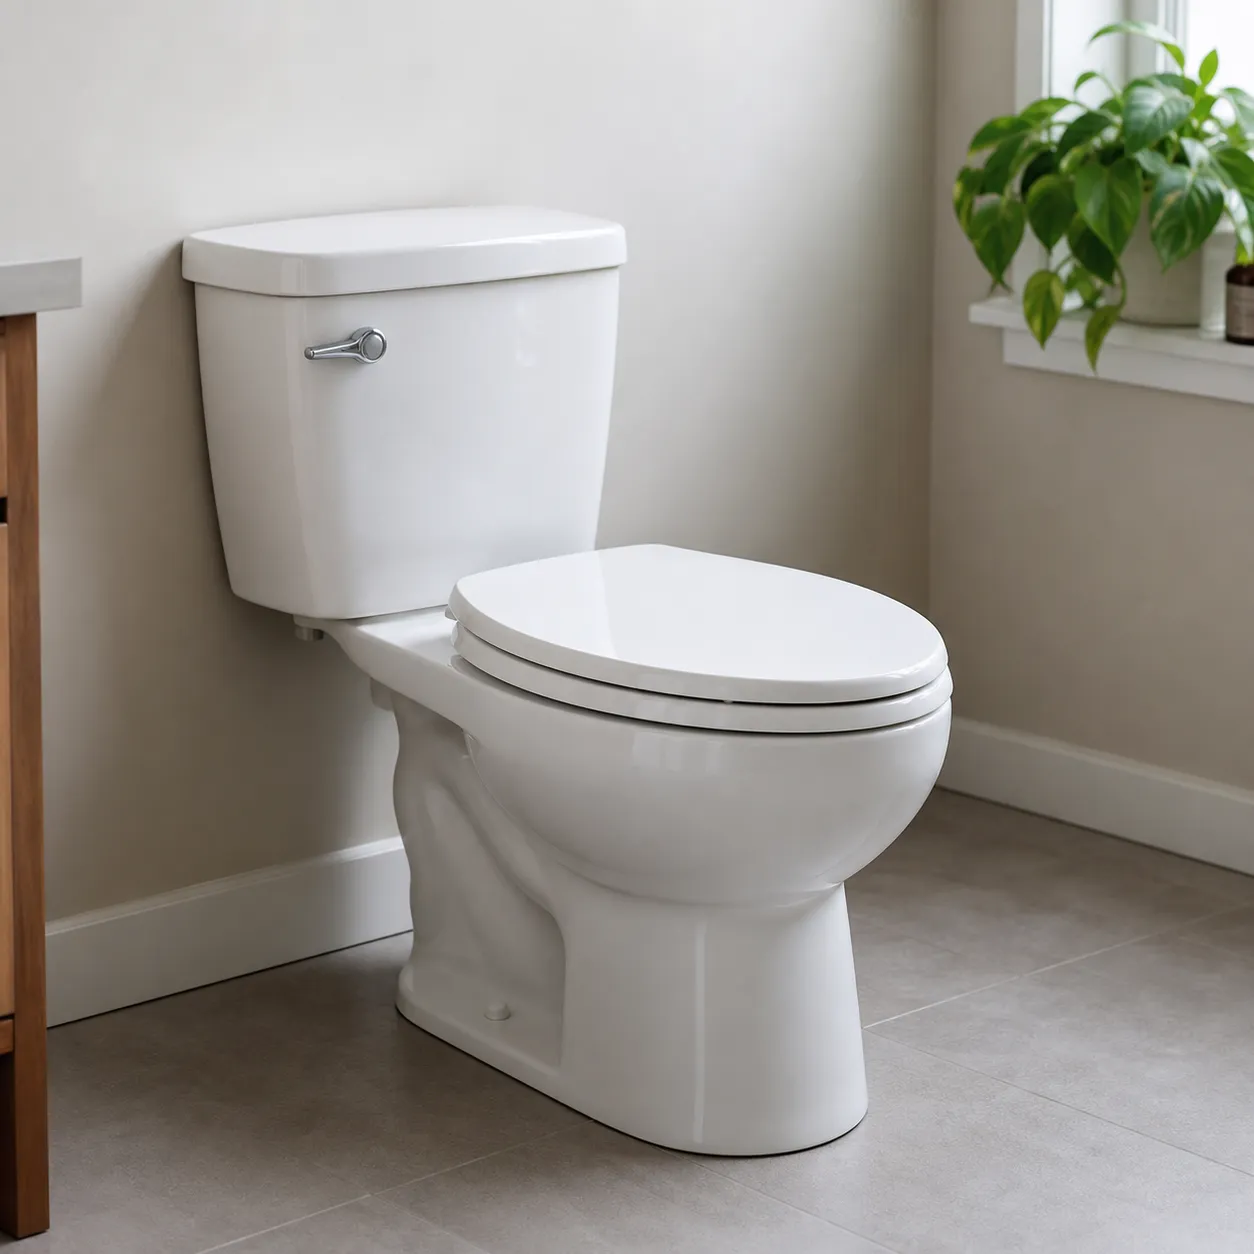
Toilets with flush handles remain the industry benchmark for daily dependability, ergonomic simplicity, and hassle-free operation. Designed for smooth mechanical action, a high-quality toilet with handle delivers optimal water discharge while seamlessly adapting to any bathroom layout or accessibility requirement.
How Handle Flush Mechanisms Work
The internal mechanism of a handle-operated toilet relies on direct, reliable leverage:
- Lever Activation: Pressing the external trip lever rotates an internal lift arm upward.
- Flapper Release: The lift arm pulls a stainless steel chain connected to the flapper, unsealing the flush valve seat.
- Siphonic Flushing: Gravity rapidly propels tank water into the bowl, initiating a strong siphonic flushing siphon to clear waste.
- Automatic Seal: As the tank empties, the flapper seats firmly back into place, allowing the fill valve to replenish the water level automatically.
Handle Placement Options: Left, Right, and Front
Selecting the correct lever orientation depends on bathroom layout, wall clearances, and specific accessibility requirements.
| Handle Placement | Primary Application | Key Advantage |
|---|---|---|
| Left-Hand (Standard) | Standard residential plumbing layouts | Universal accessibility and intuitive daily operation |
| Right Hand Flush | Bathrooms with left-side wall obstructions | Solves space constraints and satisfies ADA compliance needs |
| Front-Mounted | Classic and vintage tank profiles | Direct mechanical connection with minimal operating resistance |
Single Flush vs. Dual Flush Handles
Modern handle-operated systems offer distinct water-efficiency configurations:
- Single Flush Handles: Discharges a consistent, pre-set volume with every flush. Designed for maximum mechanical simplicity, long component lifespan, and minimal maintenance.
- Dual Flush Handles: Features a split trip lever or a dual-directional mechanism (e.g., press down for a full flush, lift up for a liquid-only flush). Delivers significant water savings while retaining the familiar feel of a traditional side lever or front handle.
Key Features and Benefits of Handle-Operated Toilets
When we select and design a toilet with handle controls, our main focus is blending reliable flushing power with effortless daily operation. The traditional handle-operated toilet remains a global favorite because it delivers dependable performance across residential and commercial spaces.
Ease of Use and Accessibility
A standard toilet with handle controls offers intuitive, single-touch operation that requires minimal force:
- Universal Accessibility: Easy for children, seniors, and individuals with limited hand strength to operate effortlessly.
- Ergonomic Action: A classic trip lever requires a simple downward press, eliminating the awkward hand angles required by top-mounted push buttons.
- Intuitive Operation: Guests and customers instantly know how to use it without second-guessing.
Water Efficiency and GPF Ratings
Modern handle toilets combine classic actuation with modern water-saving engineering. Look at how current GPF (Gallons Per Flush) ratings stack up:
| Flush Rating | Water Conservation | Best Application |
|---|---|---|
| 1.6 GPF | Standard Efficiency | Standard residential setups |
| 1.28 GPF | Saves ~20% water | WaterSense certified home & commercial use |
| 1.0 GPF | Maximum Savings | High-traffic eco-conscious spaces |
Durability and Maintenance Simplicity
We favor handle-operated systems because their mechanical parts are simple, robust, and cost-effective to maintain:
- Heavy-Duty Construction: Solid metal and reinforced composite levers resist snapping, sagging, and corrosion.
- Straightforward Repairs: Direct mechanical link between the lever, chain, and flapper means quick fixes without technical training.
- Low Lifetime Cost: Universal replacement components are low-cost and readily available anywhere in the world.
- Types of Toilets with Handles
When selecting a toilet with handle controls, understanding the structural designs, heights, and lever configurations helps you choose the perfect fit for your home or commercial space. - One-Piece vs. Two-Piece Handle Toilets
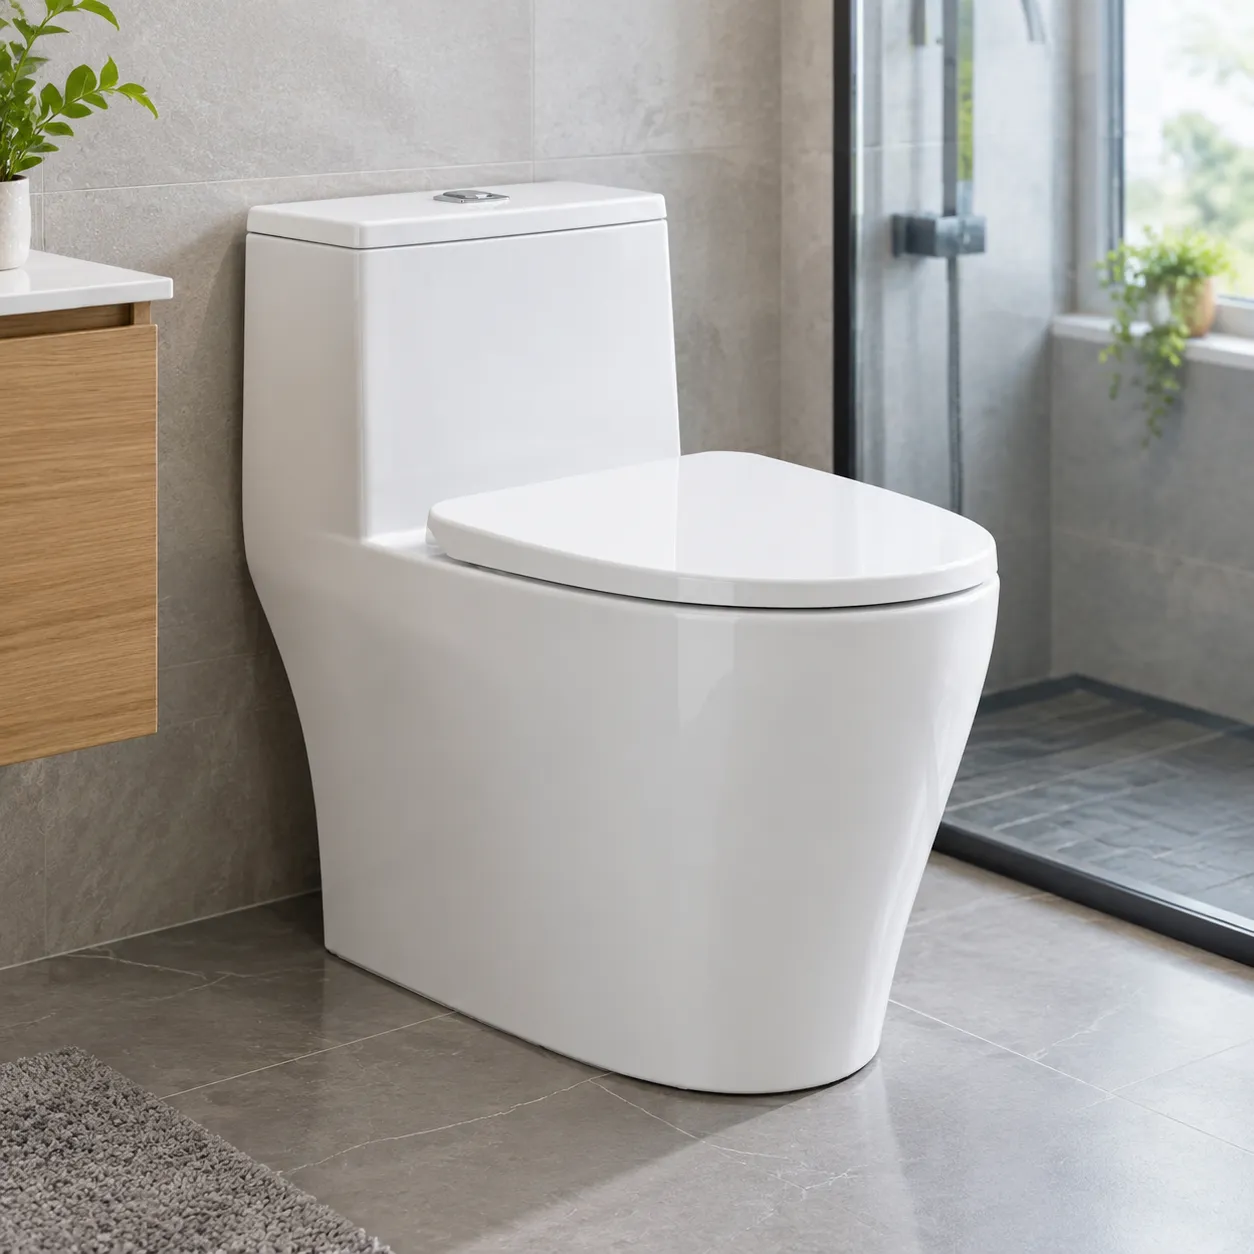
The choice between a one-piece and a two-piece toilet with handle mechanisms comes down to budget, cleaning preferences, and installation needs: - One-Piece Handle Toilets: The tank and bowl are fused into a single seamless unit. They offer a sleek look, eliminate hard-to-reach gaps where dirt collects, and feature a built-in front or side lever for smooth operation.
- Two-Piece Handle Toilets: The tank and bowl are separate components joined during installation. This classic setup is budget-friendly, easier to transport upstairs, and allows simple replacement of individual parts like the tank trip lever.
- Extra Tall and Comfort Height Models
Standard toilets sit around 14 to 15 inches off the floor, but modern configurations prioritize seating ergonomics and accessible trip lever placement.
- Types of Toilets with Handles
| Model Type | Average Bowl Height | Primary Benefit |
|---|---|---|
| Standard Height | 14" – 15" | Great for families with young children. |
| Comfort Height | 16" – 17" | ADA-compliant height; sits like a standard chair for easy standing. |
| Extra Tall Toilet | 19" – 20"+ | Superior comfort for tall individuals, seniors, and those with knee or joint pain. |
- Right-Hand Flush Lever Toilets
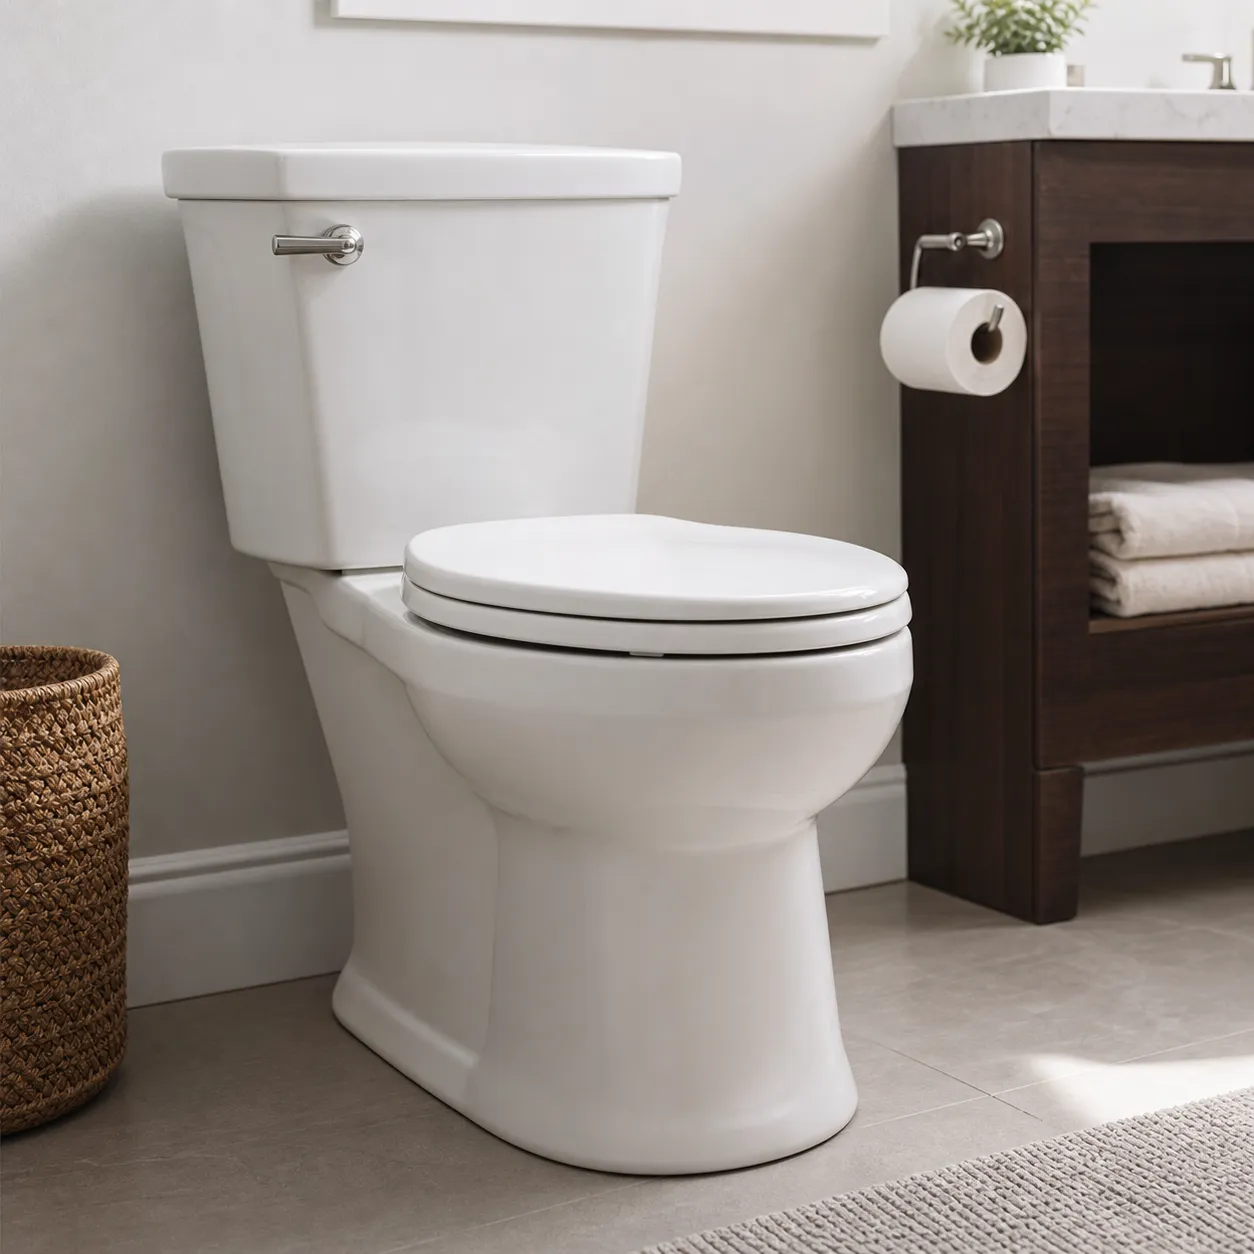
While most standard options feature a left-hand handle, a right-hand flush toilet is essential for specific bathroom layouts. We recommend opting for a right-hand trip lever when: - A vanity, wall, or cabinet blocks convenient access to the left side of the tank.
- Specific accessibility guidelines or personal user needs require right-sided operation.
- You are optimizing space in tight powder rooms where a custom side lever placement works best.
- Right-Hand Flush Lever Toilets
How to Choose the Best Toilet with a Handle
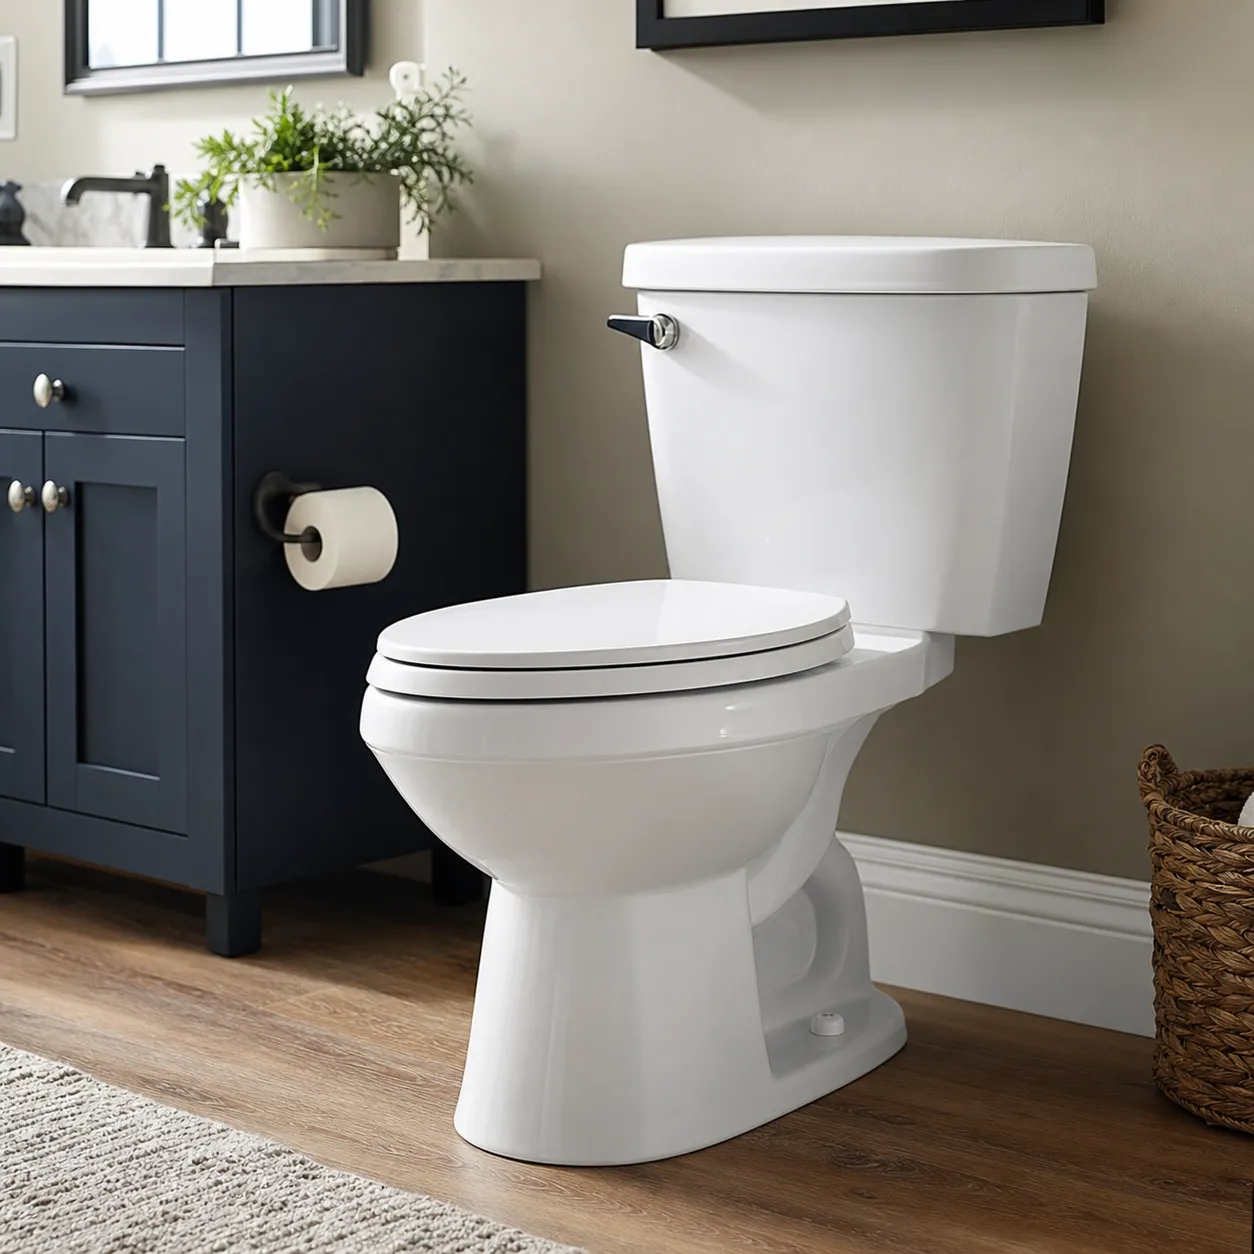
I always tell my customers that choosing the right toilet with a handle comes down to balancing space, accessibility, and flushing performance. Here is what you need to evaluate before buying.
Determining Lever Orientation and Accessibility
Lever placement dictates both convenience and bathroom layout compatibility:
- Standard Left-Hand Levers: Ideal for open spaces where the left side of the tank is easily accessible.
- Right Hand Flush Models: Essential if your toilet sits flush against a wall or vanity on the left side.
- Side Lever Placement: A great alternative for tight spaces or custom cabinetry setups.
- Ease of Use: Pick a sturdy trip lever with low resistance for effortless operation.
Bowl Shape and Bathroom Space Planning
Matching bowl dimensions to your floor plan ensures comfortable daily use:
| Bowl Option | Ideal Space | Key Benefit |
|---|---|---|
| Round Front | Compact powder rooms | Saves up to 2 inches of clearance space |
| Elongated Bowl | Primary bathrooms | Superior seating support and comfort |
| Extra Tall Toilet | Accessible suites | Easier sitting and standing for adults |
Flush Power and Water Conservation Standards
A reliable tank handle needs a strong flush engine behind it:
- Siphonic Flushing: Uses suction power to clear waste efficiently while keeping the bowl clean and quiet.
- Water Conservation: Opt for WaterSense-labeled models rated at 1.28 GPF (Gallons Per Flush) or lower to reduce utility bills without sacrificing power.
How to Replace and Install a Toilet Tank Handle
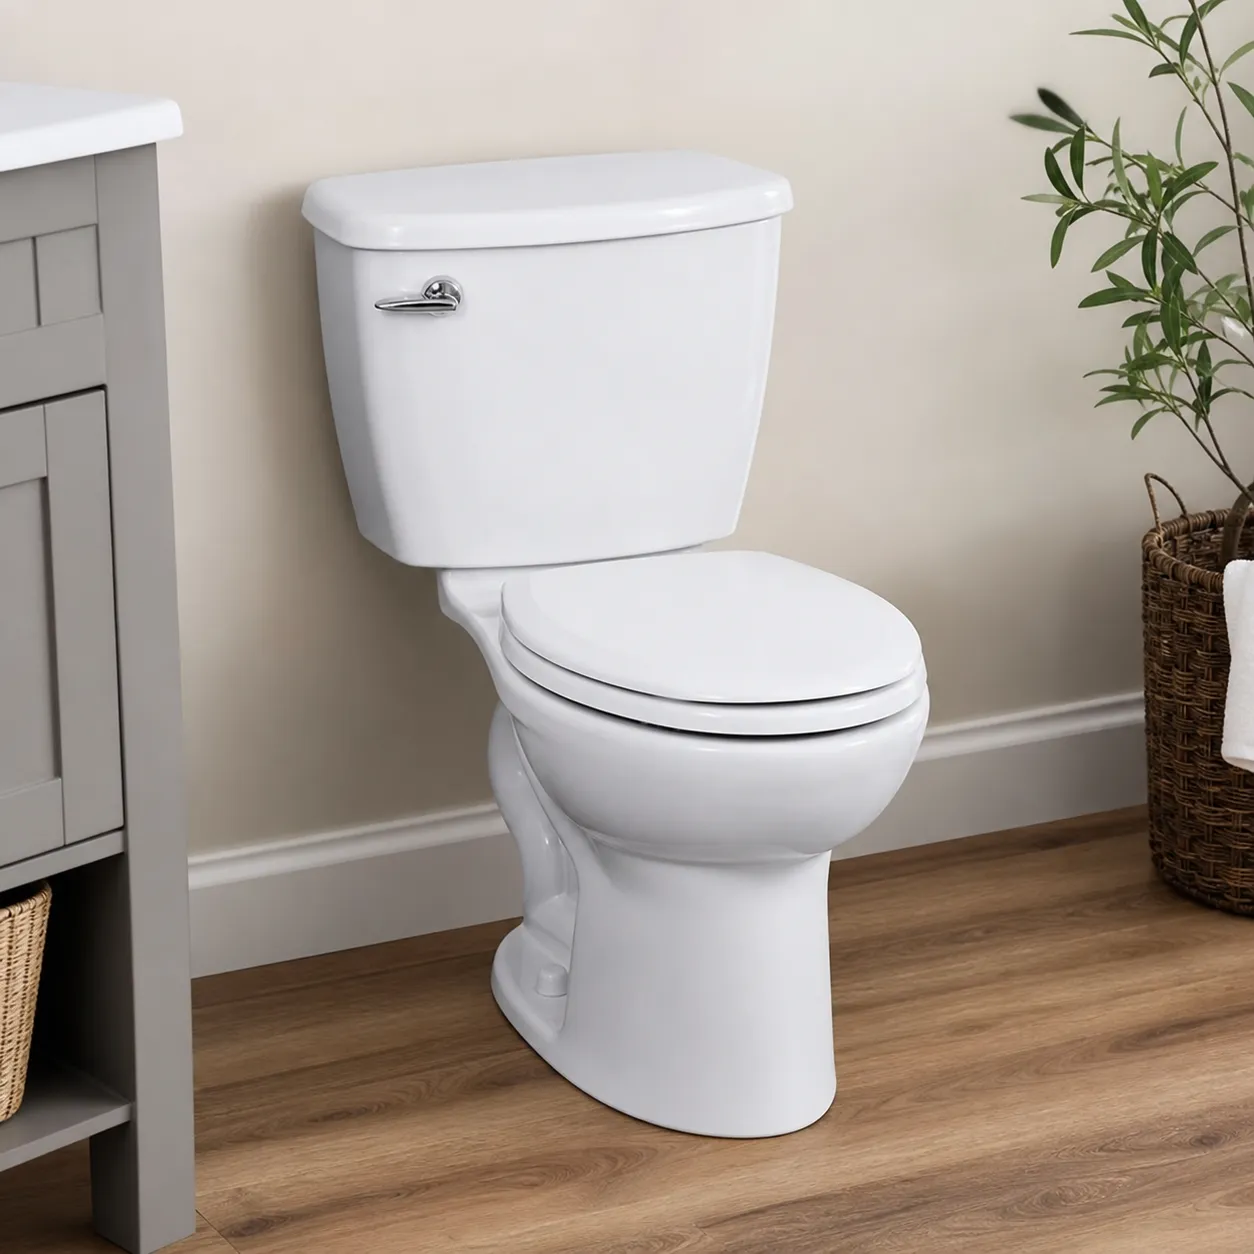
Replacing a sticky or worn-out toilet with handle flush system is one of the quickest DIY upgrades you can make in your bathroom. You do not need expensive tools or a plumber. Here is the step-by-step process we use to swap out a worn trip lever in under ten minutes.
Step 1: Remove the Old Flush Handle
- Turn off the water: Shut off the water supply valve behind the toilet bowl and flush the toilet to empty the tank.
- Disconnect the chain: Unhook the lift chain connecting the inner arm to the flapper.
- Unscrew the nut: Reach inside the tank to unfasten the nut holding the handle in place.
Pro Tip: Toilet tank handle nuts almost always have reverse threads. Turn the nut clockwise to loosen it.
- Remove the lever: Slide the old arm out through the hole and pull the assembly free.
Step 2: Position and Install the New Handle
- Insert the new lever: Feed the arm of your new front or side lever through the mounting hole from the outside of the tank.
- Secure the mounting nut: Thread the nut onto the handle shaft from inside the tank, turning counterclockwise to tighten.
- Tighten carefully: Hand-tighten the nut first, then use an adjustable wrench for a final quarter-turn. Avoid over-tightening so you do not crack the porcelain.
Step 3: Attach and Adjust the Flapper Chain
- Clip the chain: Attach the flapper chain clip to one of the adjustment holes along the new lever arm.
- Check the tension: Aim for roughly 1/2 inch of slack in the chain when the handle is at rest. If the chain is too tight, the flapper will leak water; if it is too loose, the flush will be weak.
- Test the flush: Turn the water supply back on, let the tank fill completely, and press the handle to ensure a smooth, complete flush cycle.
Troubleshooting Common Toilet Handle Issues
Even the most reliable toilet with handle mechanism can run into minor operational hiccups over time. Most flush handle problems stem from simple wear and tear inside the tank, and you can fix them in minutes without calling a plumber. Here is how we quickly resolve the most common issues.
Fixing Loose or Sticking Flush Levers
A loose or sticking handle usually points to a problem with the mounting nut inside the tank.
- Tighten the nut: Take off the tank lid and check the plastic or metal nut securing the trip lever to the tank wall. Remember that standard toilet handles often feature reverse threads (turn counter-clockwise to tighten).
- Clear buildup: If the handle sticks down, clean off corrosion, limescale, or mineral deposits around the handle hole using a stiff brush and white vinegar.
- Inspect the arm: Ensure the handle arm inside the tank is not bent or catching on the fill valve.
Resolving Unhooked or Tangled Flapper Chains
If pressing your side lever or front handle yields zero resistance and no water flow, the connection chain is usually the culprit.
- Reattach the clip: Reconnect the chain clip back onto the trip lever arm hole.
- Set proper slack: Adjust the chain link position so there is approximately 0.5 inches (1.2 cm) of slack.
- Prevent tangles: If the chain is too long, cut off the excess links or thread a small plastic drinking straw over the chain to keep it straight and tangle-free.
Fixing Weak or Incomplete Flushes
A weak flush often means the flapper isn't opening fully or long enough to trigger full siphonic flushing.
- Remove excess chain slack: If the chain has too much slack, the handle cannot lift the flapper high enough to pull a full flush. Shorten the chain by one or two links.
- Check tank water level: Verify that the water level reaches the fill line marked inside the tank (usually 0.5 to 1 inch below the overflow tube). Adjust the fill valve float if needed.
- Clean rim jets: Buildup in the bowl's rim jets can restrict water velocity, mimicking a faulty handle mechanism.