Overview
What Is a Top Button Toilet and How Does It Work?
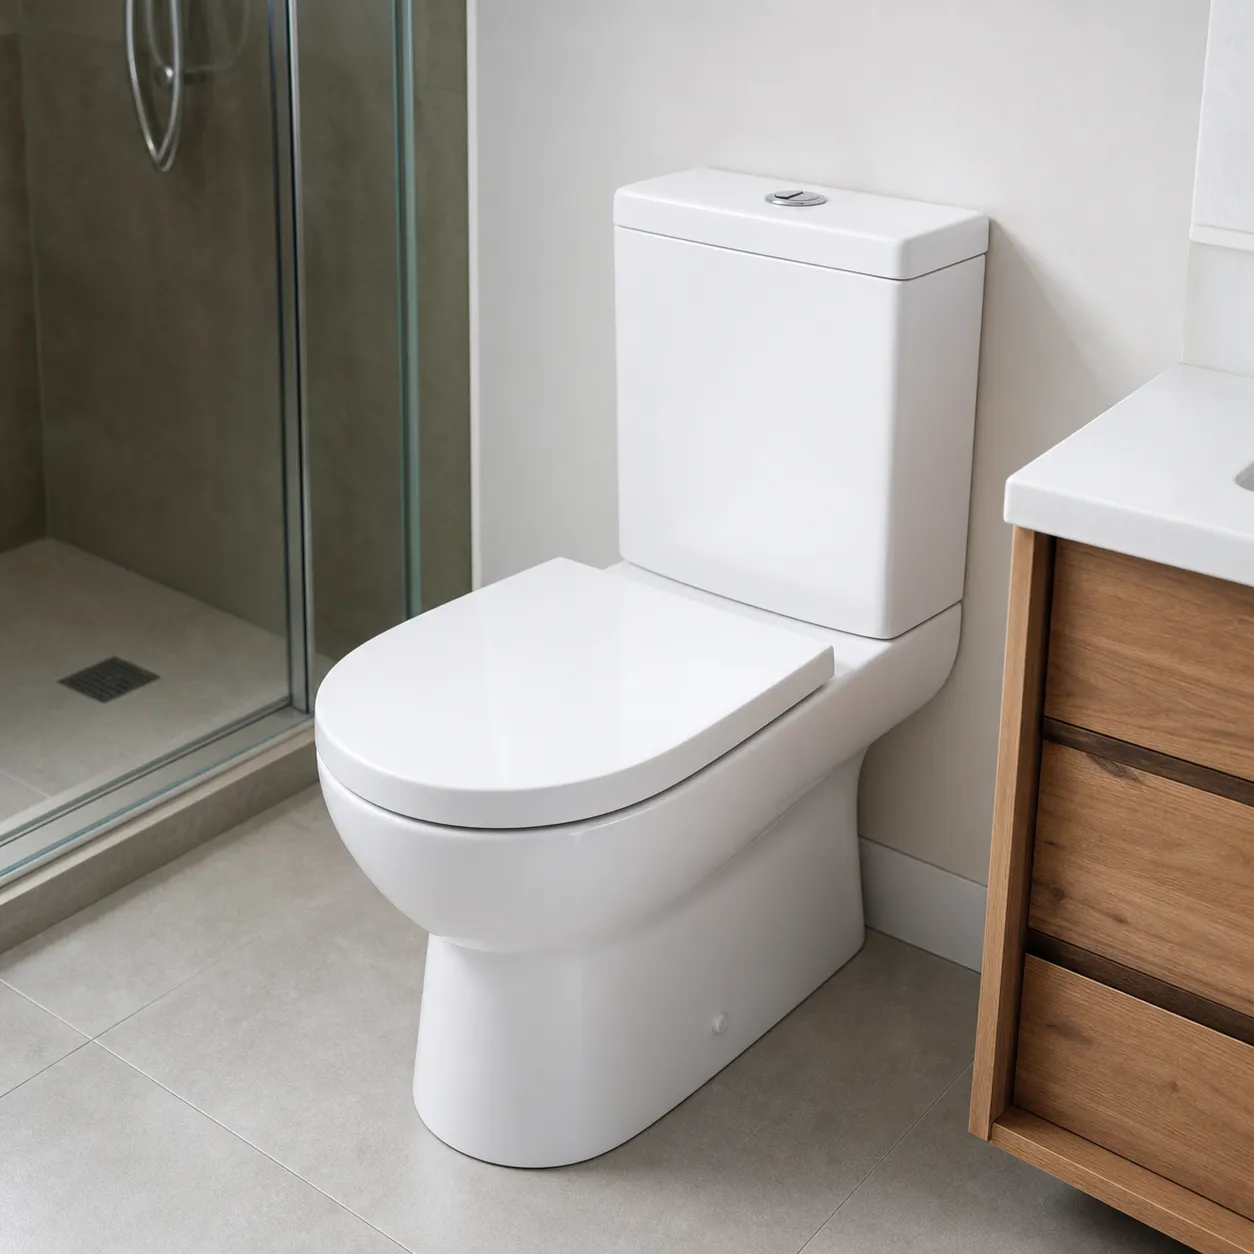
A top button toilet—commonly referred to as a push button toilet—is a modern sanitation fixture that replaces the traditional side-mounted trip lever with sleek push buttons located directly on top of the tank lid. Designed for contemporary residential and commercial bathrooms, this system combines streamlined aesthetics with advanced internal engineering to deliver efficient, reliable flushing performance.
The Mechanism Behind Push Button Flushing
The internal operation of a top button toilet relies on direct downward mechanical force rather than traditional tension chains. When the button on top of the tank is pressed, it initiates a precise sequence:
- Button Activation: Pressing the button engages an internal actuator rod mounted directly beneath the tank lid.
- Valve Lift: The rod pushes down on the central mechanism connected directly to the flush valve.
- Water Release: The flush valve lifts immediately, releasing a calculated volume of water into the bowl to trigger a powerful siphon action.
- Automatic Reset: Once the tank empties to the set level, the flush valve seals automatically, allowing the fill valve to replenish the tank while the push button springs back into its starting position.
Single Flush vs. Dual Flush Top Buttons
Top button toilets are engineered in two main configurations to meet varying operational and environmental standards:
| Feature | Single Flush Top Button | Dual Flush Top Button |
|---|---|---|
| Functionality | Delivers one uniform volume of water with every press. | Offers two distinct options: a partial flush for liquid waste and a full flush for solid waste. |
| Button Design | Features a single, central push button. | Features a split dual flush button (typically half-moon or stacked segments). |
| Water Conservation | Standard operational efficiency. | Superior water conservation, significantly reducing household water usage. |
| Ideal Application | Standard commercial facilities and simple residential updates. | Eco-conscious residential homes and modern commercial developments. |
Top Button vs. Traditional Handle Flush Toilets
Upgrading from a conventional side-handle toilet to a top button design provides key advantages in functionality and maintenance:
- Reduced Component Wear: Traditional handle toilets rely on trip levers and flapper chains that frequently tang, stretch, or break. Top button mechanisms utilize direct-drive actuator rod setups, minimizing moving parts and mechanical stress.
- Optimal Space Utilization: Removing the side lever yields a cleaner profile, preventing side clearance issues near vanity cabinets or narrow walls.
- Enhanced Water Savings: While traditional handle toilets are predominantly single-flush units, top button configurations naturally integrate dual flush technology to lower utility costs.
- Modern Architectural Style: Flush-mounted push buttons sit flat against the porcelain surface, providing a clean, contemporary appearance that complements modern bathroom fixtures.
Advantages of Installing a Push Button Toilet
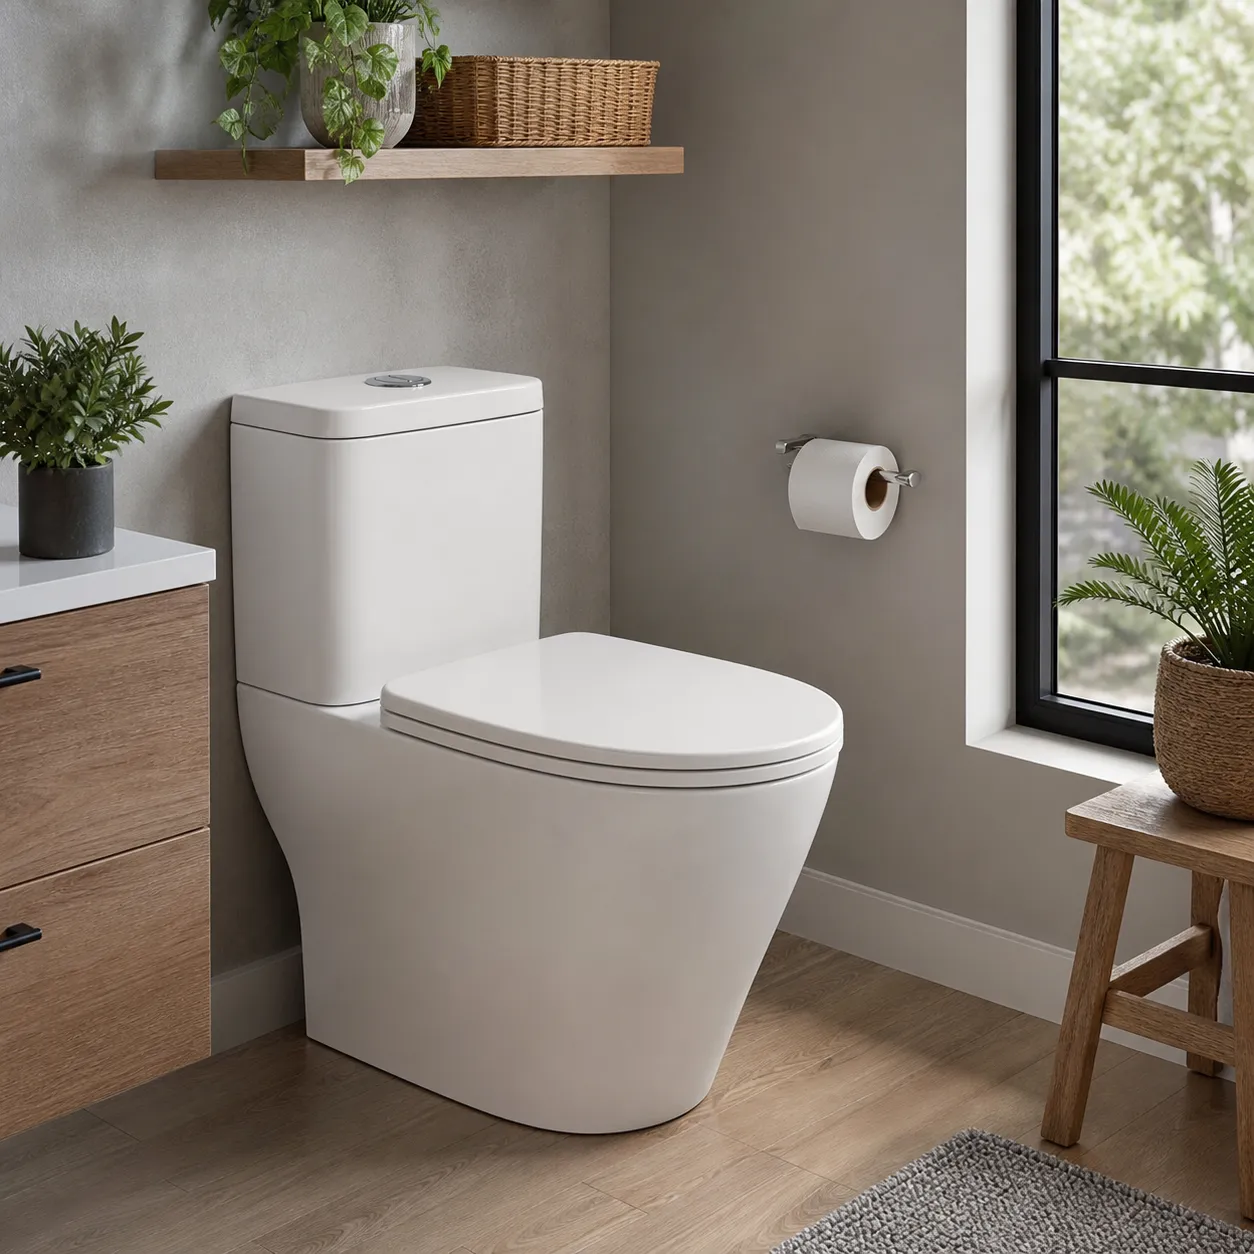
Upgrading to a top button toilet is one of the smartest moves you can make for a modern bathroom. We designed our push button toilet models to deliver immediate practical benefits, combining high performance with long-term cost savings.
Water Conservation and Eco-Efficiency
Smart water usage starts with efficient design. Top button setups put daily savings directly in your hands:
- Dual flush flexibility: Select a partial flush for liquid waste and a full flush for solid waste.
- Lower utility bills: Reducing excess water consumption saves thousands of gallons every year.
- Eco-friendly efficiency: Meets global water conservation standards effortlessly.
Sleek Modern Design and Aesthetics
A push button design instantly upgrades your bathroom's visual profile:
- Minimalist profile: Replaces traditional side levers with a clean, flush-mounted top button.
- Balanced symmetry: Centered buttons match contemporary fixtures, vanities, and hardware.
- Hassle-free maintenance: Smooth surfaces feature fewer exterior crevices, making quick wiping effortless.
Durability and Reduced Wear on Flush Valve Parts
Traditional handle-and-chain mechanisms frequently stretch, rust, or snap. Top flush designs eliminate these failure points entirely:
- Direct drive force: The actuator rod pushes straight down onto the flush valve, avoiding uneven mechanical stress.
- No flapper chains: Removing tangled chains eliminates the leading cause of running toilets and phantom leaks.
- Extended operational life: Heavy-duty internal parts ensure long-term reliability with far less routine maintenance.
Common Types of Top Flush Button Toilets
When selecting a top button toilet for your space, choosing the right configuration is essential. Different bathroom layouts require specific designs to maximize floor space, simplify cleaning, and deliver peak performance. We offer three primary types of top flush button toilets designed to meet every aesthetic and functional need.
One-Piece Push Button Toilets
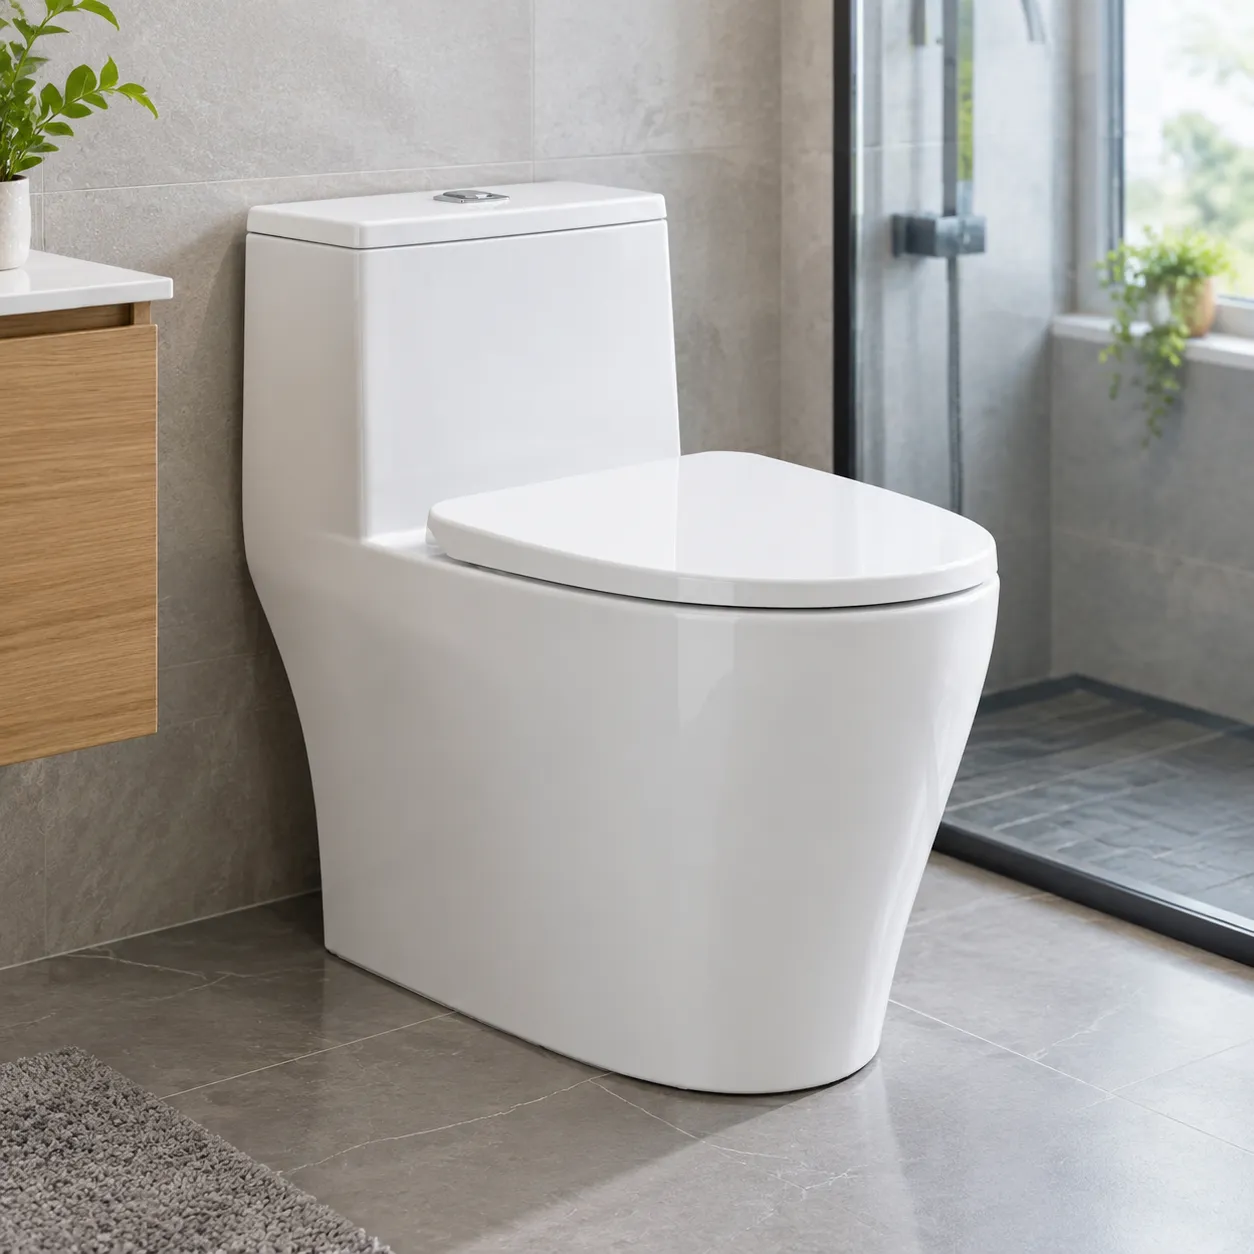
One-piece push button toilets combine the tank and bowl into a single, seamless ceramic mold. This style is the top pick for anyone prioritizing clean lines and easy maintenance.
- Hygienic Build: Without a joint between the tank and bowl, dirt, grime, and bacteria have nowhere to hide.
- Sleek Profile: Creates a streamlined look that elevates modern bathroom designs.
- Direct-Drive Flushing: Integrates precise actuator rod connections directly beneath the top button for a fast, responsive flush every time.
Two-Piece Top Button Toilets
Two-piece top button toilets feature a distinct tank and bowl bolted together during setup. This traditional format is updated with a modern push button top for quick, reliable operation.
- Cost-Effective: Delivers superior dual flush technology at an accessible price point.
- Easy Servicing: Standard tank components make inspecting or replacing the flush valve straightforward down the road.
- Universal Compatibility: Fits standard rough-in plumbing, making it ideal for quick residential replacements.
Wall-Mounted Dual Flush Toilets
For a cutting-edge, minimalist look, wall-mounted dual flush toilets offer an unmatched space-saving design. The water tank hides inside the wall cavity, leaving only the bowl and the push button actuator plate visible.
- Floor Space Efficiency: Opens up visual and physical floor space, making compact bathrooms feel instantly larger.
- Adjustable Comfort: Can be installed at customized heights for tailored seating accessibility.
- Advanced Water Conservation: Built-in dual flush settings make it easy to choose between a full or partial flush, saving thousands of gallons of water annually.
| Toilet Type | Best For | Key Advantage | Maintenance |
|---|---|---|---|
| One-Piece | Modern, low-maintenance homes | Seamless ceramic, effortless cleaning | Simple |
| Two-Piece | Standard updates & budget builds | Cost-effective and highly adaptable | Very Easy |
| Wall-Mounted | Compact spaces & luxury upgrades | Unmatched space savings & floating style | Concealed |
Buying Guide: How to Select the Right Top Button Toilet
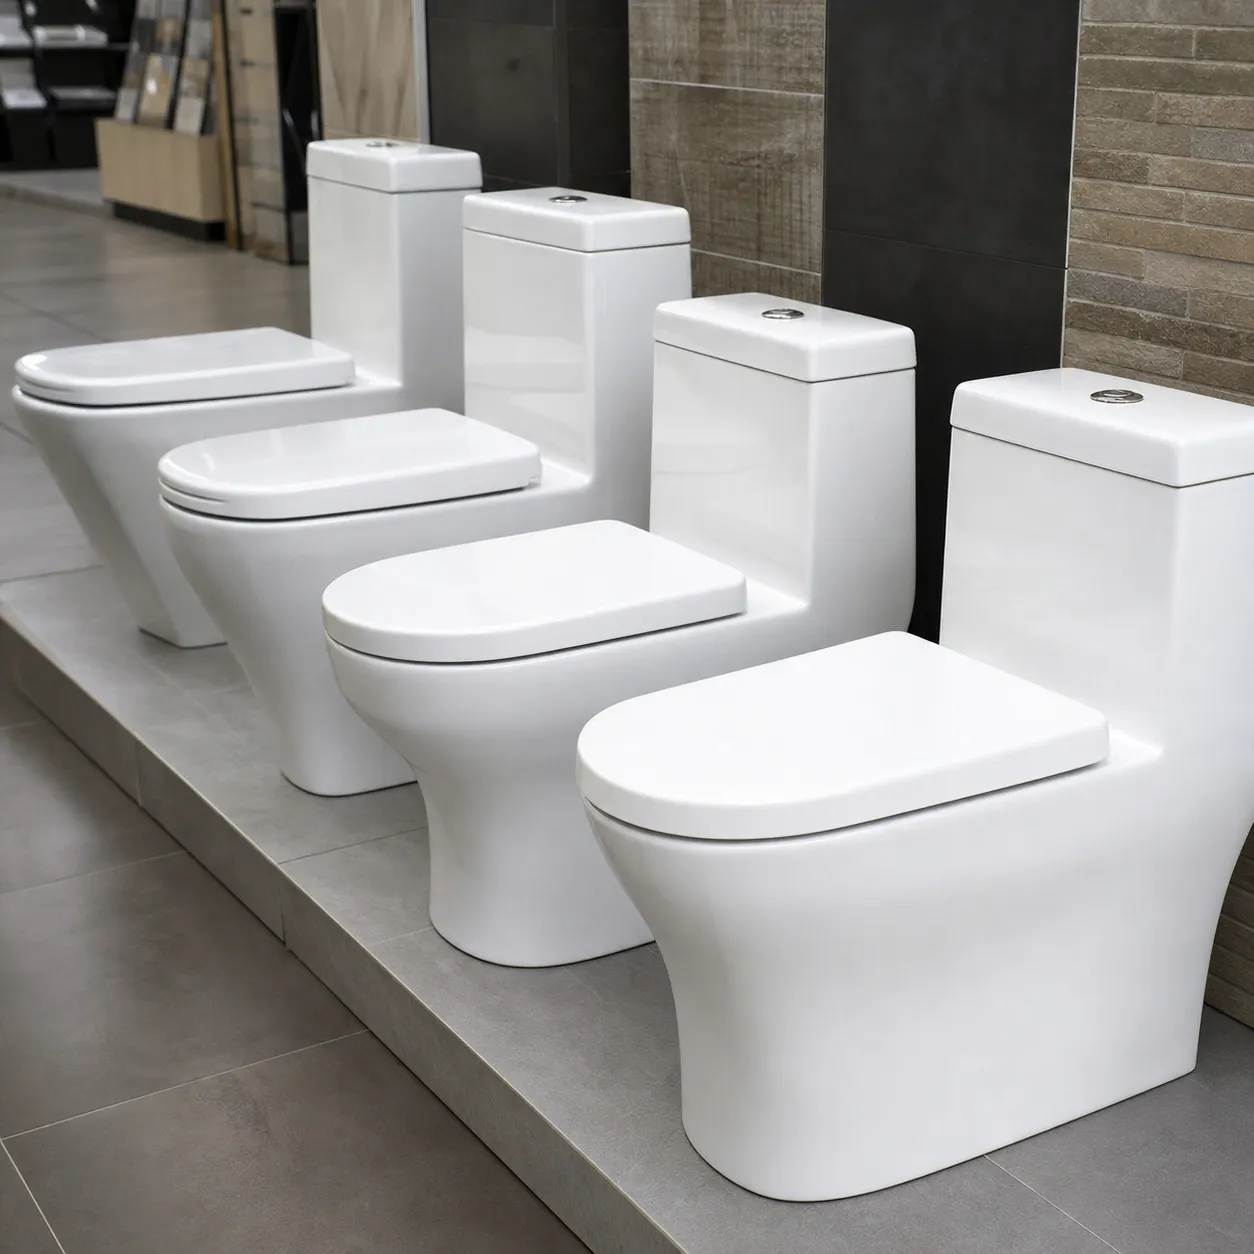
Choosing the right top button toilet comes down to matching performance, comfort, and physical space. When I guide customers through this selection process, I focus on three practical specifications to ensure seamless installation and long-term satisfaction.
Gallons Per Flush (GPF) and Water Conservation Ratings
The main driver behind choosing a push button design is water conservation. Most top button toilets feature a dual flush mechanism that lets you choose between a full flush for solids and a reduced flush for liquids.
- Standard Dual Flush Ratings: Typically 1.6 GPF for full flushes and 0.8 to 1.1 GPF for reduced flushes.
- High-Efficiency Models: Average as low as 1.28 GPF or lower, cutting household water usage significantly compared to traditional single-flush units.
- WaterSense Certification: Look for models with EPA WaterSense certification to guarantee high flushing performance while saving water.
| Rating Type | Average GPF | Best For |
|---|---|---|
| Standard Dual Flush | 1.6 / 0.9 GPF | General residential use |
| High-Efficiency Dual Flush | 1.28 / 0.8 GPF | Maximum utility savings and eco-focused homes |
| Single Top Button | 1.28 GPF | Simple operation with consistent water savings |
Bowl Shape and Comfort: Elongated vs. Round
The bowl shape directly impacts daily comfort and layout flexibility. Top button toilets come in two standard bowl profiles:
- Elongated Bowls: Extend roughly 18.5 inches from the seat bolts to the front edge. They offer extra seating space, maximum thigh support, and superior overall comfort.
- Round Bowls: Measure around 16.5 inches in length. They save precious floor space, making them ideal for compact powder rooms, small apartments, or tight half-baths.
Rough-In Dimensions and Bathroom Layout
Before buying a top button toilet, accurate measurements are non-negotiable. The rough-in dimension is the distance from the finished back wall (excluding baseboards) to the center of the floor drain pipe or closet bolts.
- Measure the Rough-In: The standard rough-in size is 12 inches, though 10-inch and 14-inch options exist for older builds or tight layouts.
- Check Surrounding Clearance: Maintain at least 15 inches of clearance from the bowl center to any side wall or cabinet, plus at least 21 inches of clear space in front of the toilet.
- Verify Overhead Clearance: If installing under a ledge, shelf, or over-the-toilet storage unit, double-check overall tank height so you can easily reach the top flush buttons and access the flush valve inside for routine care.
Installation and Maintenance of Toilet Top Buttons
Setting up and maintaining a top button toilet is straightforward, even without plumbing experience. In our work with modern dual flush systems, we prioritize designs that allow for easy DIY maintenance and quick component replacements. Proper installation keeps your system operating smoothly while supporting long-term water conservation.
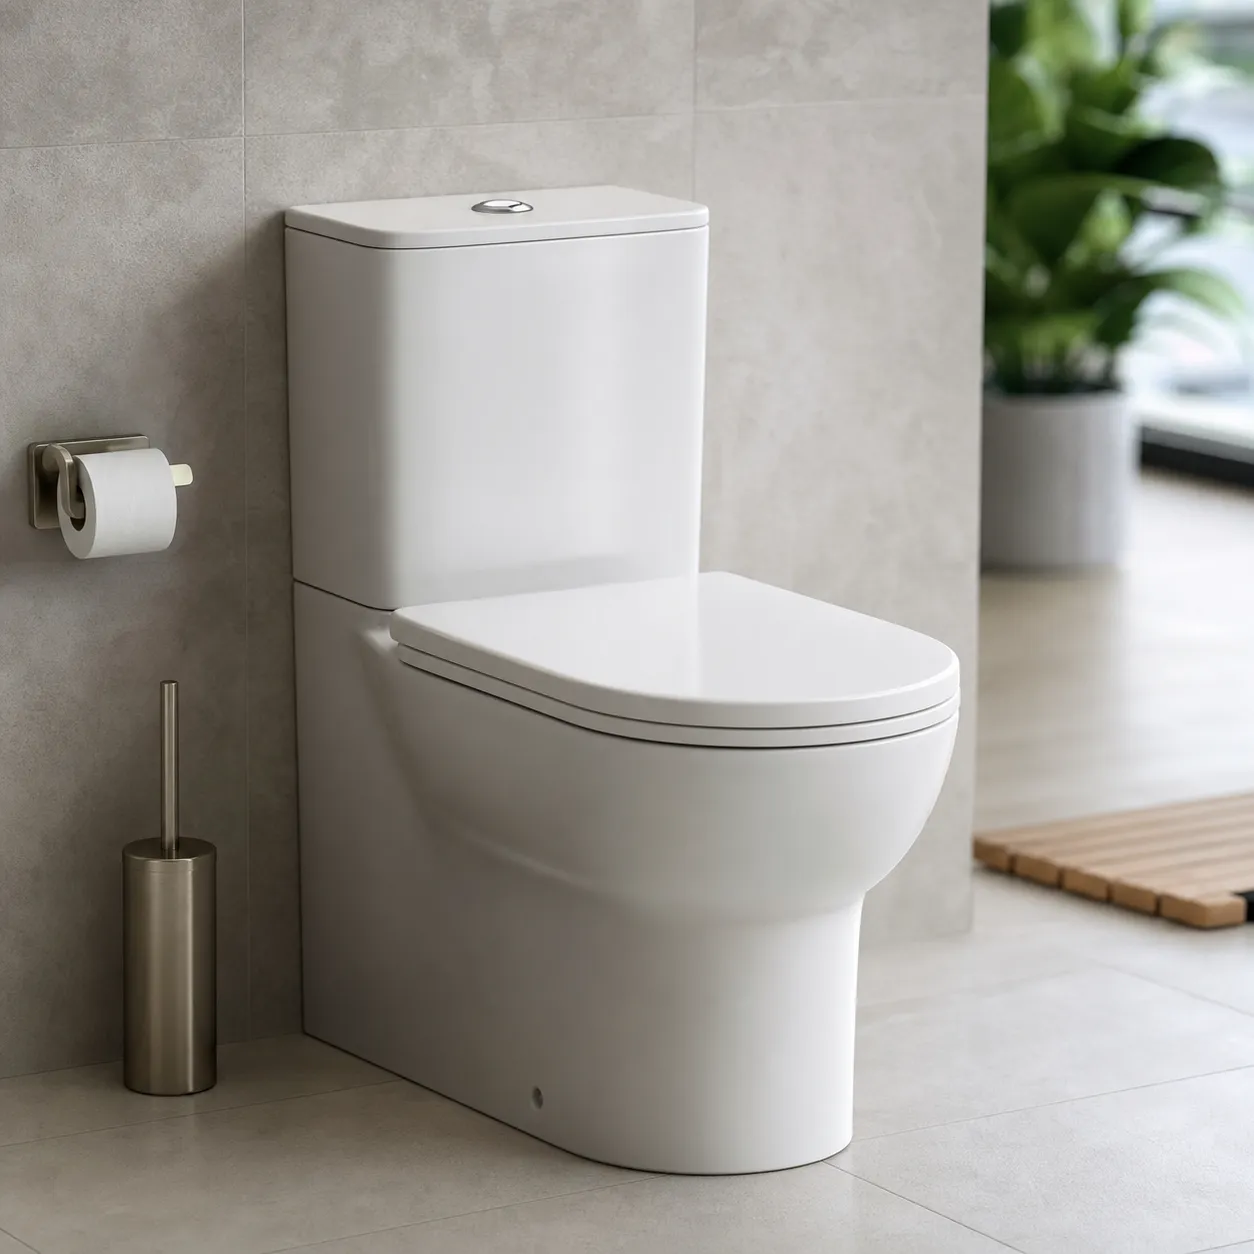
How to Install or Replace a Top Flush Button
Replacing a damaged or aged push button on your tank lid takes just a few simple steps:
- Remove the Lid: Lift the ceramic tank lid off and place it on a soft towel to prevent chipping.
- Remove the Old Button: Unscrew the plastic retaining nut located directly under the lid securing the old unit.
- Fit the New Assembly: Insert the new top button assembly down through the hole in the top of the lid.
- Hand-Tighten: Thread the mounting nut onto the housing from underneath until secure. Do not over-tighten, as excess torque can crack the porcelain lid.
- Position the Cover: Lower the lid back onto the toilet tank, ensuring the buttons align directly over the inner flush valve.
Adjusting Flush Button Rods and Valves
The secret to a crisp, reliable flush lies in the adjustment of the actuator rod stems beneath the button assembly.
- Maintain the Ideal Gap: The rods extending down from the button unit should almost touch the top of the flush valve. Aim for a tiny gap of roughly 1 to 2 millimeters.
- Adjust Rod Length: Thread the plastic rods counter-clockwise to lengthen them or clockwise to shorten them.
- Secure the Lock Nuts: Once the correct height is set, tighten the locking rings on the rods to prevent them from loosening during daily use.
Troubleshooting Common Top Button Flush Problems
When a push button flush stops performing as expected, simple tweaks generally solve the issue without requiring complete replacement parts.
| Issue | Common Cause | Quick Fix |
|---|---|---|
| Continuous Running Water | The actuator rod is too long, holding the flush valve open. | Shorten the rod by threading it deeper into the button housing. |
| Weak or Half Flush | The actuator rod is too short to fully lift the flush valve. | Lengthen the rod until it sits 1–2 mm above the valve trigger. |
| Sticking Push Button | Limescale or grime build-up inside the button springs. | Unscrew the unit, soak it in warm soapy water, and clean out debris. |
| Wobbly Button Housing | Loose retaining nut underneath the tank lid. | Reach under the lid and hand-tighten the mounting nut. |