เครื่องมือและอะไหล่ที่จำเป็นสำหรับการซ่อมถังพักชักโครกแบบชิ้นเดียว
การลงมือทำ ซ่อมถังพักชักโครกแบบชิ้นเดียว โปรเจกต์อาจดูน่ากลัว โดยเฉพาะอย่างยิ่งเมื่อต้องจัดการกับฮาร์ดแวร์เฉพาะรุ่น เนื่องจากถังพักและโถถูกหล่อขึ้นเป็นหน่วยเดียวที่ไร้รอยต่อ การเตรียมเครื่องมือและส่วนประกอบสำหรับเปลี่ยนล่วงหน้าจะช่วยให้การซ่อมแซมเป็นไปอย่างราบรื่นและไม่รั่วซึม เราขอแนะนำให้เตรียมพื้นที่ทำงานของคุณให้พร้อมก่อนปิดแหล่งน้ำหลัก.
เครื่องมือประปาที่จำเป็นต้องรวบรวม
การมีเครื่องมือที่เหมาะสมอยู่ใกล้ๆ จะช่วยป้องกันความล่าช้าที่ไม่จำเป็นในขณะที่ปิดน้ำในห้องน้ำของคุณ.
- ประแจเลื่อน: จำเป็นสำหรับการถอด น็อตล็อควาล์วเติมน้ำชักโครก ที่อยู่ใต้ฐานถังพัก.
- ฟองน้ำและถังเล็ก: ใช้สำหรับทำความสะอาดน้ำที่ค้างอยู่ในก้นถังพัก.
- คีมล็อค: เหมาะสำหรับการจับน็อตล็อคพลาสติกและการคลายข้อต่อแหล่งน้ำที่แน่น.
- ผ้าขนหนูซับน้ำ: ช่วยให้กระเบื้องห้องน้ำของคุณแห้งและปลอดภัยจากการหกเล็กน้อย.
อะไหล่ทดแทนชักโครกแบบชิ้นเดียวที่ต้องมี
ขึ้นอยู่กับสภาพชักโครกของคุณ คุณสามารถเลือกซื้อแบบครบวงจร ชุดซ่อมชักโครกแบบชิ้นเดียว หรือเปลี่ยนส่วนประกอบแต่ละชิ้นโดยตรง.
| อะไหล่ทดแทน | หน้าที่หลัก | สัญญาณที่บ่งบอกว่าคุณต้องการเปลี่ยน |
|---|---|---|
| ชุดวาล์วเติมน้ำชักโครกแบบชิ้นเดียว | ควบคุมน้ำที่เติมถัง | เติมน้ำช้า เสียงหึ่งดัง หรือน้ำล้น |
| ซีลวาล์วหรือลูกยางกดชักโครก | ปิดช่องระบายน้ำระหว่างการกดชักโครก | น้ำไหลตลอดเวลาหรือน้ำรั่วซึม |
| สายน้ำดีแบบยืดหยุ่น | เชื่อมต่อวาล์วปิดน้ำเข้ากับถัง | รอยแตก สนิม หรือซีลยางที่สึกหรอ |
ขั้นตอนที่ 1: ปิดการจ่ายน้ำและระบายน้ำออกจากถังให้หมด
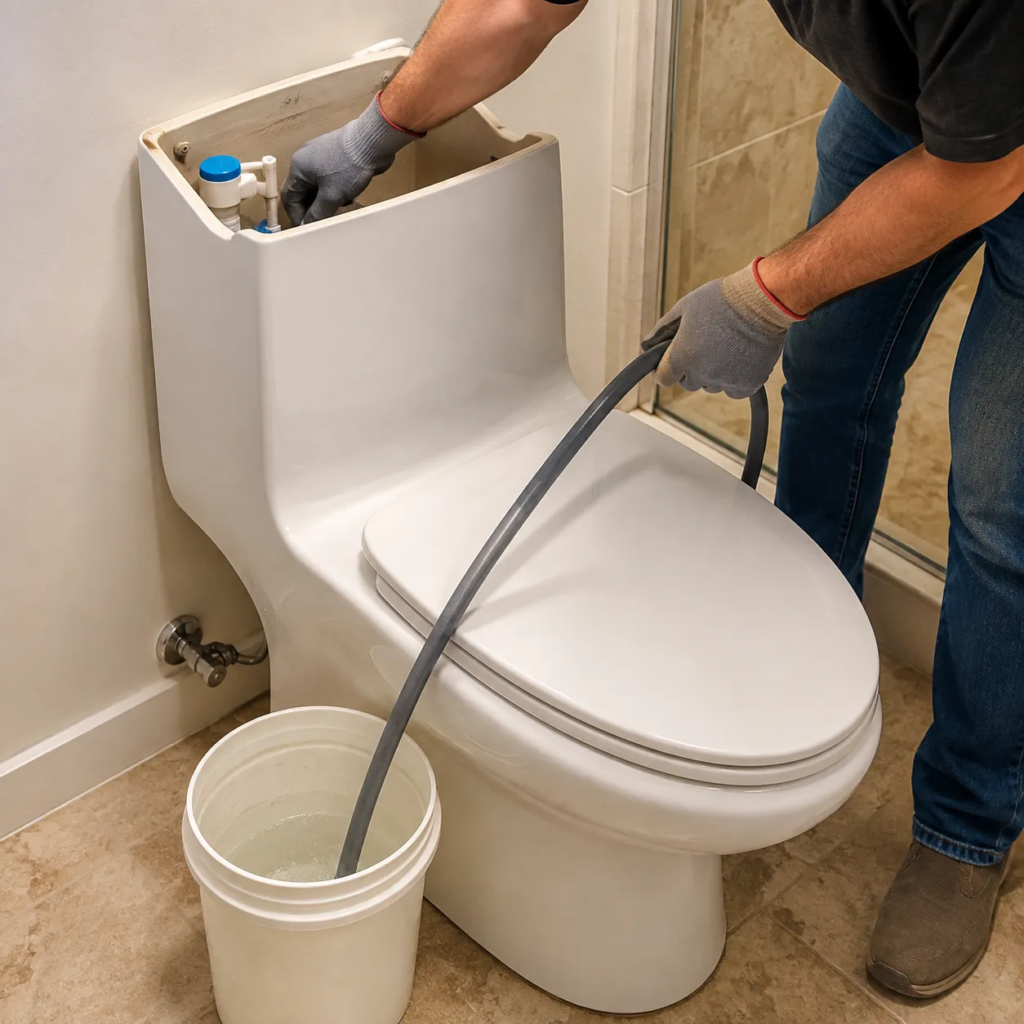
ก่อนที่เราจะเริ่ม ซ่อมถังพักชักโครกแบบชิ้นเดียว ส่วนประกอบ เราต้องตัดการจ่ายน้ำและทำให้ถังแห้งสนิท การทำงานภายในถังเซรามิกที่แห้งจะช่วยป้องกันความเสียหายจากน้ำบนพื้นห้องน้ำของคุณระหว่างการถอดส่วนประกอบ.
การค้นหาและปิดวาล์วปิดน้ำดีของชักโครก
- มองไปที่ด้านหลังด้านซ้ายของถังชักโครกของคุณเพื่อค้นหา วาล์วปิดน้ำดีของชักโครก ที่ผนังหรือพื้น.
- หมุนมือจับวาล์วรูปวงรีตามเข็มนาฬิกาจนสุด.
- ข้อควรระวัง: หากวาล์วรู้สึกติดขัดหรือไม่คล่องตัวเนื่องจากการสะสมของแร่ธาตุ ให้หมุนอย่างช้าๆ เพื่อหลีกเลี่ยงความเสียหายต่อท่อ.
การล้างและจับคันโยกเพื่อระบายน้ำส่วนเกิน
- ยกฝาถังพักน้ำออกและวางไว้บนพื้นผิวที่เรียบและนุ่มอย่างปลอดภัย.
- กดและค้างคันโยกชักโครกไว้.
- จับคันโยกค้างไว้ จนกระทั่งลิ้นปิดวาล์วหรือแกนชักโครกเปิดค้างไว้ ทำให้น้ำประมาณ 80% ถึง 90% ไหลลงสู่โถ.
การใช้ฟองน้ำและถังเพื่อกำจัดน้ำที่เหลืออยู่ด้านล่าง
เนื่องจากโถสุขภัณฑ์แบบชิ้นเดียวจะอยู่ต่ำกว่า จึงมีน้ำเหลืออยู่สองสามนิ้วใต้ช่องเปิดวาล์วชักโครก.
- ใช้ฟองน้ำที่ดูดซับได้และถังขนาดเล็ก.
- กดฟองน้ำให้แน่นกับก้นถังเพื่อดูดน้ำที่ค้างอยู่ออกให้หมด.
- บีบฟองน้ำลงในถังจนก้นถัง แห้งสนิท.
| รายการดำเนินการ | เครื่องมือที่ต้องใช้ | วัตถุประสงค์ |
|---|---|---|
| ปิดวาล์ว | มือ / คีม (หากฝืด) | หยุดการจ่ายน้ำประปา |
| จับคันโยกชักโครก | แรงกายภาพ | นำน้ำออกจากถังส่วนใหญ่ |
| การบีบฟองน้ำ | ฟองน้ำและถัง | ทำให้ฐานถังแห้งเพื่อความปลอดภัย การซ่อมถังชักโครกแบบชิ้นเดียว |
ขั้นตอนที่ 2: ถอดวาล์วเติมและส่วนประกอบการชักโครกเก่าออก
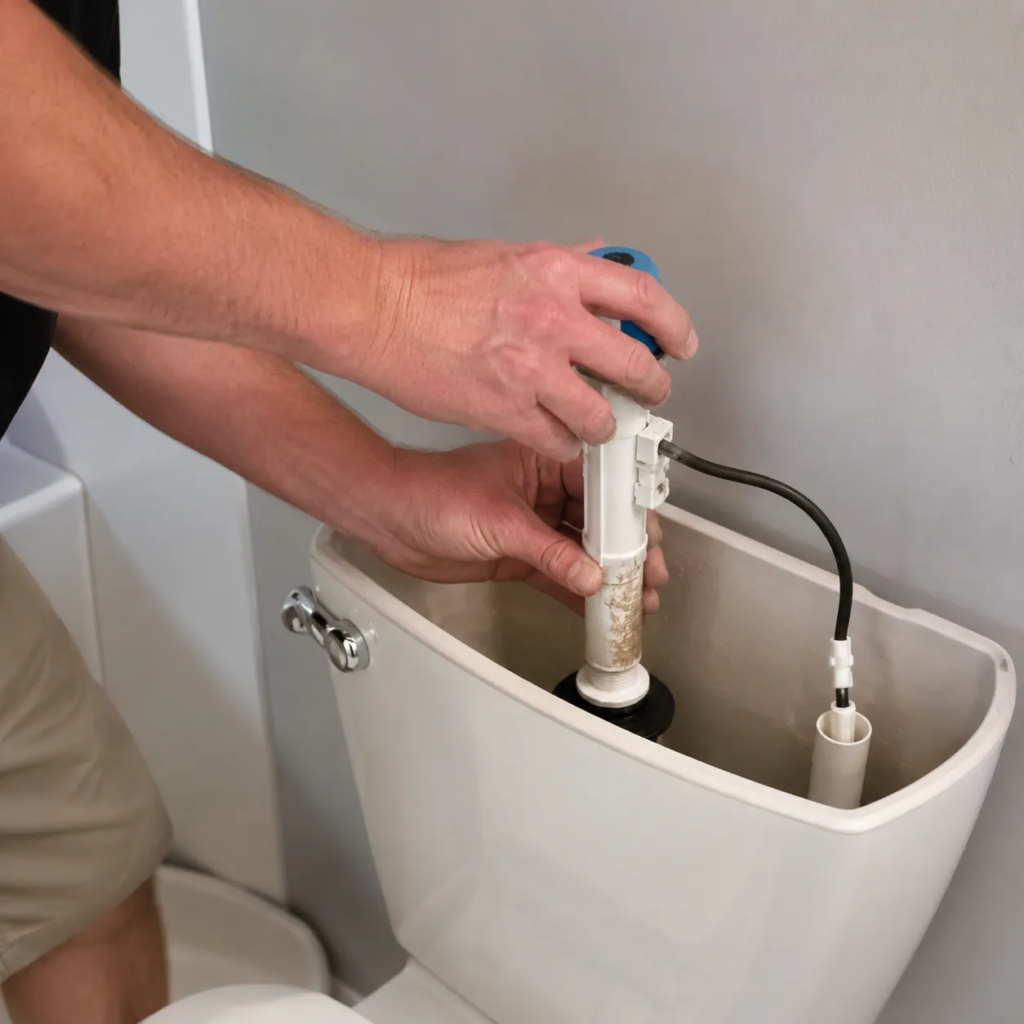
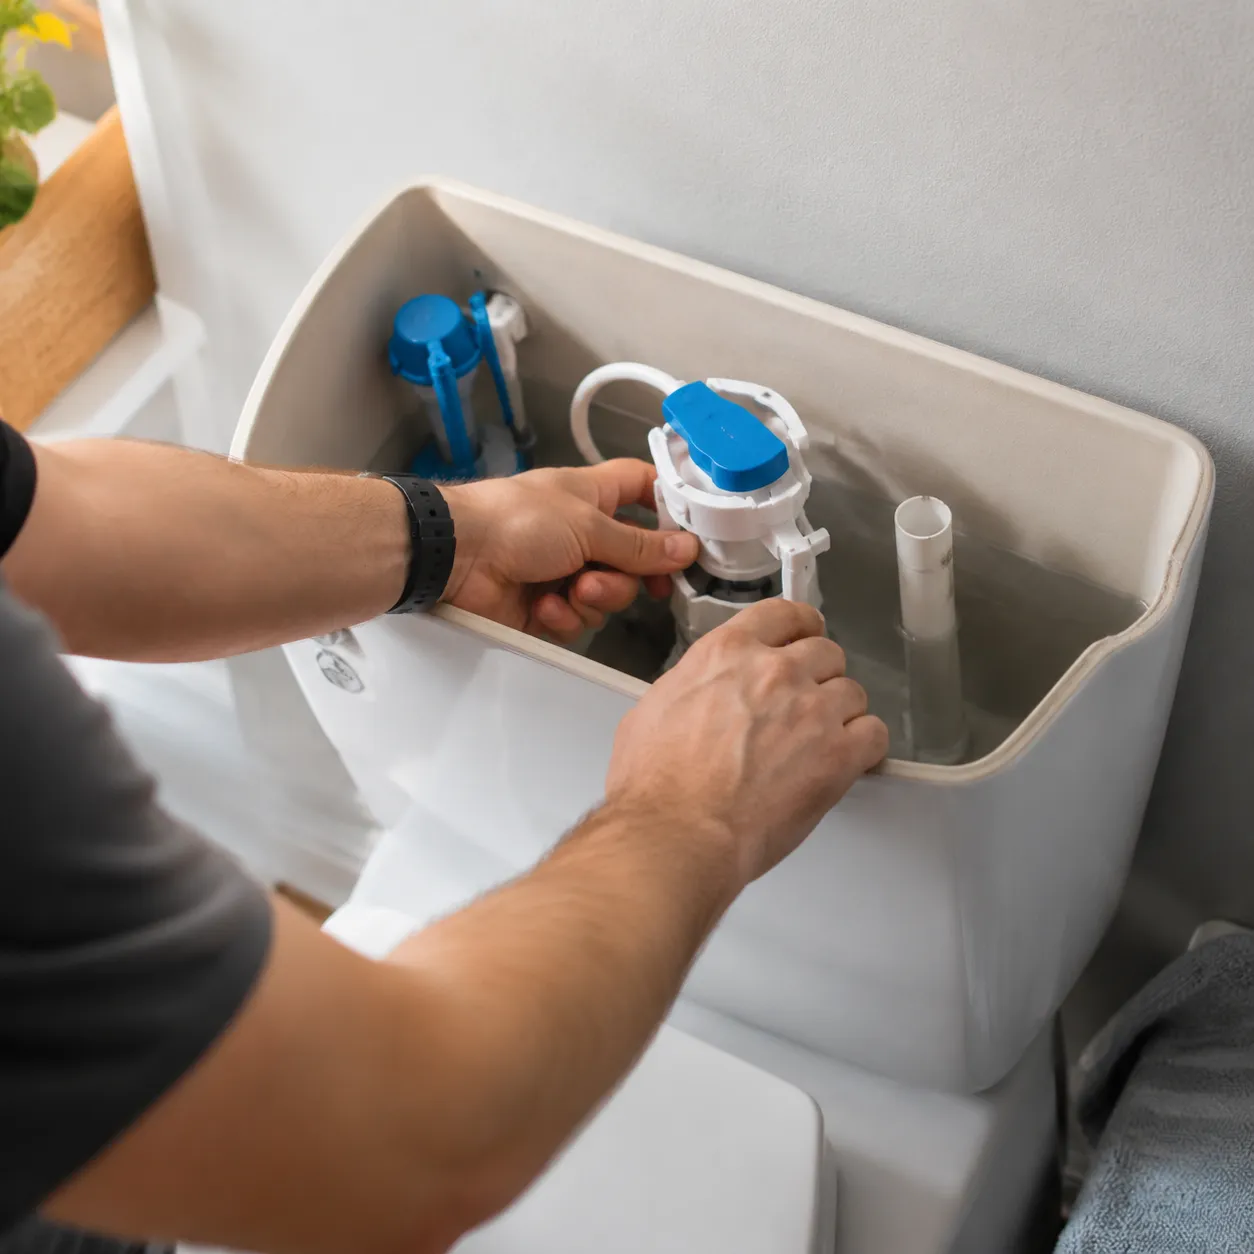
เมื่อระบายน้ำออกจากถังแล้ว เราสามารถเริ่มถอดฮาร์ดแวร์ที่สึกหรอออกได้ การถอดส่วนประกอบเหล่านี้อย่างระมัดระวังจะช่วยให้คุณไม่ทำลายพอร์ซเลนหรือทำให้เกลียวเสียหายระหว่างการ เปลี่ยนวาล์วเติมชักโครกแบบชิ้นเดียว.
การถอดสายจ่ายน้ำแบบยืดหยุ่นอย่างปลอดภัย
ก่อนถอดวาล์วภายในถัง คุณต้องถอดสายน้ำเข้าที่อยู่ใต้ถังออกก่อน.
- วางถังเล็กๆ หรือผ้าขนหนู ไว้ใต้ข้อต่อถังเพื่อรองรับน้ำที่อาจหยดลงมา.
- คลายเกลียวน็อตข้อต่อ ที่เชื่อมต่อสายยางเข้ากับก้านวาล์วเติมน้ำด้านล่าง.
- หมุนด้วยมือก่อน—หากแน่นเกินไป ให้ใช้คีมปากจิ้งจกจับเบาๆ เพื่อไม่ให้เกลียวพลาสติกเสียหาย.
การคลายน็อตล็อควาล์วเติมน้ำใต้ถัง
วาล์วเติมน้ำจะยึดติดกับฐานเซรามิกอย่างแน่นหนาด้วยน็อตพลาสติกที่อยู่ใต้ถัง.
- หาพลาสติก น็อตล็อควาล์วเติมน้ำชักโครก ที่อยู่ตรงตำแหน่งที่สายน้ำเข้าเคยต่ออยู่.
- บิดน็อตล็อคทวนเข็มนาฬิกาจนกว่าจะหลุดออกหมด.
- ยกวาล์วเติมน้ำเก่าขึ้นตรงๆ ออกจากถังจากด้านบน.
การถอดซีลวาล์วชำระที่สึกหรอ, แผ่นยางปิด, หรือชุดกระป๋อง
เพื่อทำการรื้อถอนและ เปลี่ยนซีลวาล์วชำระสำหรับโถสุขภัณฑ์แบบชิ้นเดียว ส่วนประกอบต่างๆ ให้ถูกต้อง ให้ถอดกลไกการกดน้ำด้านในออก.
- สำหรับรุ่นที่มีแผ่นยางปิด: ปลด แผ่นยางปิดโถสุขภัณฑ์ ถอดแขนออกจากหมุดยึดบนท่อระบายน้ำล้น จากนั้นถอดโซ่ยกออกจากคันโยกถังพักน้ำ.
- สำหรับรุ่นกระป๋องหรือรุ่นหอคอย: หมุนหอคอยตรงกลางทวนเข็มนาฬิกาเพื่อปลดออกจากฐาน จากนั้นยกออก.
- ถอดปะเก็นยาง: ลอกออกที่ชำรุด เสื่อมสภาพ ปะเก็นยาง หรือซีลฐานออกจากด้านล่างของตัวยึดแบบฝัง เพื่อเตรียมพื้นผิวสำหรับการติดตั้งใหม่.
ขั้นตอนที่ 3: ติดตั้งวาล์วเติมน้ำชักโครกแบบชิ้นเดียวใหม่
เมื่อเราทำการ เปลี่ยนวาล์วเติมชักโครกแบบชิ้นเดียว, การตั้งค่าความสูงในการติดตั้งและแรงบิดของฮาร์ดแวร์ให้ถูกต้องเป็นสิ่งสำคัญอย่างยิ่งในการป้องกันการรั่วซึมและเพื่อให้แน่ใจว่าโถสุขภัณฑ์จะเติมน้ำได้อย่างเหมาะสม.
Adjusting height on your new fill valve
Before placing the replacement valve into the tank, adjust its length so it matches your tank's inner clearance:
- Locate the adjustment lock: Twist the lower shank or unlock the collar ring on the valve body to extend or shorten the unit.
- Set the Critical Level (CL): Ensure the critical level mark stamped on the valve sits at least 1 inch above the top of the overflow pipe.
- Verify float clearance: Position the valve so the float moves up and down freely without rubbing against the ceramic walls or the flush tower.
Securing the toilet fill valve locknut without cracking ceramic
Protecting the ceramic base while creating a watertight seal requires exact tightening pressure:
| Step | Action | Practical Detail |
|---|---|---|
| 1. Washer Placement | Place the rubber shank washer onto the threaded base of the fill valve. | The tapered end must point down into the tank drain hole to form a seal. |
| 2. Align Valve | Press the valve stem straight down into the opening. | Hold the valve body inside the tank so it does not rotate during tightening. |
| 3. Hand-Tighten Locknut | Thread the น็อตล็อควาล์วเติมน้ำชักโครก onto the shank from underneath the tank. | Hand-tighten the nut firmly against the underside of the ceramic base. |
| 4. Turn | Apply a wrench for an extra 1/4 to 1/2 turn. | Stop immediately once snug—over-tightening will crack the porcelain tank. |
Attaching the refill tube to the overflow pipe
The refill tube re-establishes the water level inside the toilet bowl after each flush cycle:
- Push one end of the flexible black vinyl tube firmly onto the port near the top of the new fill valve.
- Attach the included angle clip onto the opposite end of the tubing.
- Clip the tube to the top edge of the overflow pipe, directing the water flow straight down into the opening.
- Trim excess tubing if necessary to prevent soft kinks that restrict water flow, ensuring the tube remains positioned above the maximum tank water line to stop back-siphoning.
Step 4: Replace the Flush Valve Seal, Flapper, or Tower Mechanism
When we rebuild a one-piece toilet tank, restoring the main flush seal is critical to stopping silent leaks. One-piece units often use vertical canister towers or specialized molded flappers. Installing these components correctly guarantees a tight seal and restores complete flushing power.
Cleaning Debris and Mineral Buildup Off the Flush Seat
A brand-new seal will fail prematurely if installed over hard water crust or deteriorated rubber from the old parts.
- Scrub the valve ring: Use a non-scratch scouring pad to clean off old rubber bits from the flush seat base.
- Dissolve mineral scale: Soak a sponge in white vinegar and wipe away calcium deposits along the sealing surface.
- Inspect the surface: Feel along the rim to confirm it is completely smooth, clean, and free of cracks before installing new hardware.
Fitting the New Flush Valve Gasket or Flapper
Match your replacement approach to whether your toilet uses a classic flapper or a central tower design.
| Mechanism Type | Replacement Steps | รายละเอียดสำคัญ |
|---|---|---|
| Standard Flapper | Snap the mounting arms of your one piece toilet flapper replacement onto the side pegs of the valve stem. | Ensure the flapper centers directly over the drain hole. |
| Tower / Canister | Remove the valve canister and stretch the new toilet tower flush valve seal onto the bottom groove. | Keep the ปะเก็นยาง flat without twisting or binding. |
Proper alignment during this step prevents the common toilet running water one piece issue caused by uneven seating.
Connecting the Flush Lever Chain with Ideal Slack
Setting proper chain tension allows the valve to open fully and close cleanly every time.
- Align the hook: Clip the chain to the trip lever arm directly above the flush mechanism.
- Maintain ideal slack: Leave 1/2 นิ้ว (about 1 to 2 loose chain links) when the handle sits at rest.
- Verify clearance: Make sure the chain hangs straight without snagging on the fill valve or overflow pipe during a full handle stroke.
Step 5: Turn On Water, Check for Leaks, and Fine-Tune
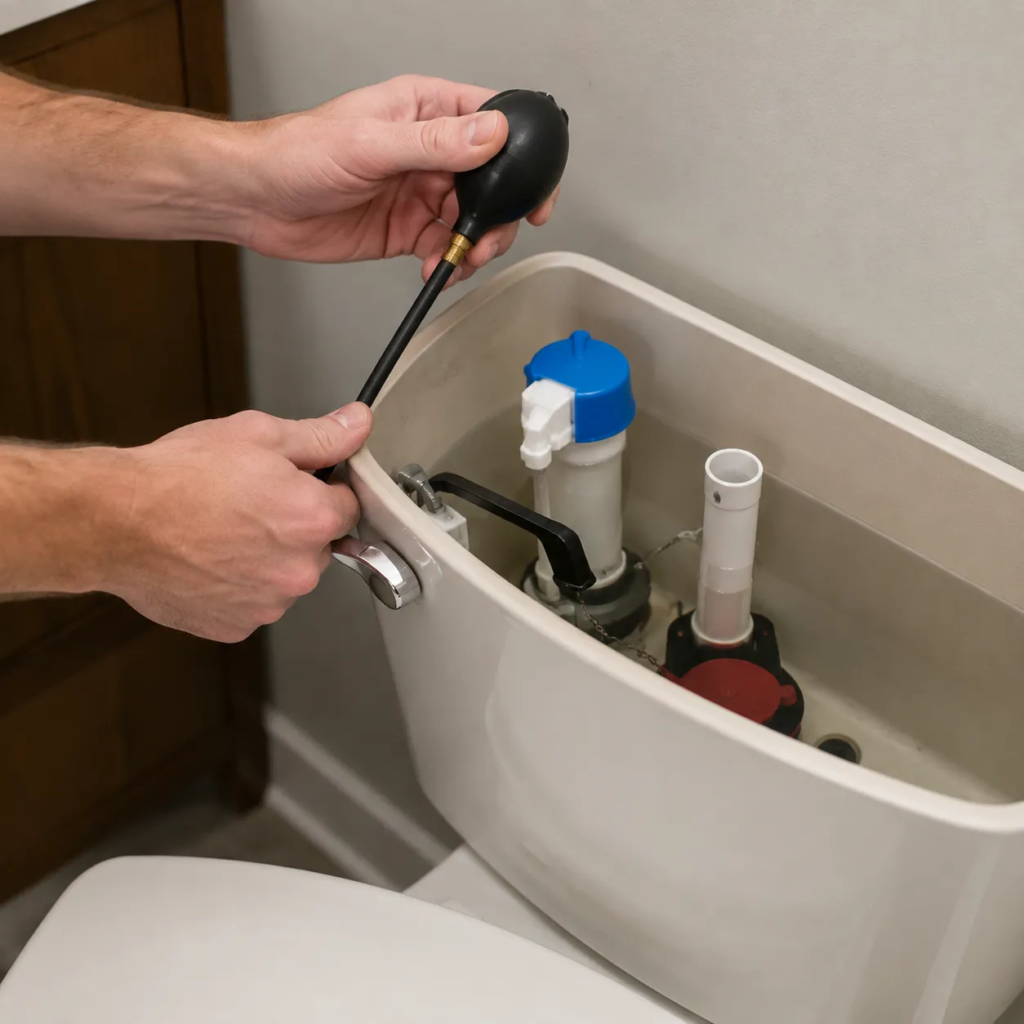
With your new parts in place, it is time to restore the water flow and dial in your setup. Taking a few extra minutes to inspect connection points now will guarantee a long-lasting one piece toilet leak repair.
Reconnecting the Supply Line and Turning On the Valve
We always recommend starting with hand-tightening to avoid cross-threading the plastic shank on your new fill valve.
- Thread the line: Screw the flexible hose nut onto the fill valve shank by hand until snug.
- Tighten gently: Give the nut an extra quarter-turn with pliers. Do not overtighten.
- Open the flow: Slowly open the toilet water supply line shut off valve counterclockwise to let the tank fill while watching closely for immediate drips.
Adjusting the Water Level Float
To get a powerful flush without wasting water, you need to align the final water height with the tank's inner fill line.
| Goal | Adjustment Action | Target Level |
|---|---|---|
| Raise Water | Turn adjustment screw clockwise | 1/2 to 1 inch below top of overflow tube |
| Lower Water | Turn adjustment screw counterclockwise | 1/2 to 1 inch below top of overflow tube |
When we adjust toilet tank water level float mechanisms, we make small turns and test between adjustments until the water stops right at the stamped mark inside the tank.
Testing Flush Power and Checking Connection Points
Run three to four full test flushes to finish your ซ่อมถังพักชักโครกแบบชิ้นเดียว project.
- Tissue test: Press a dry paper towel against the bottom locknut and supply line connection to catch tiny droplets you might miss by eye.
- Check valve shut-off: Confirm that the water stops running completely as soon as the float reaches its peak position.
- Verify flush action: Ensure the flush mechanism clears the bowl effectively and resets without sticking.
Troubleshooting Common Issues After a Tank Rebuild
Even after a successful one-piece toilet tank rebuild, small adjustments are often needed to get everything performing perfectly. Here is how we quickly diagnose and fix the most common post-repair glitches.
Fixing a One-Piece Toilet That Keeps Running Continuously
If you hear toilet running water on a one-piece unit after replacing components, the issue usually stems from the water level or a misaligned seal.
- Adjust the Float: If water spills into the overflow pipe, adjust the toilet tank water level float screw downward until the water level sits 1 inch below the top of the overflow tube.
- Check Chain Tension: A chain that is too tight keeps the flapper or tower valve cracked open. Leave about 1/2 inch of slack in the flush lever chain.
- Inspect the Seal: Debris or a twisted ปะเก็นยาง under the แผ่นยางปิดโถสุขภัณฑ์ will break the seal. Clean the flush seat thoroughly and re-seat the flapper.
Resolving Weak Flushes or Slow Tank Refill Speeds
A weak flush or slow fill cycle usually means water flow is restricted or tank capacity is set too low.
| Issue | Quick Fix |
|---|---|
| Low Tank Water Volume | Turn the float adjustment screw clockwise to increase water storage per flush. |
| Slow Refill Rate | Ensure the toilet water supply line shut off valve under the tank is fully open. |
| Blocked Refill Tube | Verify the small tube running from the fill valve is straight and clipped firmly inside the overflow pipe. |
Stopping Persistent Water Drips Around the Fill Valve Shank
Water pooling under the tank near the supply connection means the bottom seal needs attention.
- Position the Washer Correctly: The thick rubber seal must sit inside the tank on the shank of the valve, not outside underneath.
- Tighten the Locknut: Ensure the น็อตล็อควาล์วเติมน้ำชักโครก is hand-tightened snugly against the porcelain, plus an extra 1/4 turn with pliers. Avoid over-tightening to prevent cracking the ceramic.
- Inspect the Line: Wipe the shank dry and check if the leak is coming from the fill valve threads or a worn flexible supply line connector.
One-Piece Toilet Tank Rebuild FAQs
Can you use standard universal plumbing parts on a one-piece toilet?
Not always. While many เปลี่ยนวาล์วเติมชักโครกแบบชิ้นเดียว jobs accept universal fill valves, flush valves and seals are often brand-specific. Modern fixtures—especially setups like a Kohler one piece toilet flush valve or a Toto one piece toilet tank repair—frequently require proprietary tower seals or specialty flappers. We always recommend checking your model number or buying a dedicated one piece toilet repair kit to ensure a perfect, watertight seal.
How do I know what size flush valve seal my toilet takes?
You can determine the seal size by measuring the outer diameter of the flush seat or checking the inside back wall of your tank for the model stamp.
- 2-inch seals: Standard on older or traditional models.
- 3-inch to 4-inch seals: Common on high-efficiency, modern one-piece toilets.
Why is my one-piece toilet running water after replacing the flapper?
If you notice a toilet running water one piece issue even after a one piece toilet flapper replacement, a few quick fixes usually solve it:
- Debris on the flush seat: Mineral deposits prevent the new flapper from sitting flat. Scrub the seat clean with a sponge.
- Chain tension: Adjust the chain so it has roughly 1/2 นิ้ว. Too tight keeps the seal open; too loose gets trapped underneath.
- Incorrect fill level: Lower the float so the water line rests 1/2 inch below the overflow pipe opening.
Is rebuilding a one-piece toilet tank easier than a two-piece toilet?
Yes! When we ซ่อมถังพักชักโครกแบบชิ้นเดียว designs, we skip the hardest part of traditional plumbing: unbolting the tank from the bowl. Because the tank and bowl are molded as a single porcelain unit, you don't have to worry about replacing tank-to-bowl gaskets or dealing with severe floor leaks from loose mounting bolts.